
Hello dear modeler,
Today the page belongs to Mustafa Önge .. He will make a presentation ..
Erhan...
***************
Hello dear modeler,
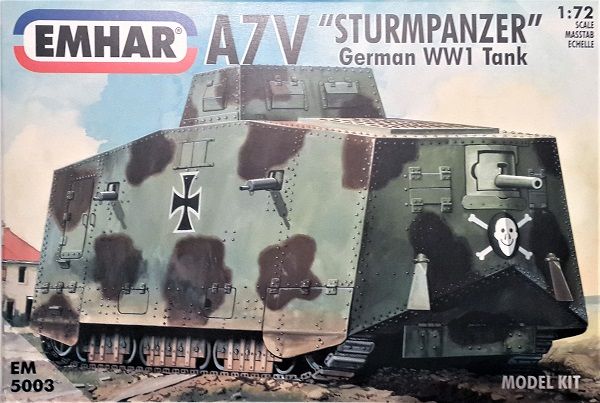
There is sufficient information about this vehicle on the internet therefore I will not give information about it in order to avoid repetition. If you want to make a model of this tank, Emhar’s model seems to be the only game. However, the plastic is rather thick and it is a difficult job to open the hatches (not impossible).

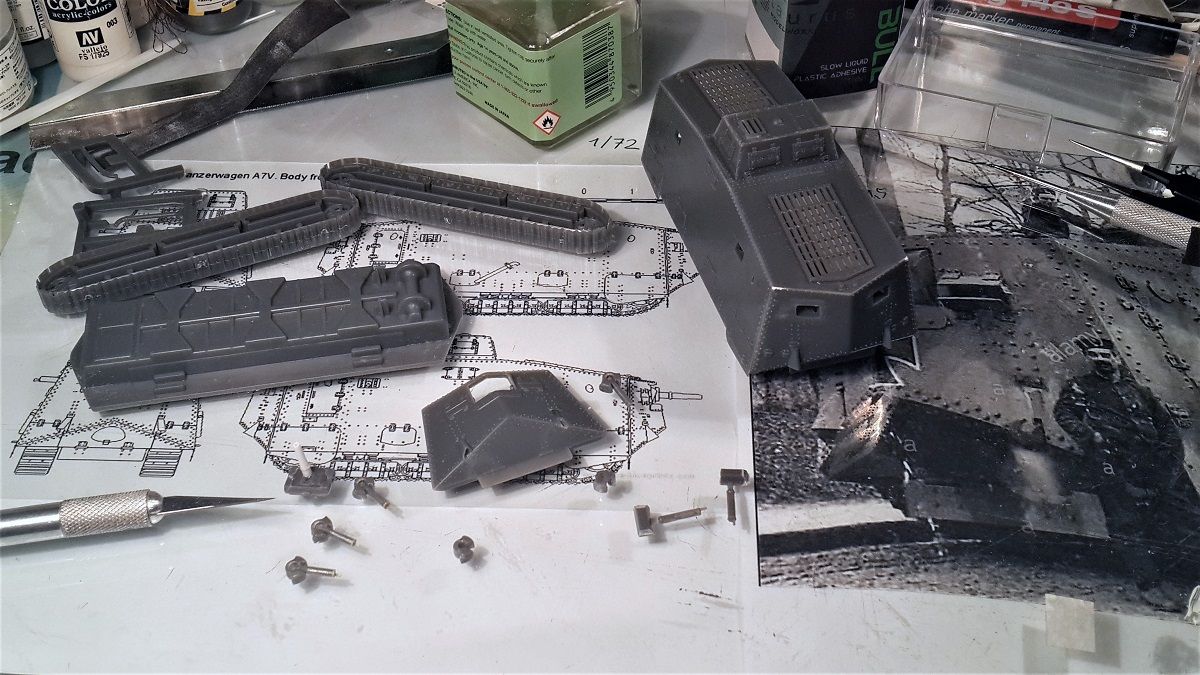
The kit consists of a few parts, but you need to be careful during the construction process. I often had confusion in figuring out the front and the aft sections. It is important to achieve the correct opening of its doors. So, be very careful if you intend to make your own A7V from Emhar. Except these construction is very simple and straightforward by following the test and fit rule.
In terms of accuracy, the outlines of the kit very well suits the drawings that I had downloaded from internet sources.
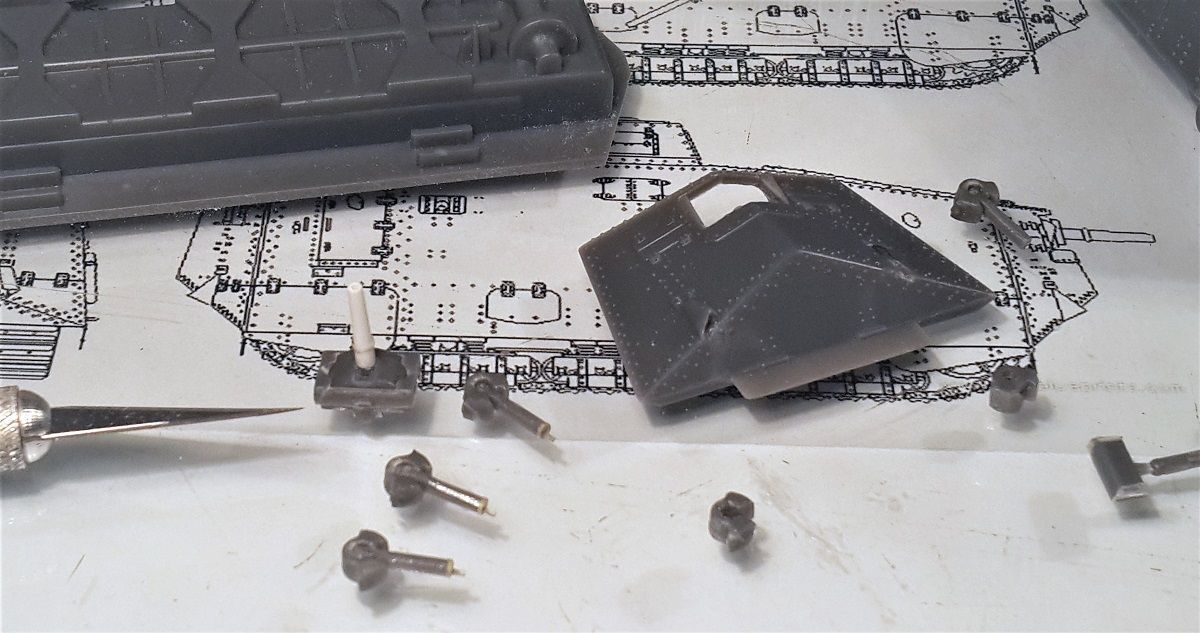

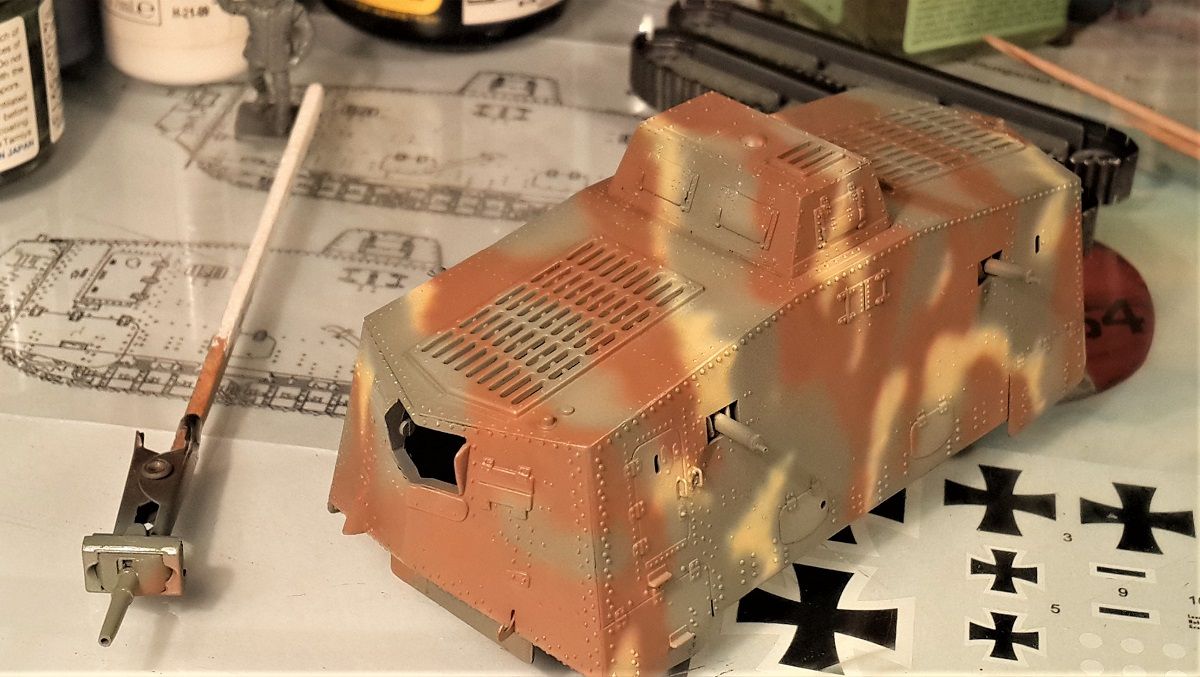
I added a few details which were very visible on the reference photos. I made towing cables by using copper wire, handles by using brass rods and sheets and an exposed hook on the front section by using a piece from a brass PE fret. The cannon barrel was also lack of some detail and therefore I made my own by using evergreen rods.
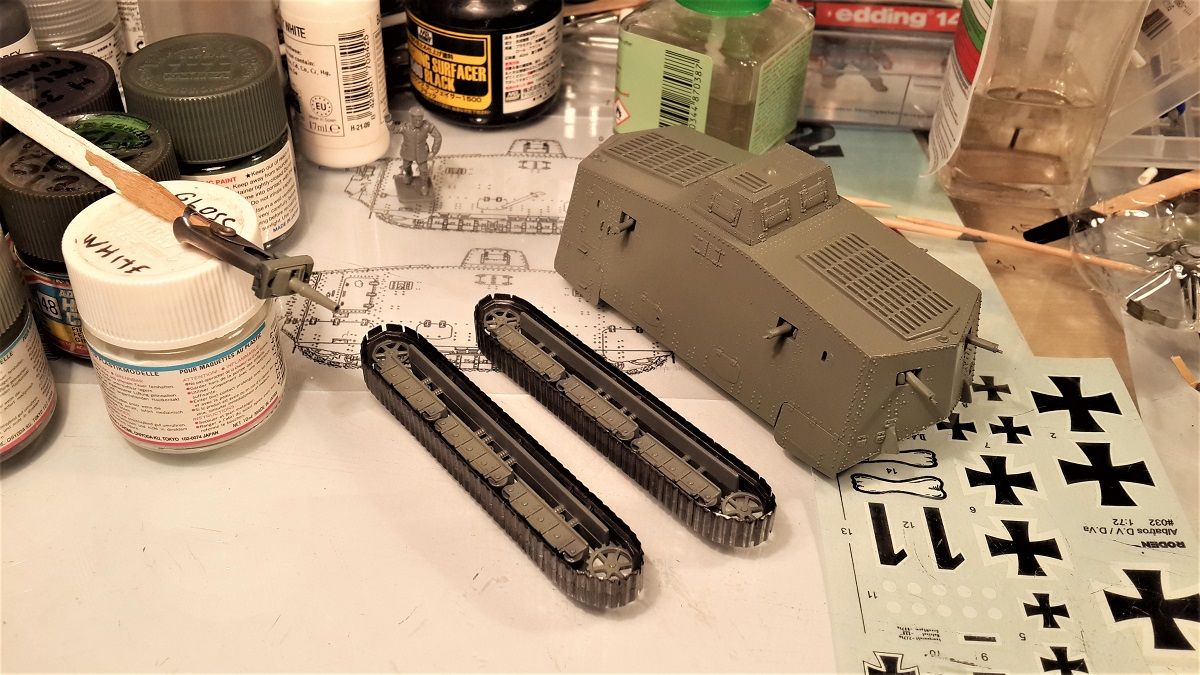
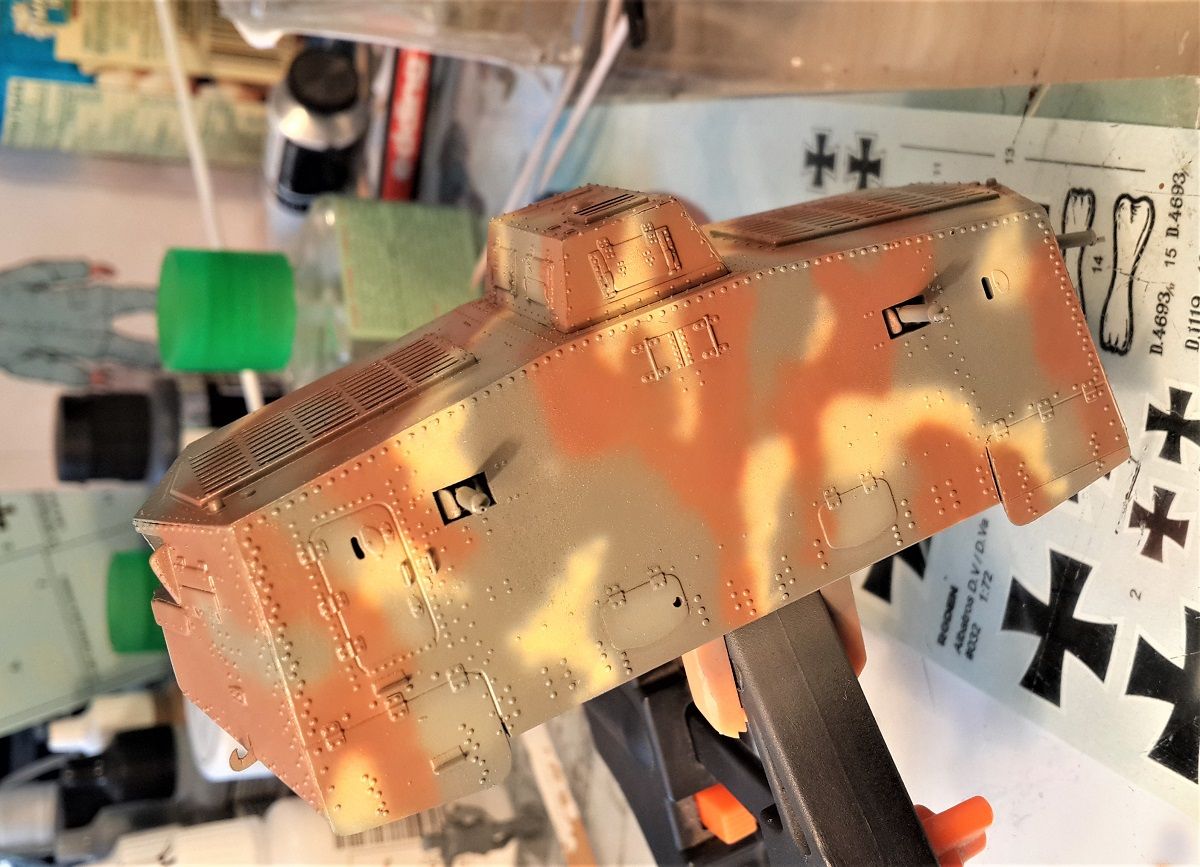
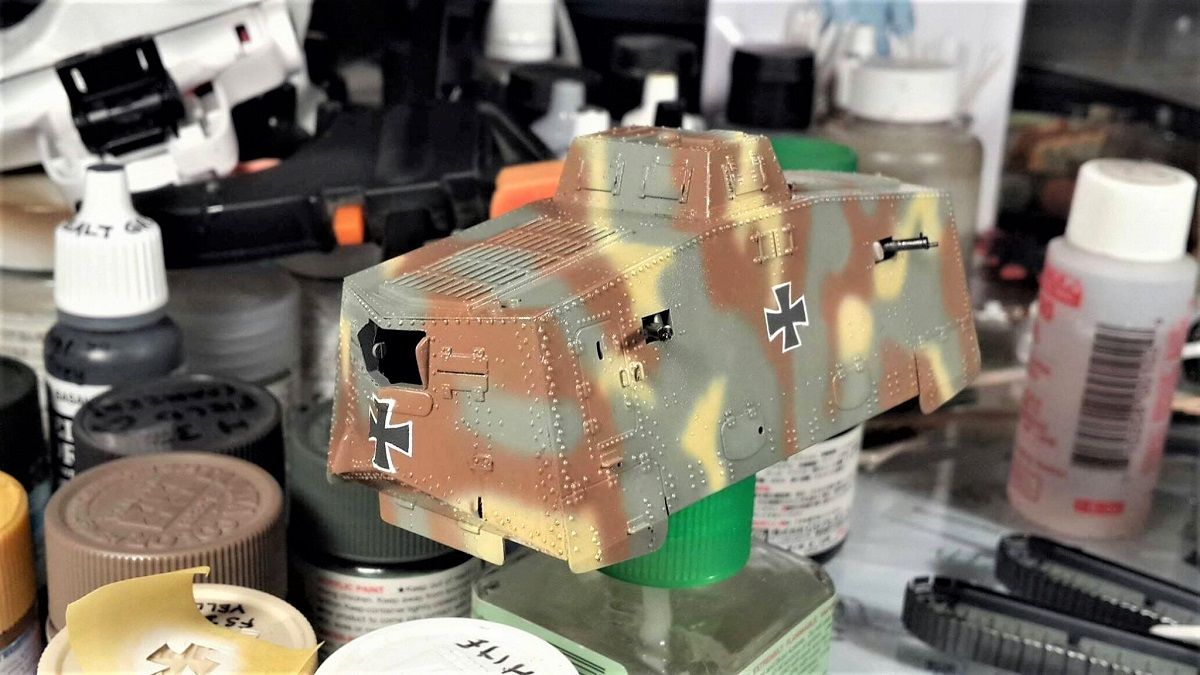
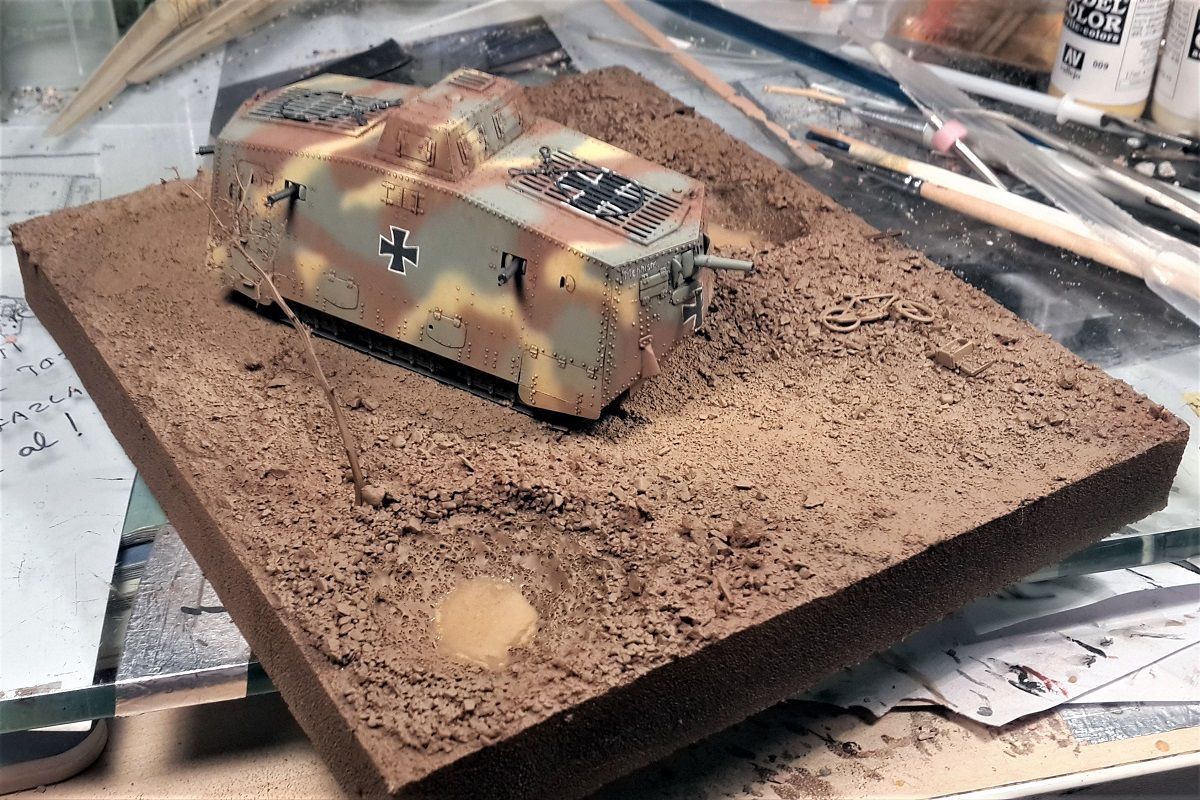
The painting was an issue as the vehicle seemed to be painted over and over during its service life, considering the reference photos. There was a surviving example on the Military Museum in Qeensland Australia, but it was also restored and the paint on it seemed to be somewhat not right to me. Considering all the references and possible color choices of the period I mixed my own colors from Gunze Acrilycs series. As the base color I needed field gray, which supposed to be a sort of light greenish grey. I mixed RLM02 Grey and German Field Grey then added some white to my recipe. For the brown I used H37 wood brown and H313 yellow and some white. I was not so sure about the existence of dark green (there may be, that’s another issue of discussion), therefore decided not to use it. For the yellow the mixture of H34, H313 and white was pretty sufficient for my needs. I followed the photo references for the patterns. After painting the crosses and compulsively using the decal sheet for the devil figure, I pin washed the whole model with gunze series washes. The name of the vehicle “Mephisto” was written on the front part with the help of a printed decal sheet and some white paint that I applied by using the tip of a Vallejo No:10 brush. The final touch before the weathering was the addition of cooling lines for the machine guns, which were made by using stretched sprue.Then came the flat varnish from Vallejo series.

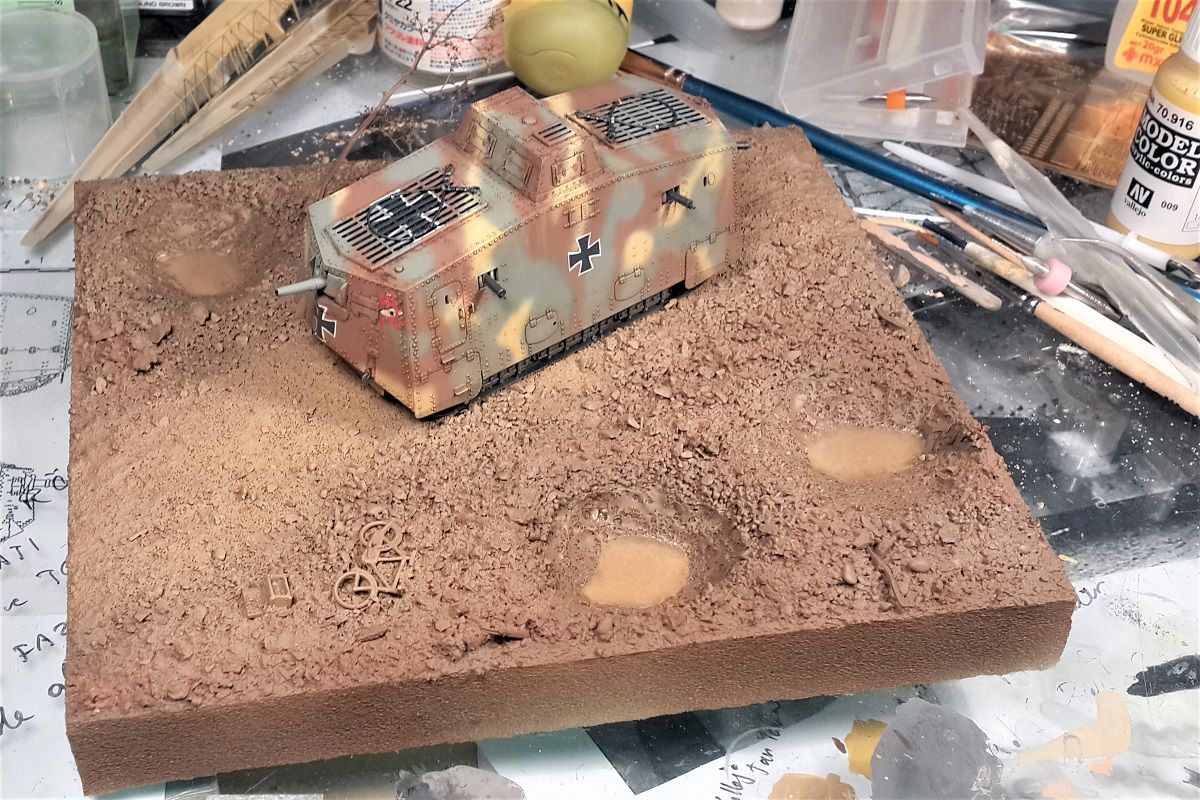
The weathering process was made in harmony with the construction of the base. On the foamboard base, I first carved the shell holes by using lacquer thinner than added some sand and crushed brick. I added a tiny stick of dried bush to represent a dead tree, a bicycle and a box from an ancient Airfix set, then painted them all by using different shades of earth. Also applied the mud pigments of Mig on the vehicle, especially on the top part as the dirt and mud from the artillery shots that had exploded arround. For the water in the shell holes I used Vallejo still water mixed with some flat earth and light sand of the same brand.
That was the summary of the building process. I hope you like it...
Mustafa Önge...
I added a few details which were very visible on the reference photos. I made towing cables by using copper wire, handles by using brass rods and sheets and an exposed hook on the front section by using a piece from a brass PE fret. The cannon barrel was also lack of some detail and therefore I made my own by using evergreen rods.
The painting was an issue as the vehicle seemed to be painted over and over during its service life, considering the reference photos. There was a surviving example on the Military Museum in Qeensland Australia, but it was also restored and the paint on it seemed to be somewhat not right to me. Considering all the references and possible color choices of the period I mixed my own colors from Gunze Acrilycs series. As the base color I needed field gray, which supposed to be a sort of light greenish grey. I mixed RLM02 Grey and German Field Grey then added some white to my recipe. For the brown I used H37 wood brown and H313 yellow and some white. I was not so sure about the existence of dark green (there may be, that’s another issue of discussion), therefore decided not to use it. For the yellow the mixture of H34, H313 and white was pretty sufficient for my needs. I followed the photo references for the patterns. After painting the crosses and compulsively using the decal sheet for the devil figure, I pin washed the whole model with gunze series washes. The name of the vehicle “Mephisto” was written on the front part with the help of a printed decal sheet and some white paint that I applied by using the tip of a Vallejo No:10 brush. The final touch before the weathering was the addition of cooling lines for the machine guns, which were made by using stretched sprue.Then came the flat varnish from Vallejo series.
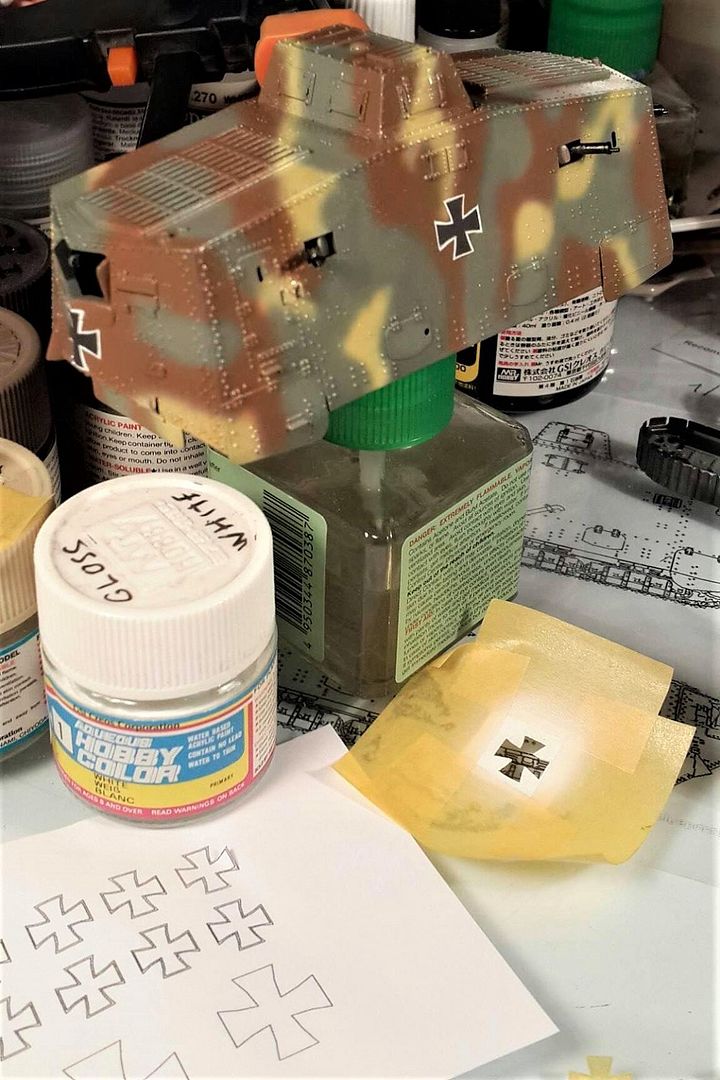
The most problematic part of this kit was the decals. Theyare the thickest ones I had ever seen in my life. The malta crosses were not properly done and completely different from those shown in photo references. In my build, I painted these by cutting masks from the Tamiya masking tape.
The weathering process was made in harmony with the construction of the base. On the foamboard base, I first carved the shell holes by using lacquer thinner than added some sand and crushed brick. I added a tiny stick of dried bush to represent a dead tree, a bicycle and a box from an ancient Airfix set, then painted them all by using different shades of earth. Also applied the mud pigments of Mig on the vehicle, especially on the top part as the dirt and mud from the artillery shots that had exploded arround. For the water in the shell holes I used Vallejo still water mixed with some flat earth and light sand of the same brand.
That was the summary of the building process. I hope you like it...
Mustafa Önge...
Click please for the completed model..https://miniafv.172-a7v-sturmpanzer-completed.html
Mustafa & Erhan...