

Hello dear friends, this page is prepared by young modeler Ahmet Eren İspir today ...
Erhan...
*****************************************
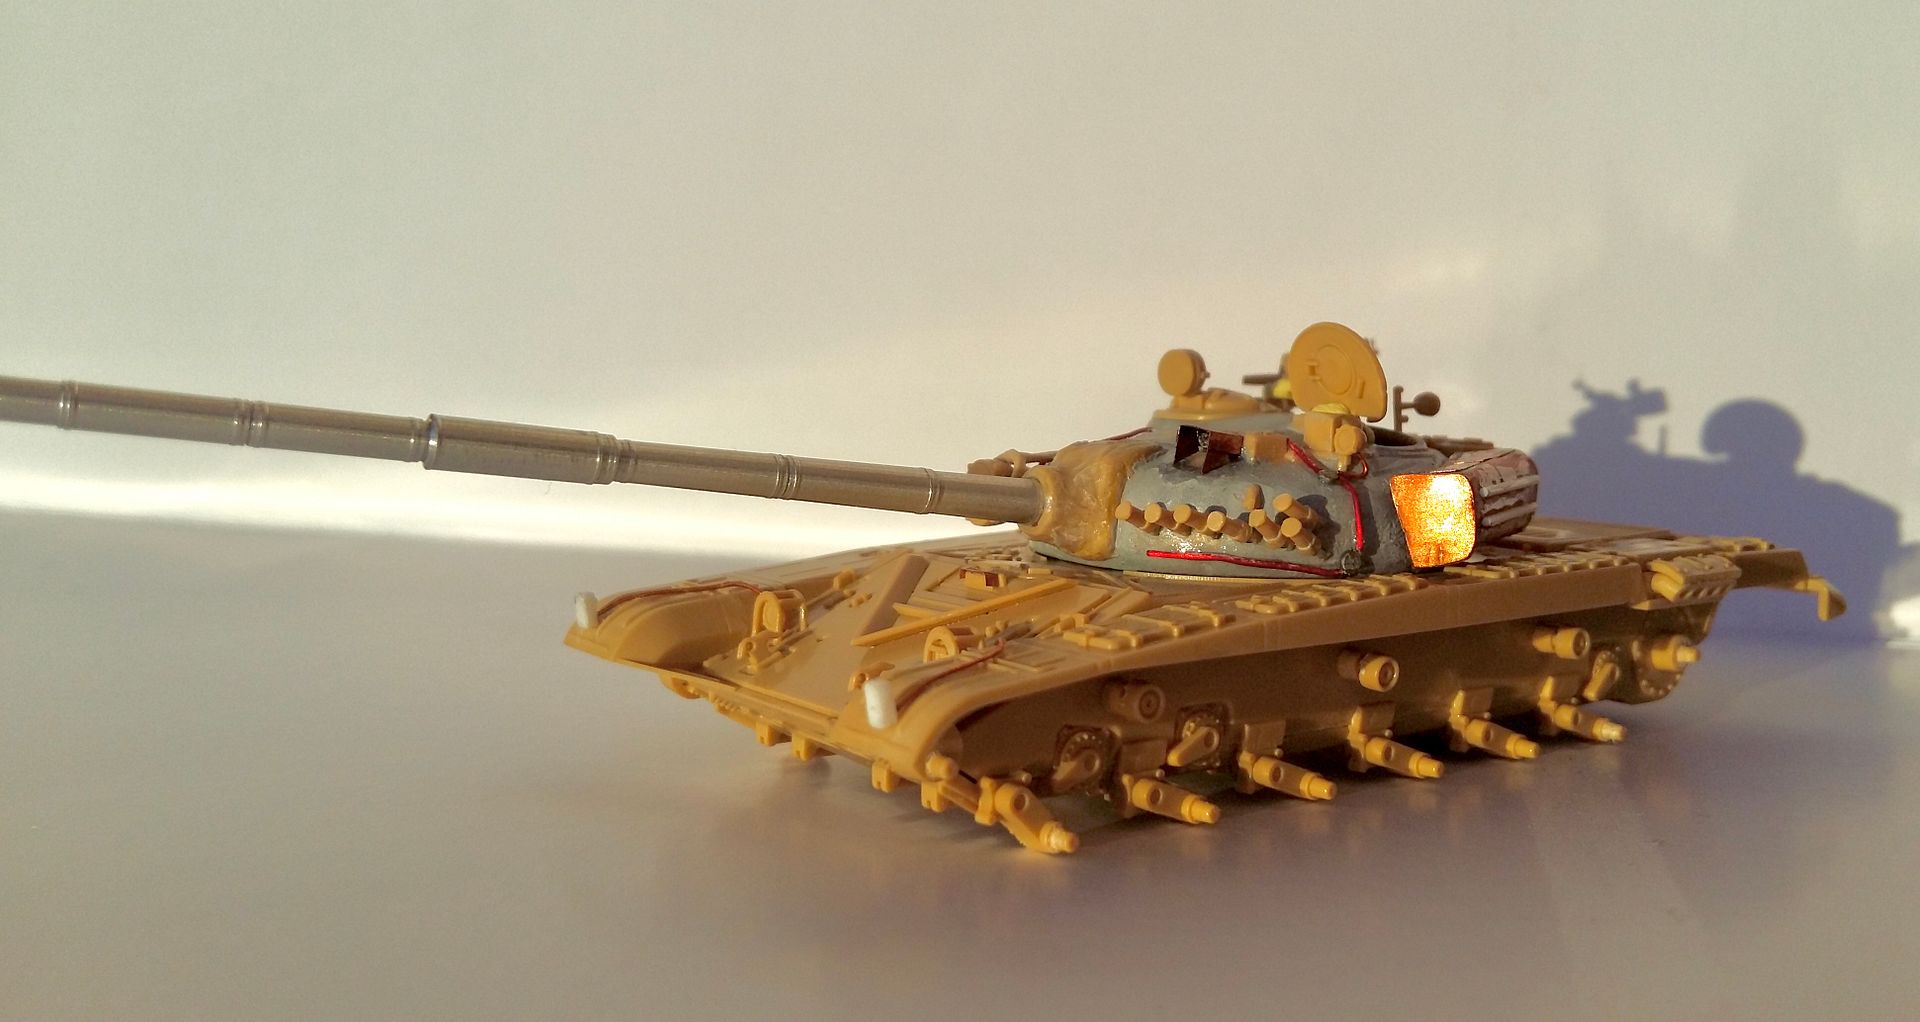
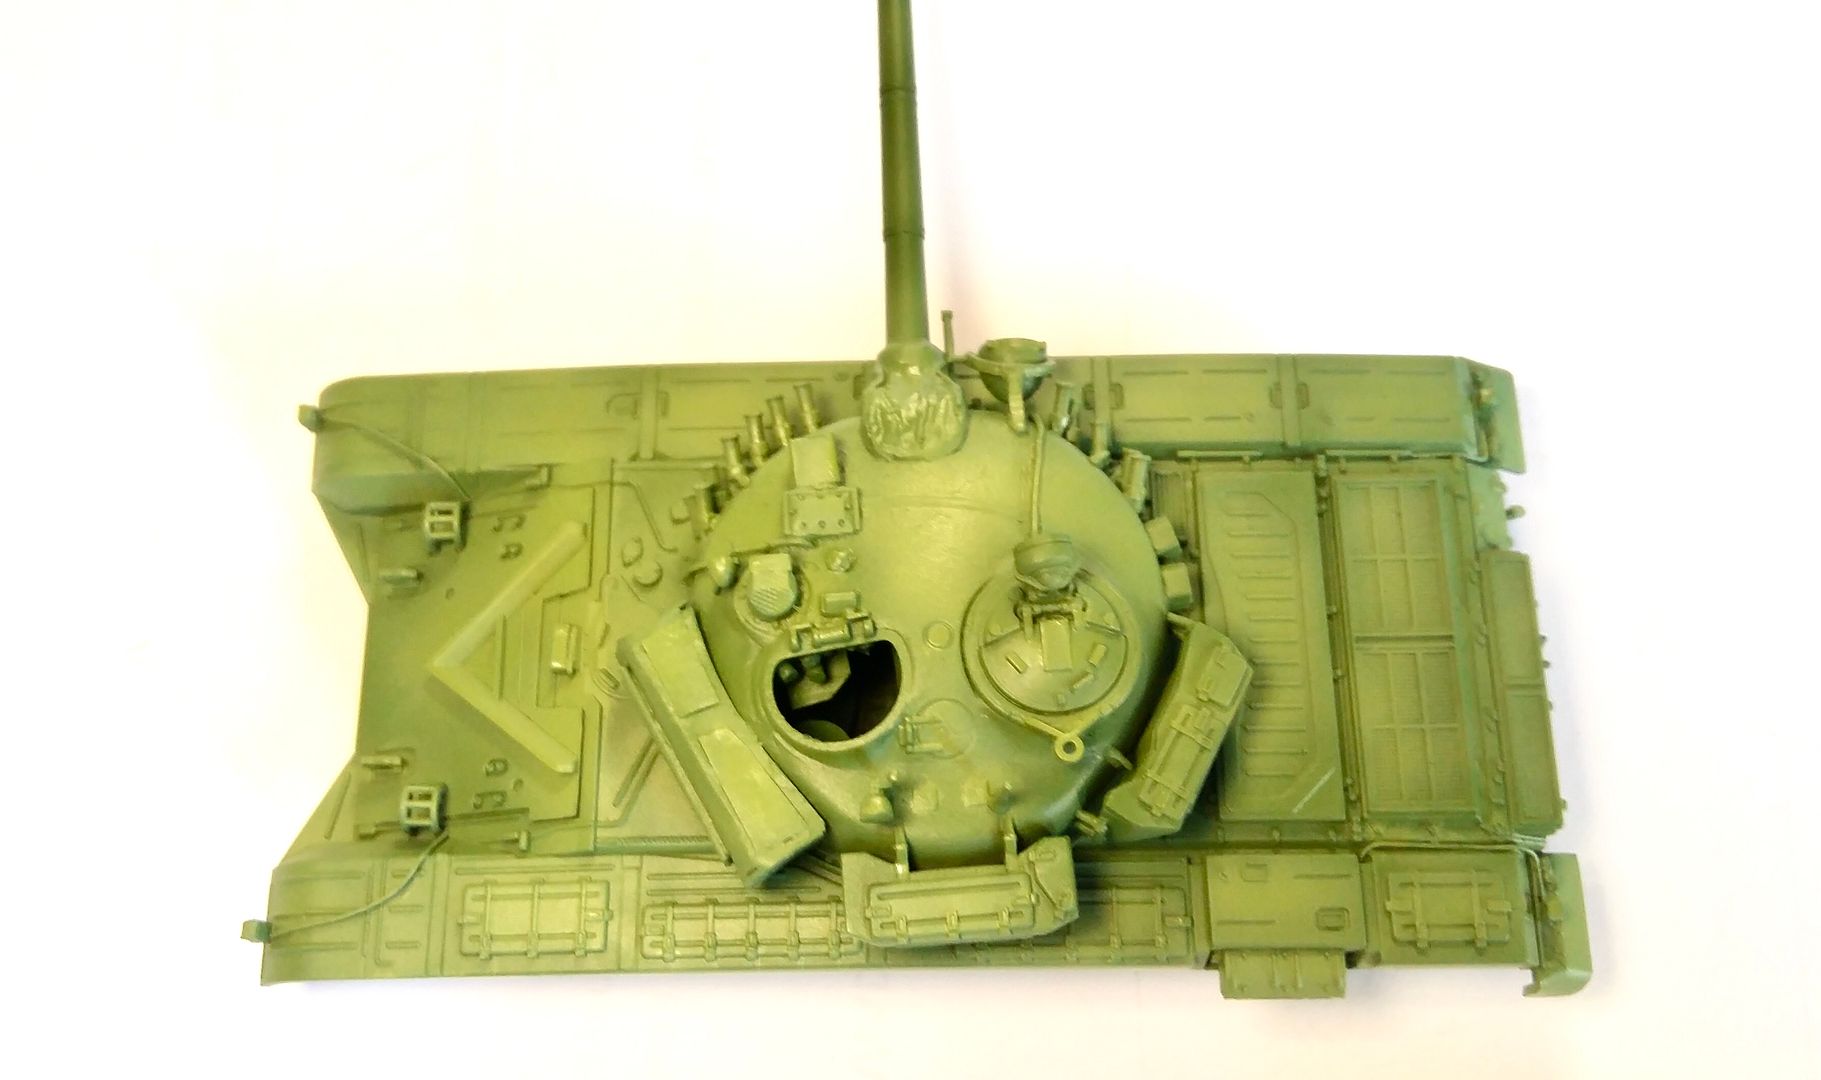
Hello all,I’m going to build a Finnish T-72M1 bought from ex-East German Army. While I was looking for reference photos I noticed that these tanks had to been upgraded after a while.And the most identific difference between the upgraded and normal version is the stowage box that added in the left of the turret instead of snorkel equipment. And all of Finnish T-72s have signal, road and stop lamps that is very rare for Soviet era tanks. You can see some American made shot simulator top of the turret and target identificator on all sides and a orange light bulb to simulate battle conditions during military drills. And all of them has been out of service today and expect three or two of them, they are all scrapped.
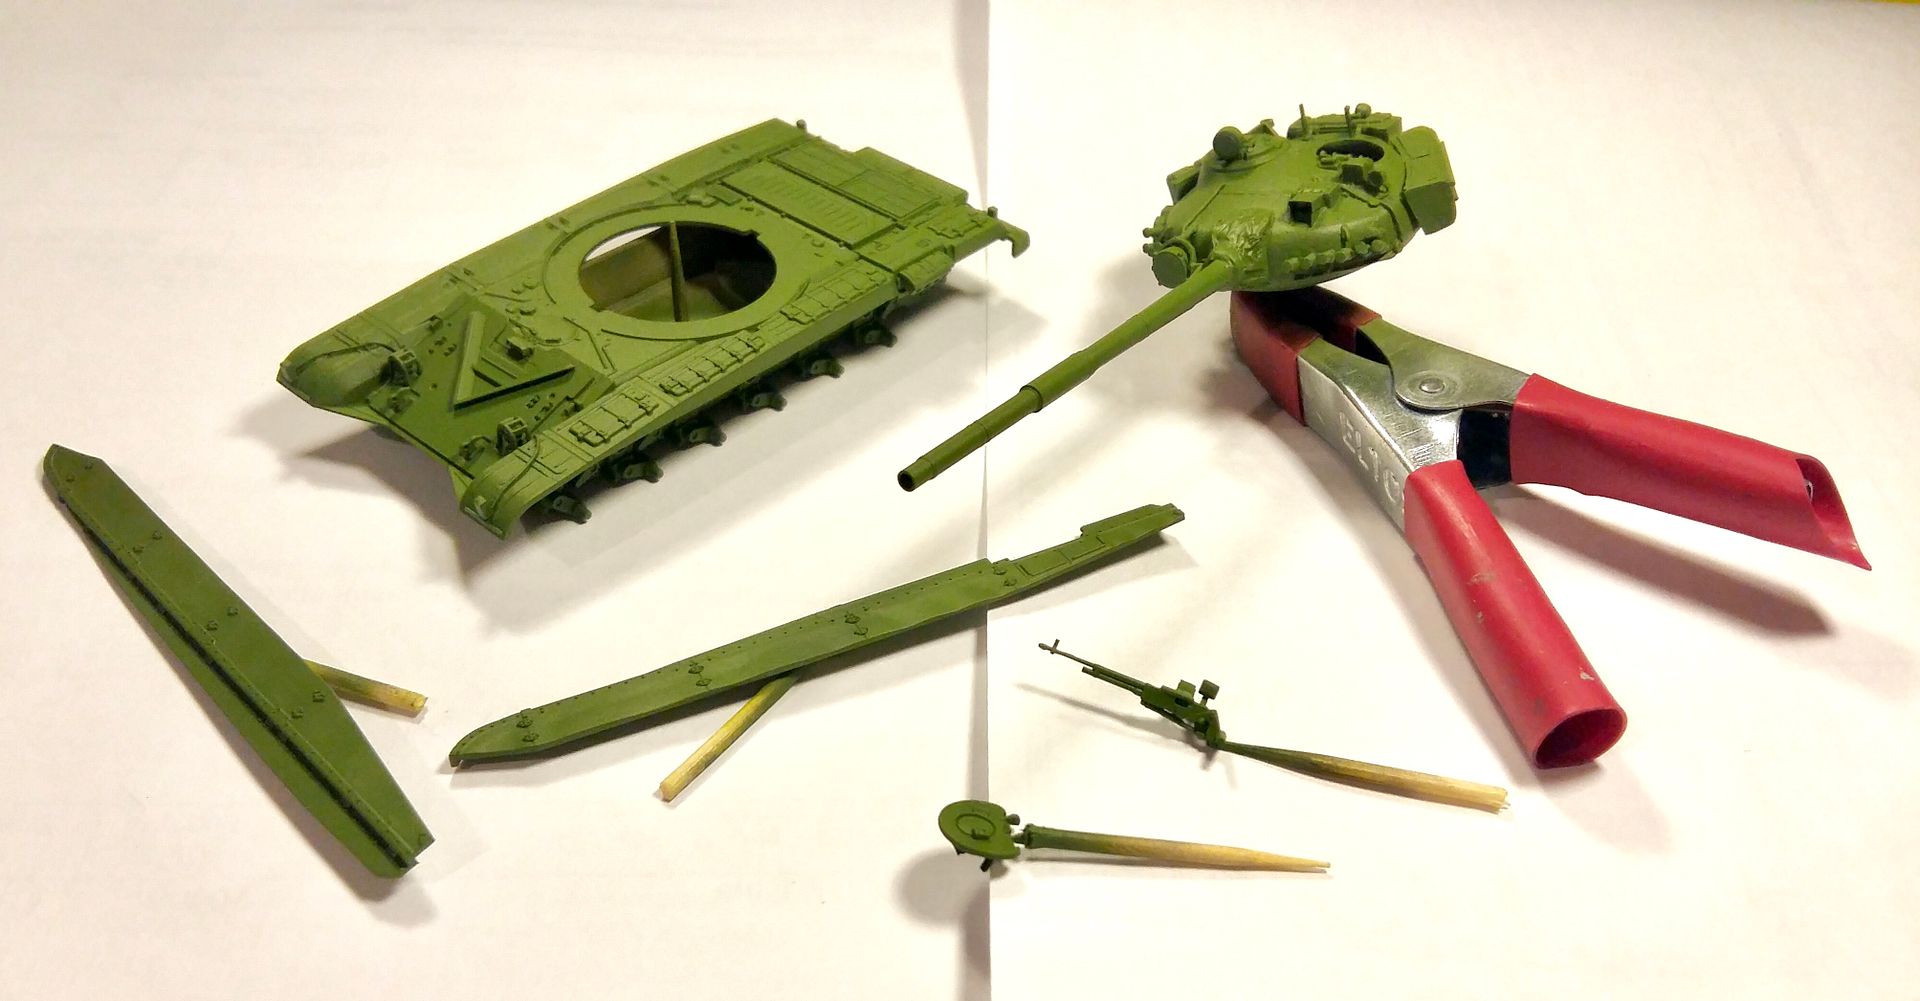
Kit is as nice as other Revell 72nd scale kits and I hadn’t have any issues with building this and it has nearly no flashes and mould marks.
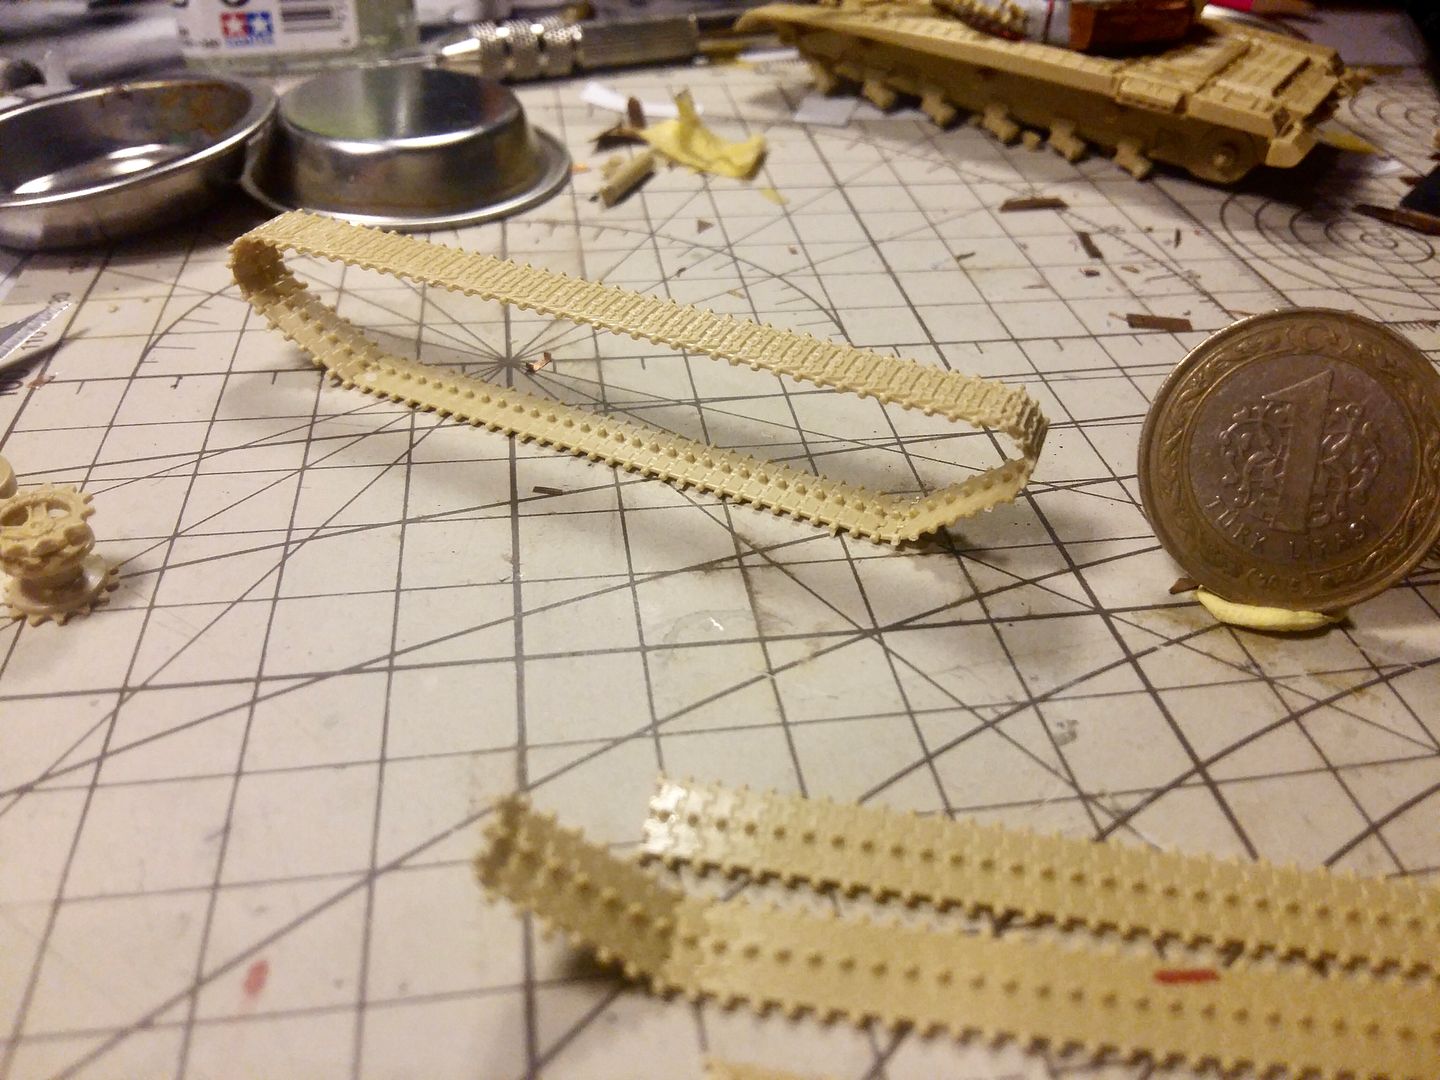
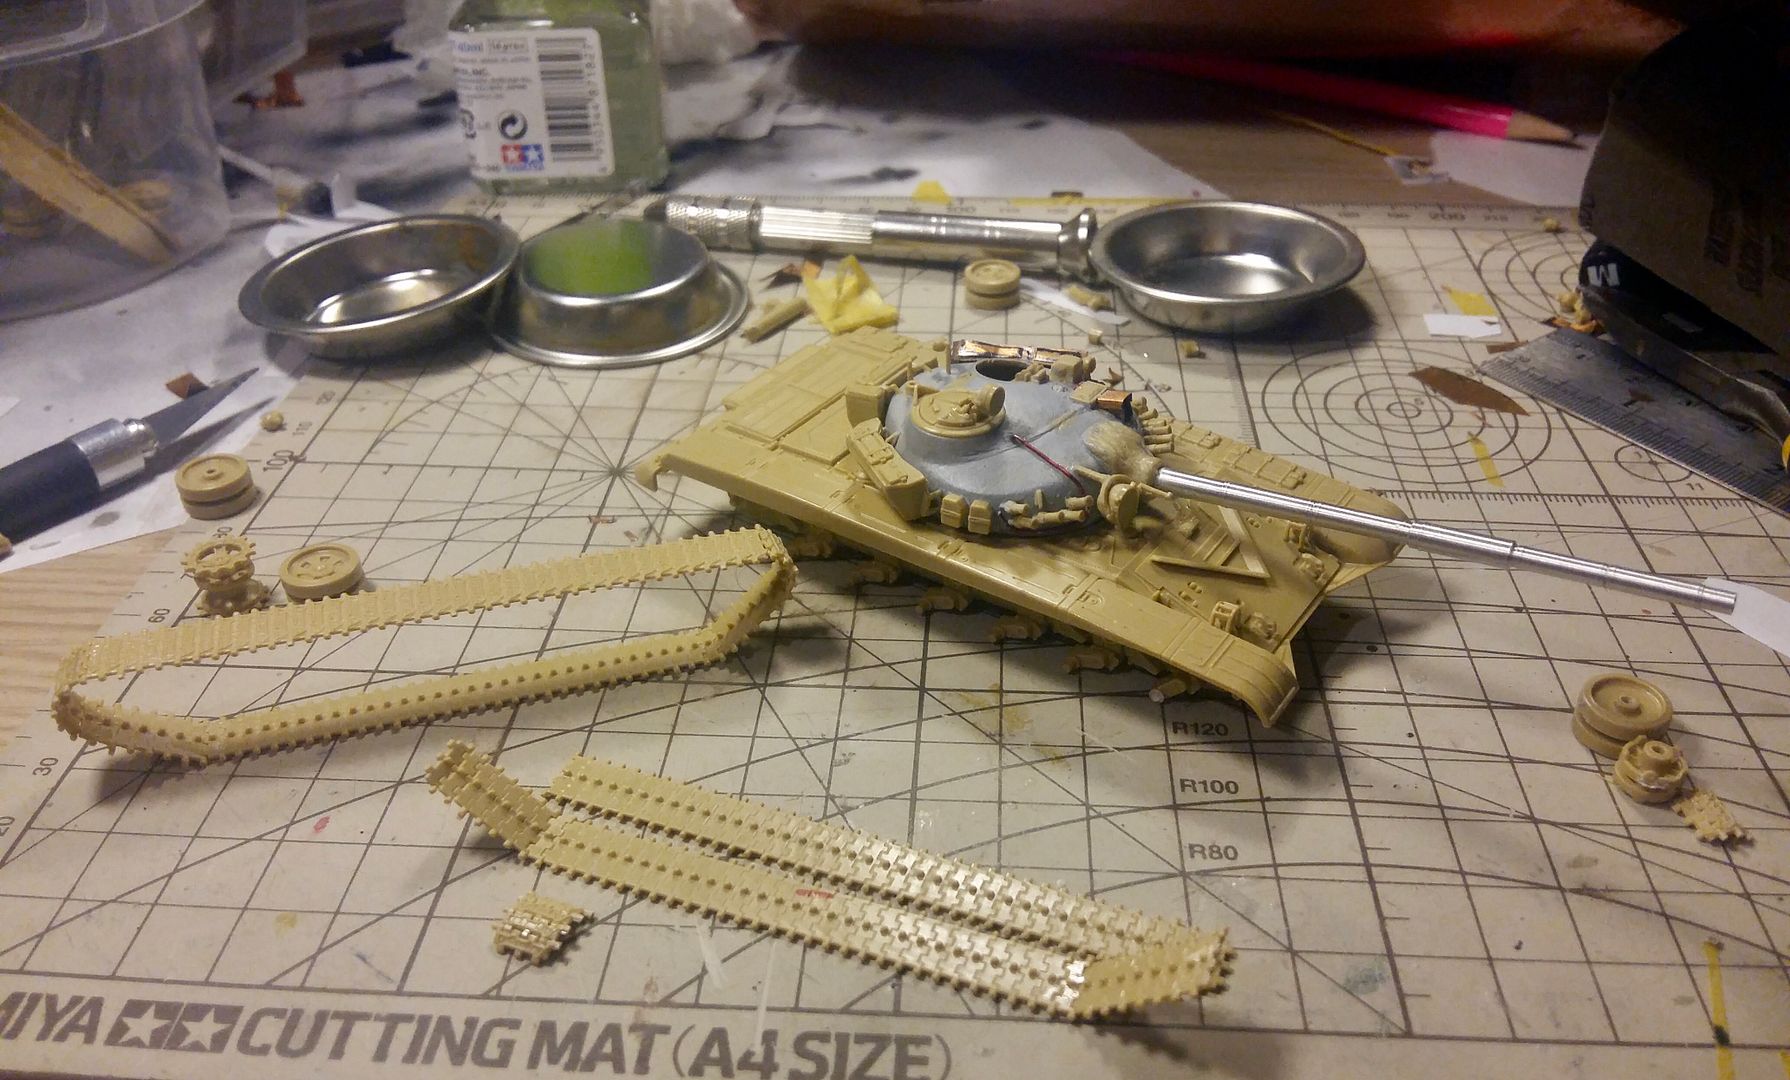
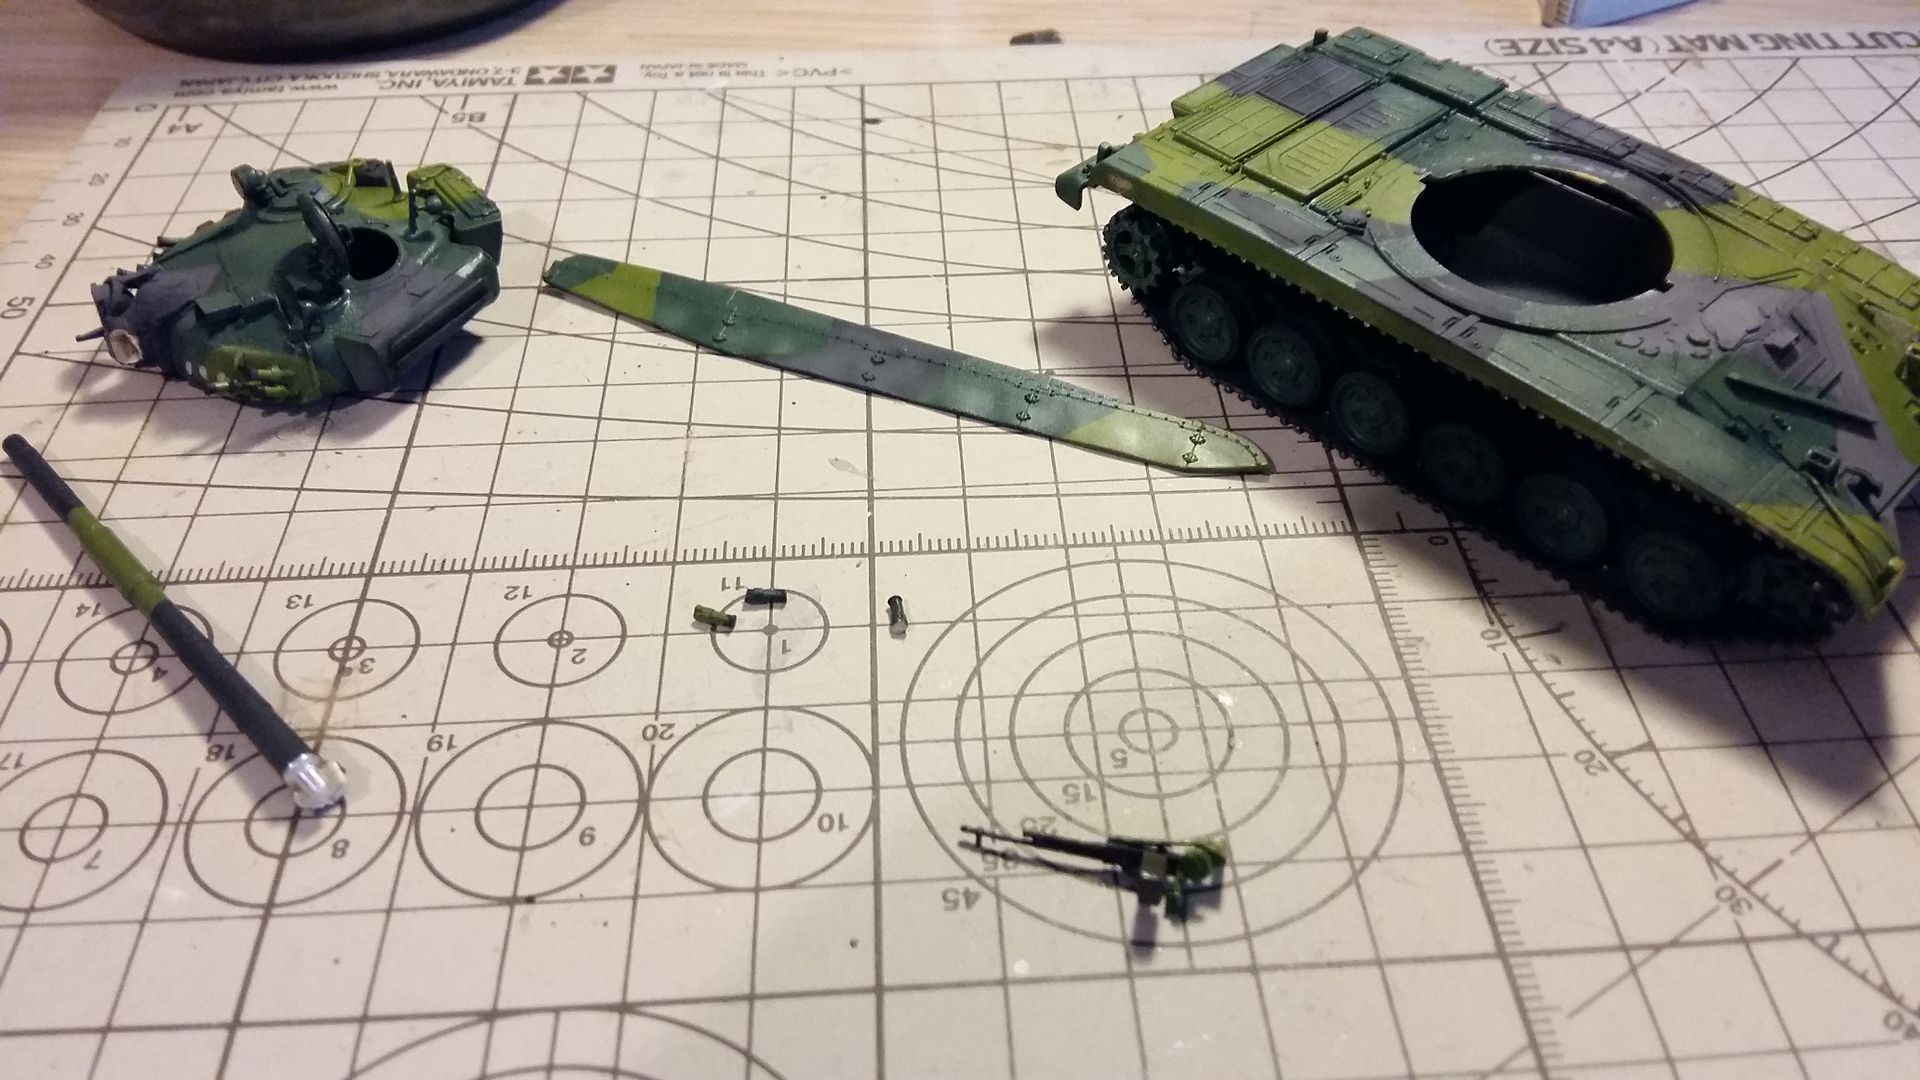
So I started with the tracks. They are two seperate pieces and that way it will be easier to paint and glue it.
 Unfortunately I hadn’t taken any photos during first stages of the build so we will continue from upgrades. I have used İspir Model PE set for this purpose.
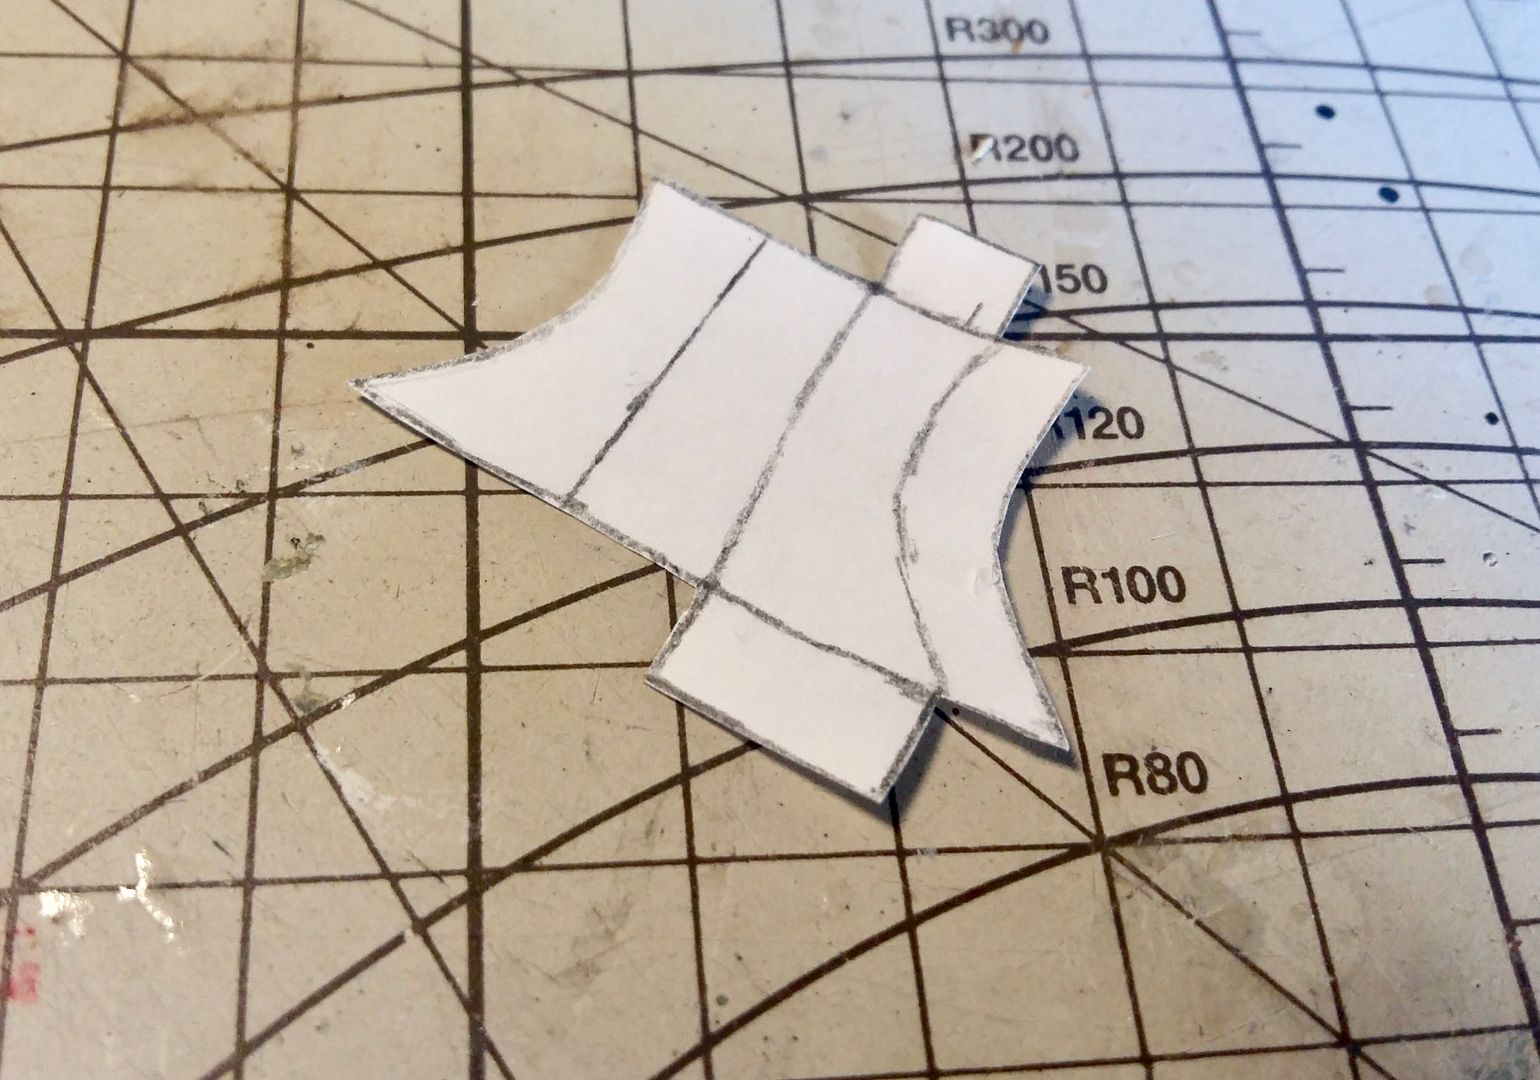
I have searched for a blueprint of a Finnish T-72 on the internet but there was none. So I had used a photo taken from above the tank and scaled the measurements down to 72nd. Here is the outline for the stowage box.
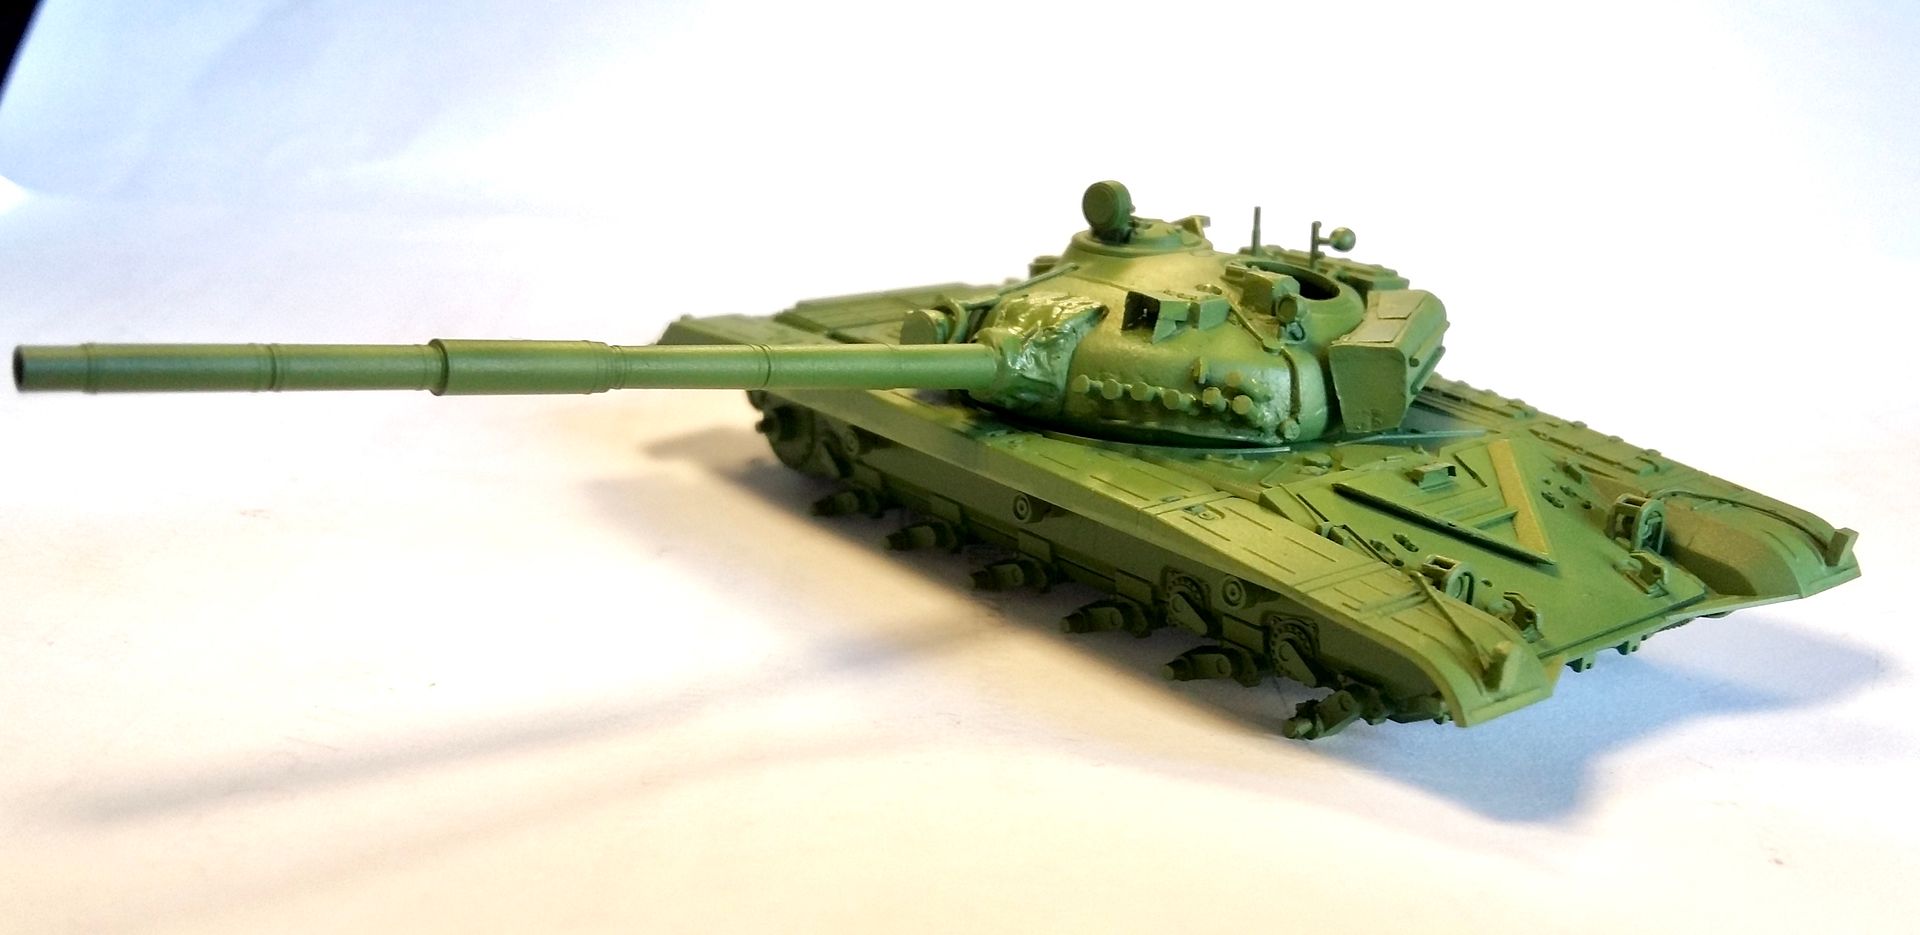
It was a little tricky to cut this piece out of the copper sheet but in the end it looks like this. By the way, you can see the metal barrel made by RB model. I am really disappointed by it’s quality. The kit’s barrel is way more detailed but I have purchased that barrel so I thought I should use this.

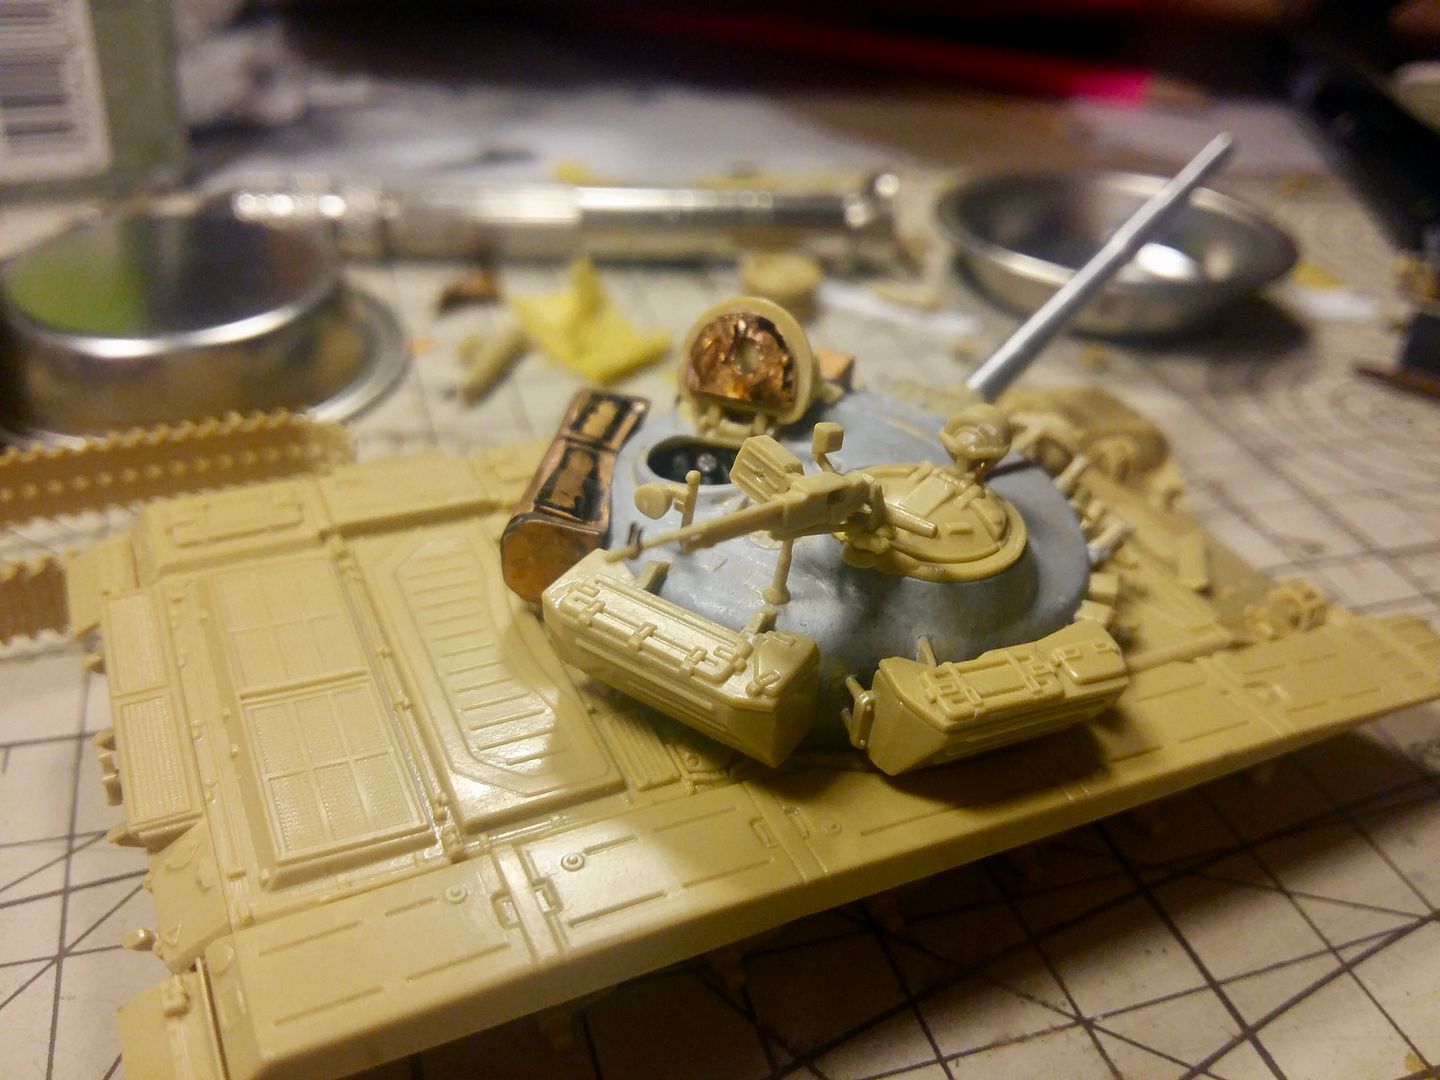
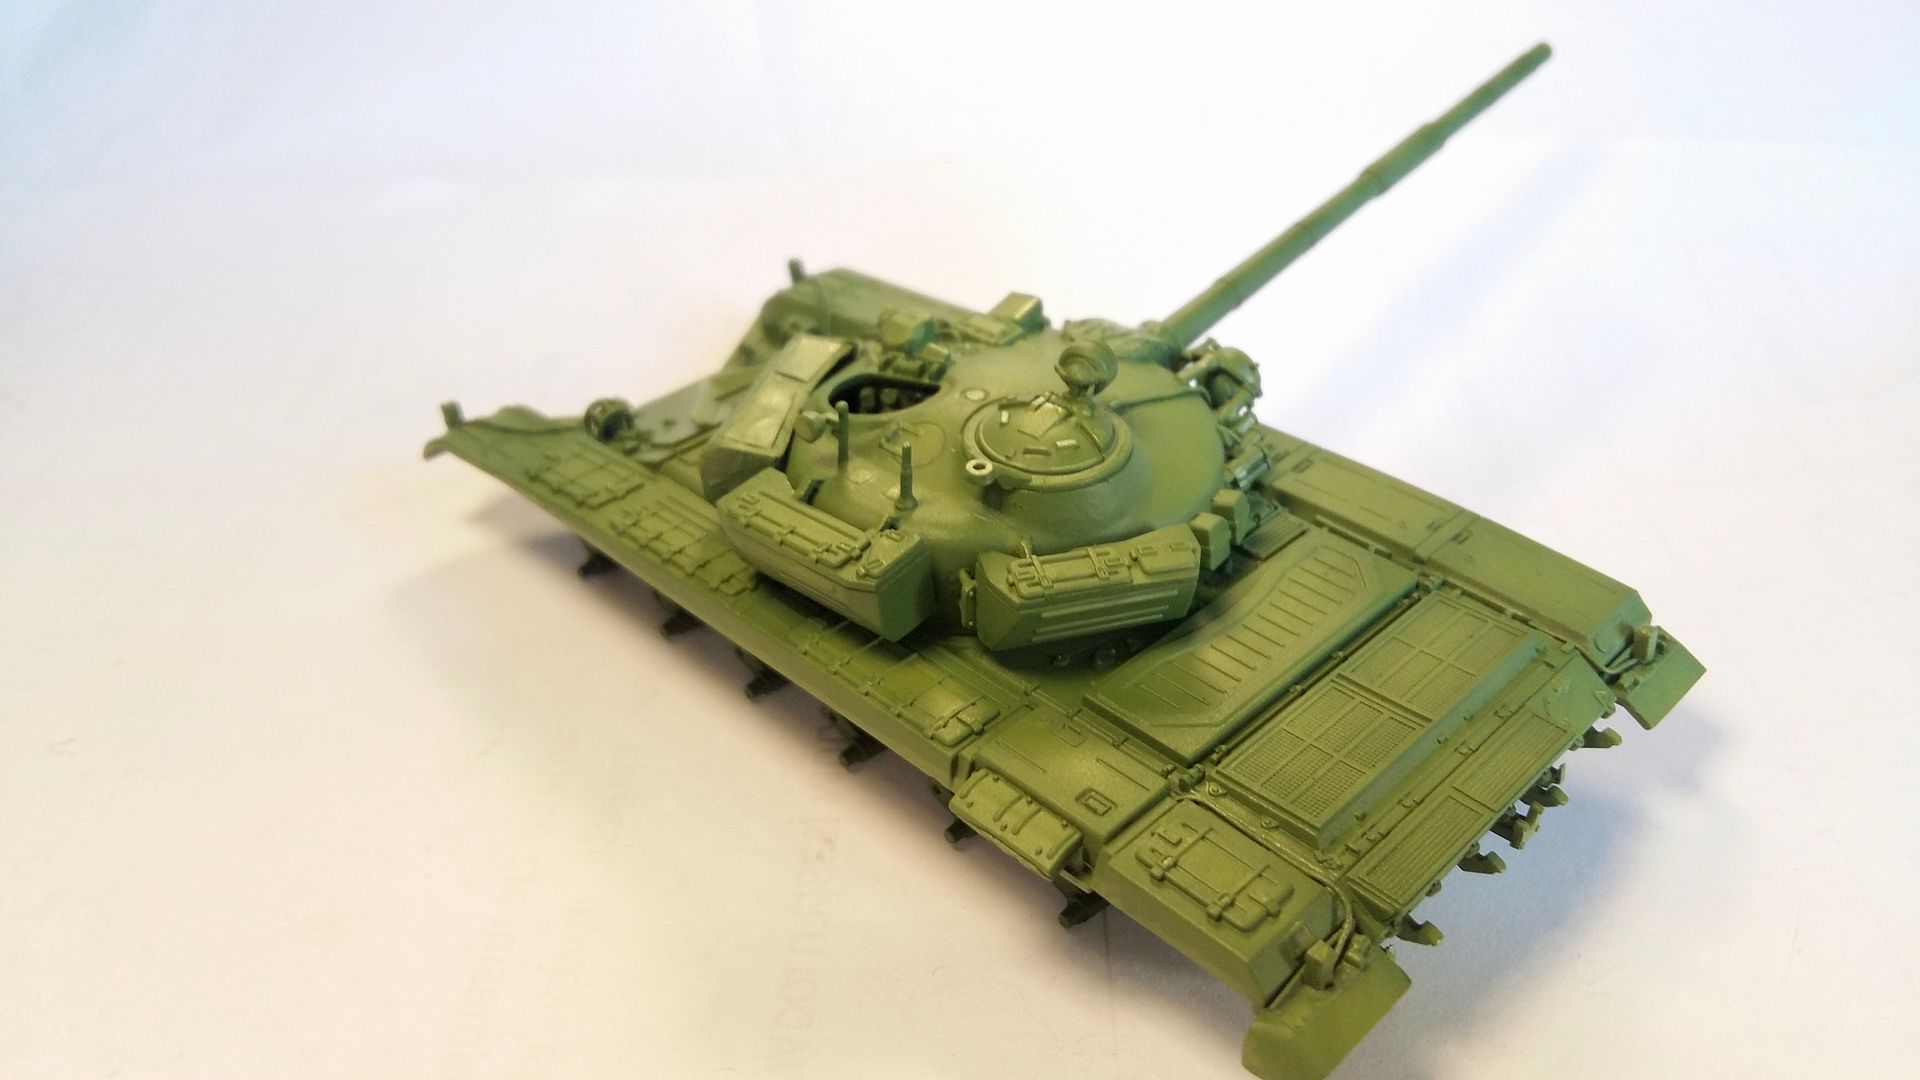
Here are the other photos after most of the upgrade is done.
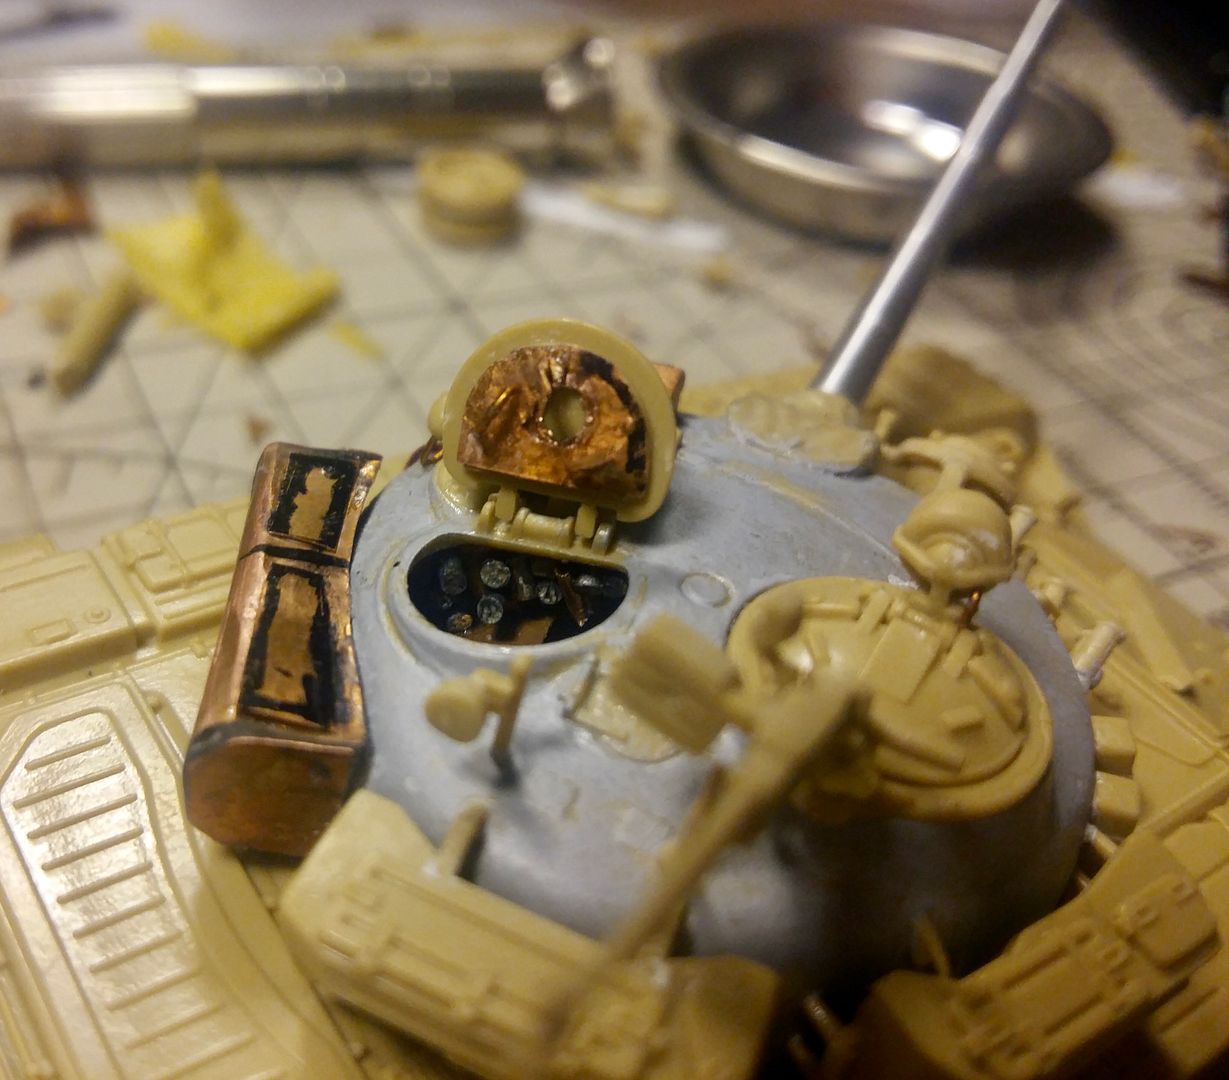
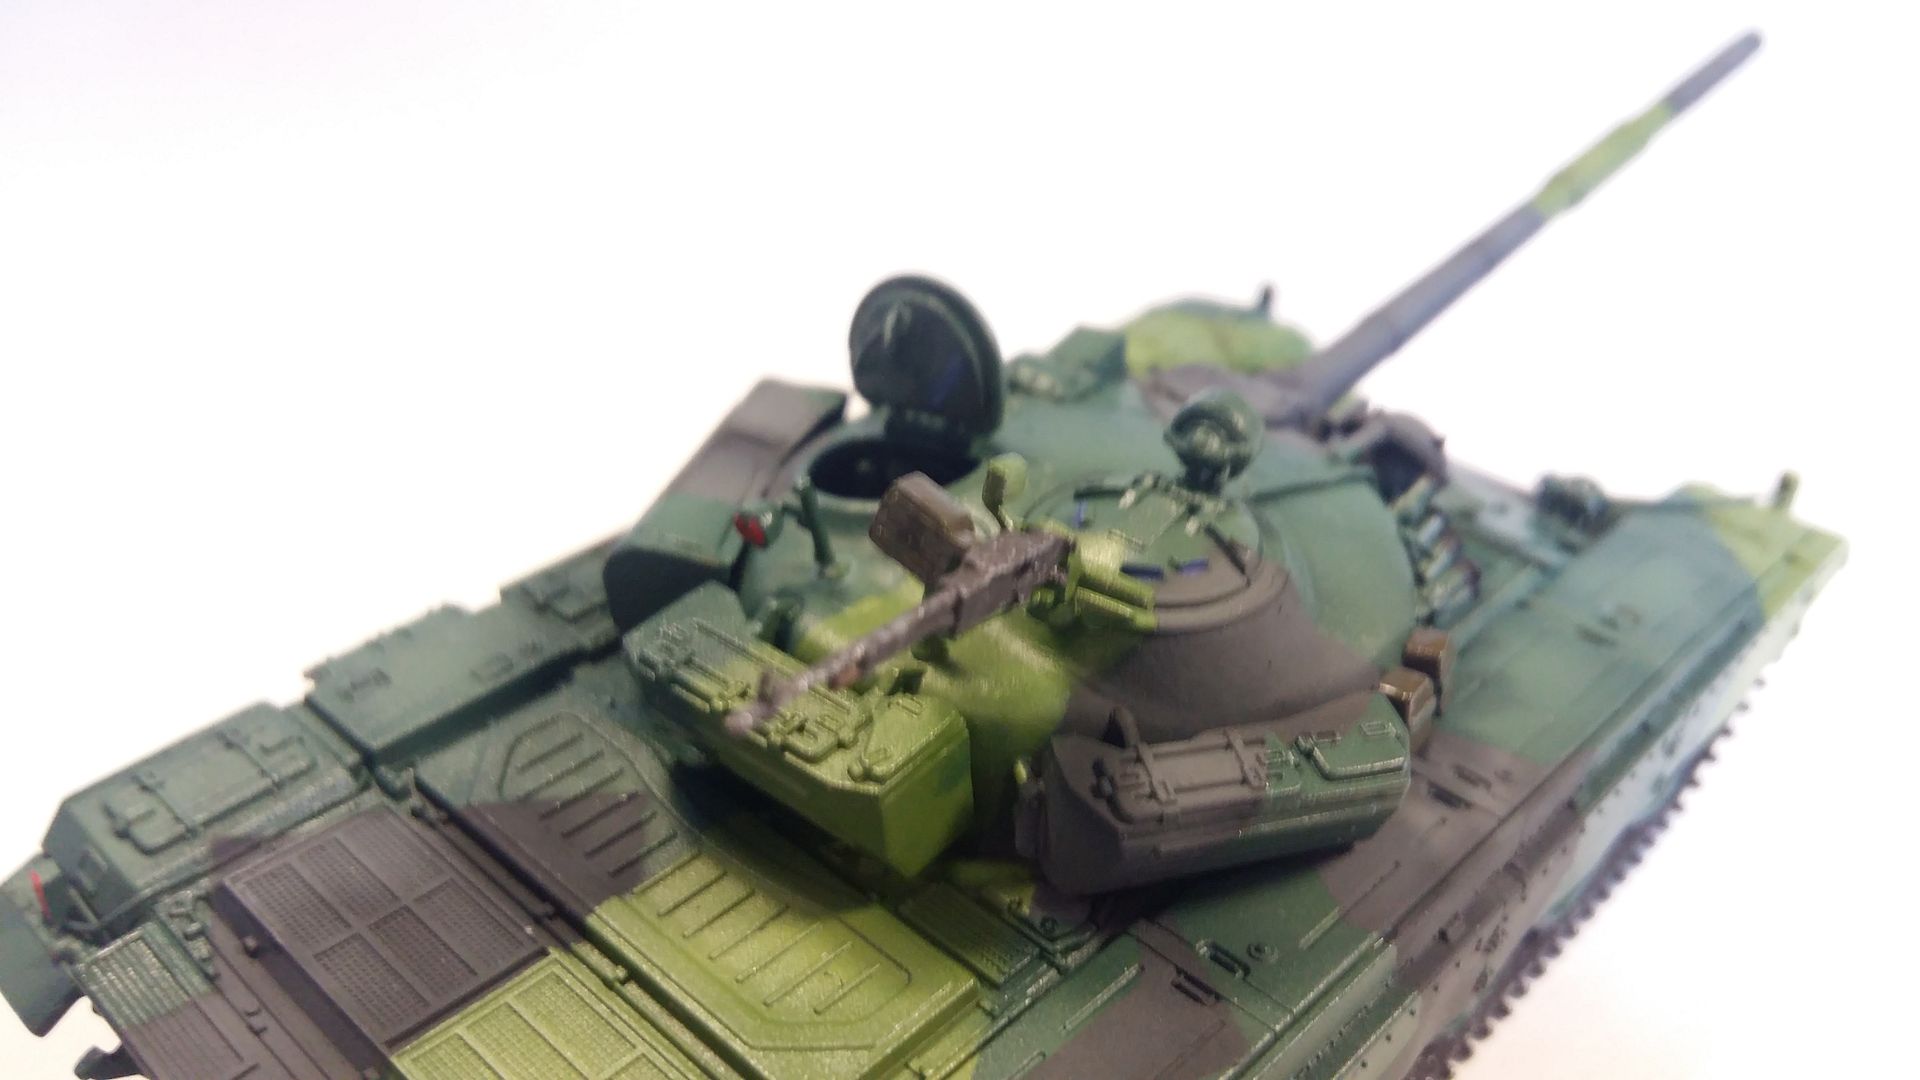
In this photo you can see the interior. I have scratched the loader’s console and cannon breach.
I actually wanted to leave the commander’s hatch open but it was very thin and I had to close it. So I left the loader’s hatch open but it was very thin and it was missing details too. I had glued two layers of copper sheets together and then drilled inside. Later I added two handles from copper again.
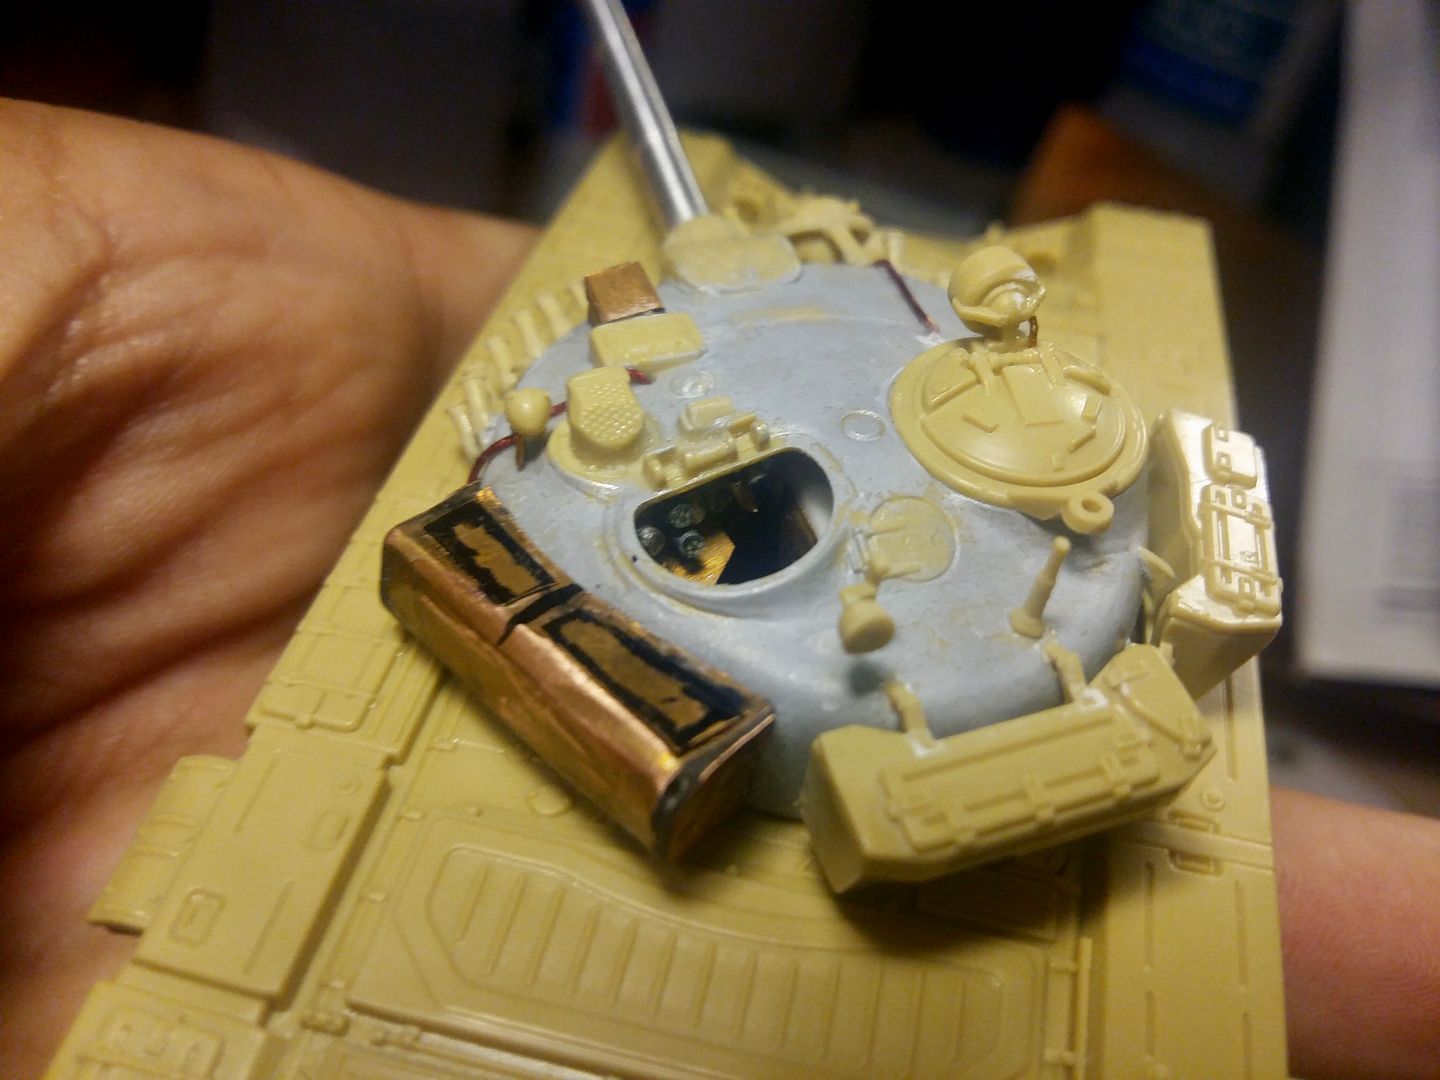
I also added iron sights for NSVT
I also covered the gun mantlet with latex gloves and used thinned Tamiya putty to simulate casting effect.
The downsides of the kit are the gun barrel with soft ending, closed hatched targeting sights ( I cut it out and made a new one using lead wires and copper sheet, you can see it above the smoke launchers), no interior details for hatches and they are very thinner than they should be and a little bit detailless NSVT machine gun.
Sorry form my bad photographing skills, here are photos of the model after building stages done.
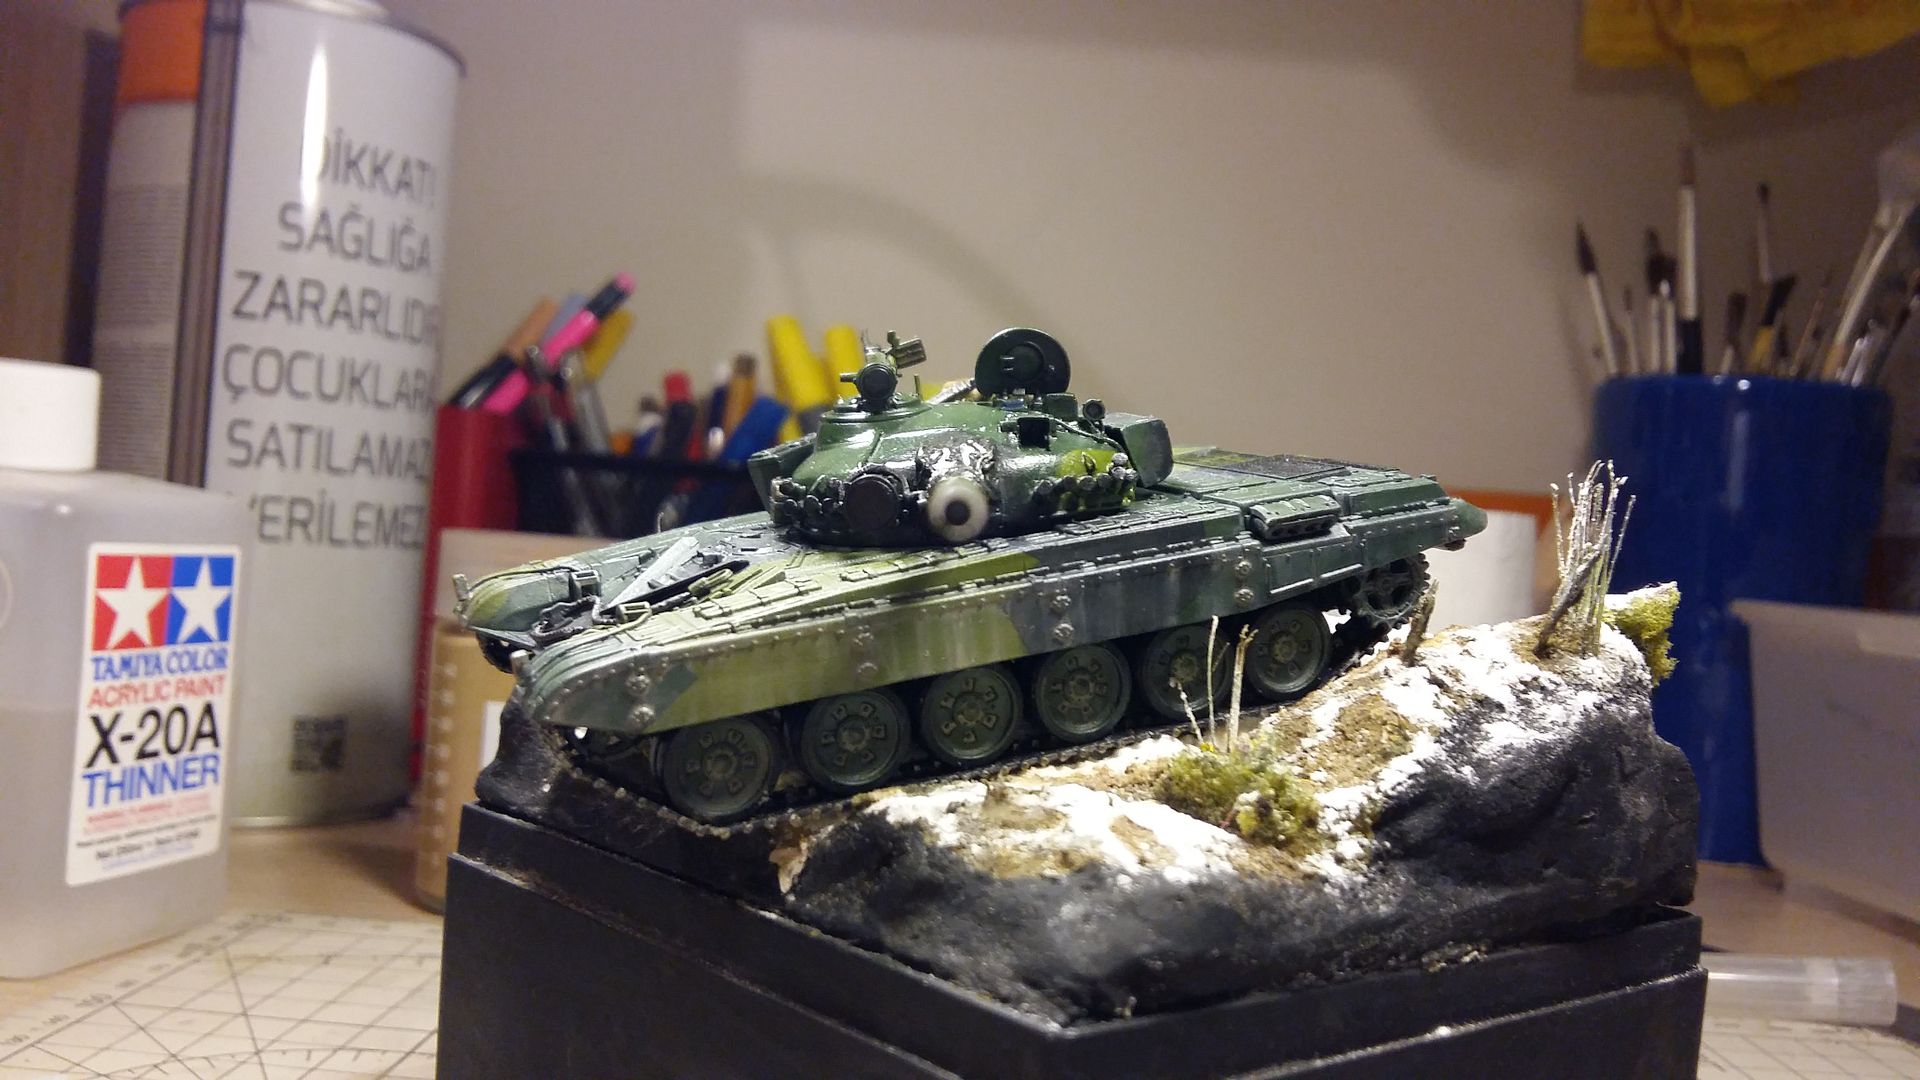
Then I have primed the model with Vallejo grey primer, but no photos unfortunately ☹ . And then I have sprayed the base coat; it’s a mixture of Tamiya green paints.
Then I have made modulation of base color by lightening it with yellow paint.
With 1/48 BA-64

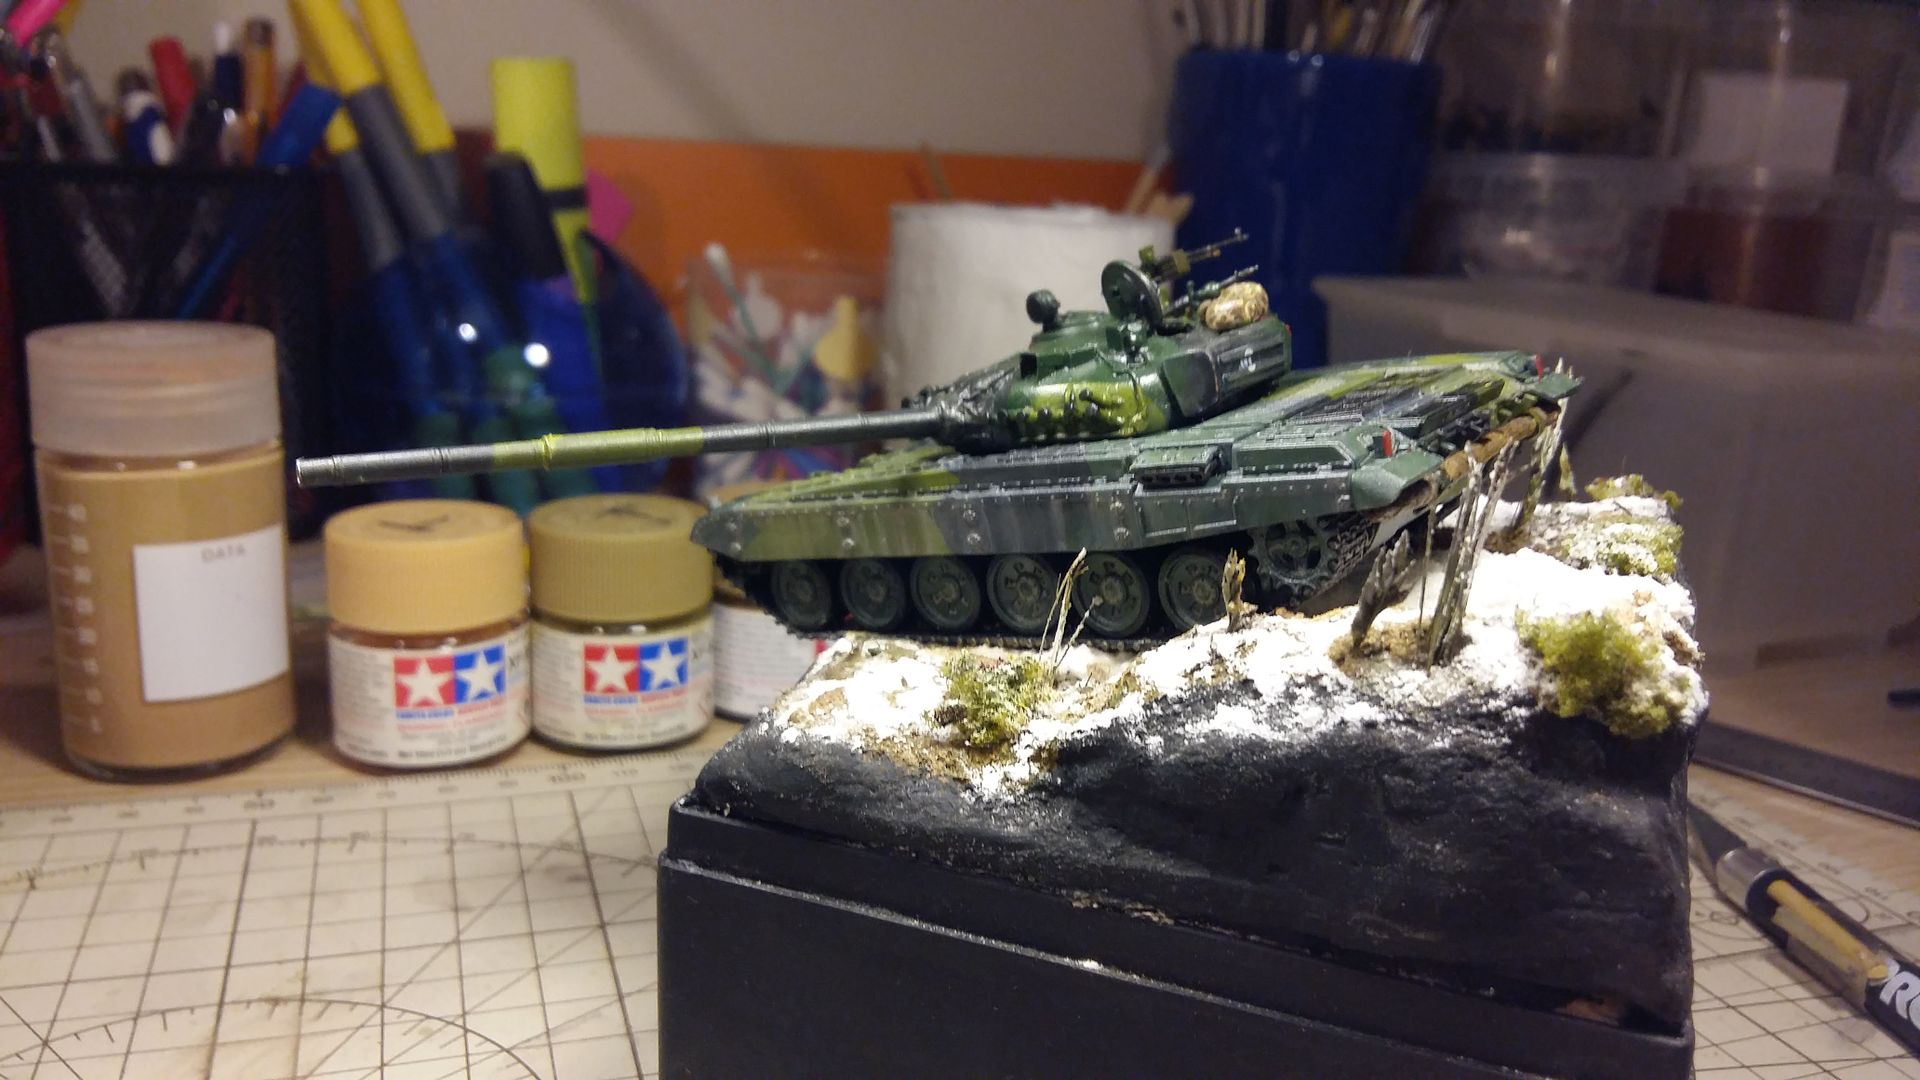
Then I started the camouflage. The dark green is XF-70. It will be modulated too.
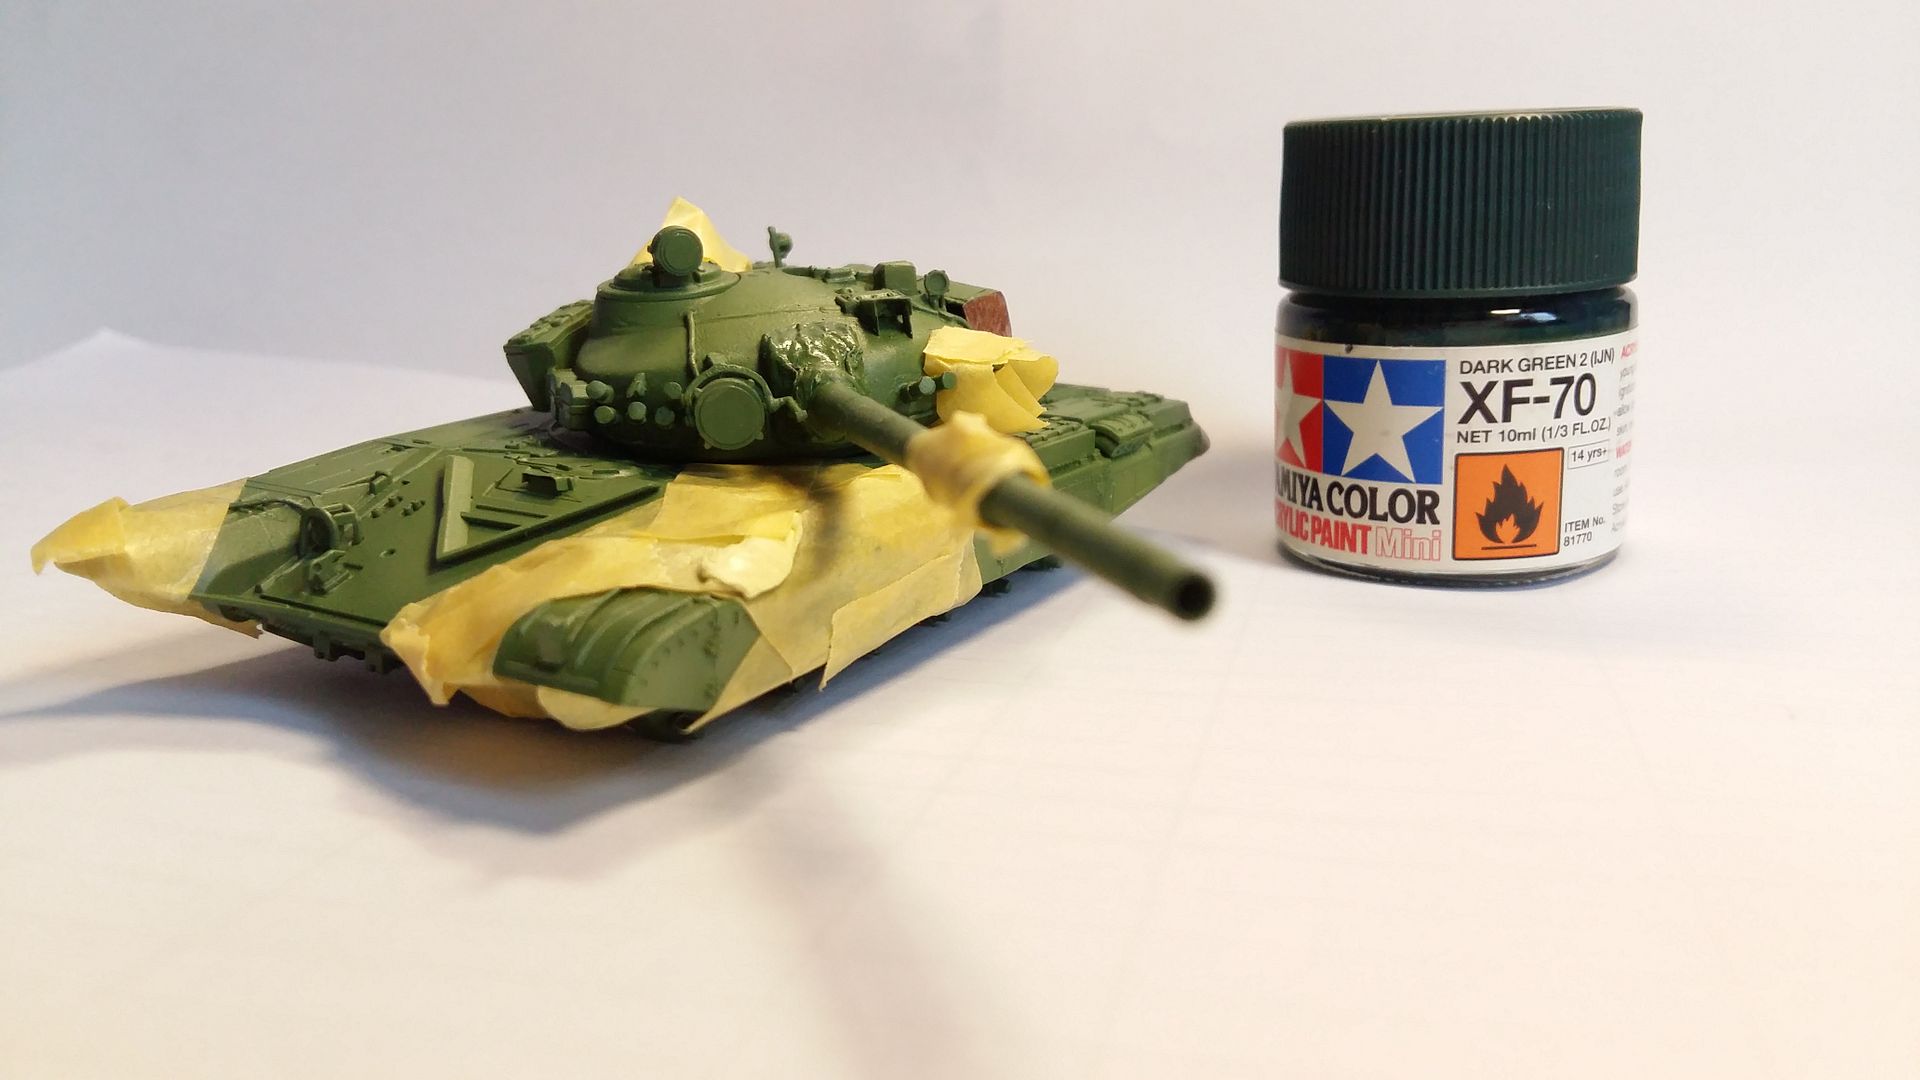
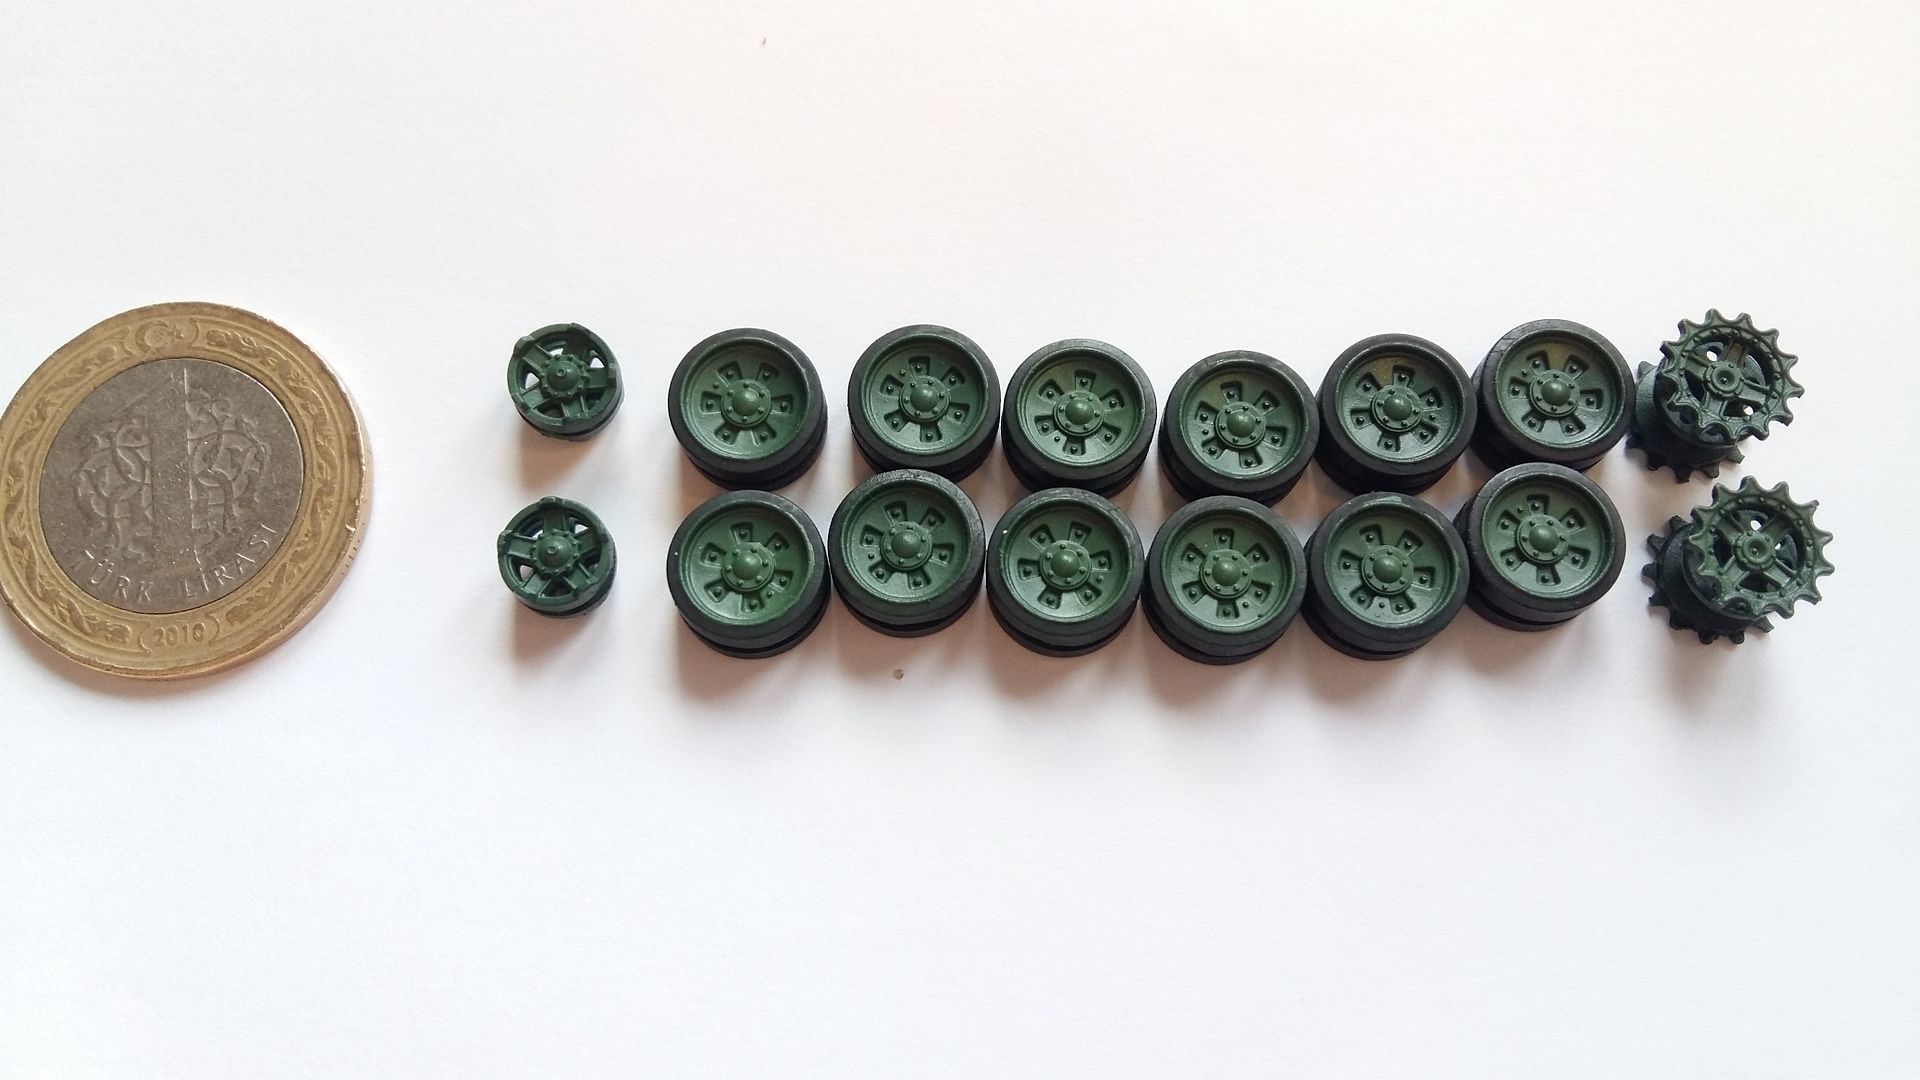
Roadwheels are dark green too.
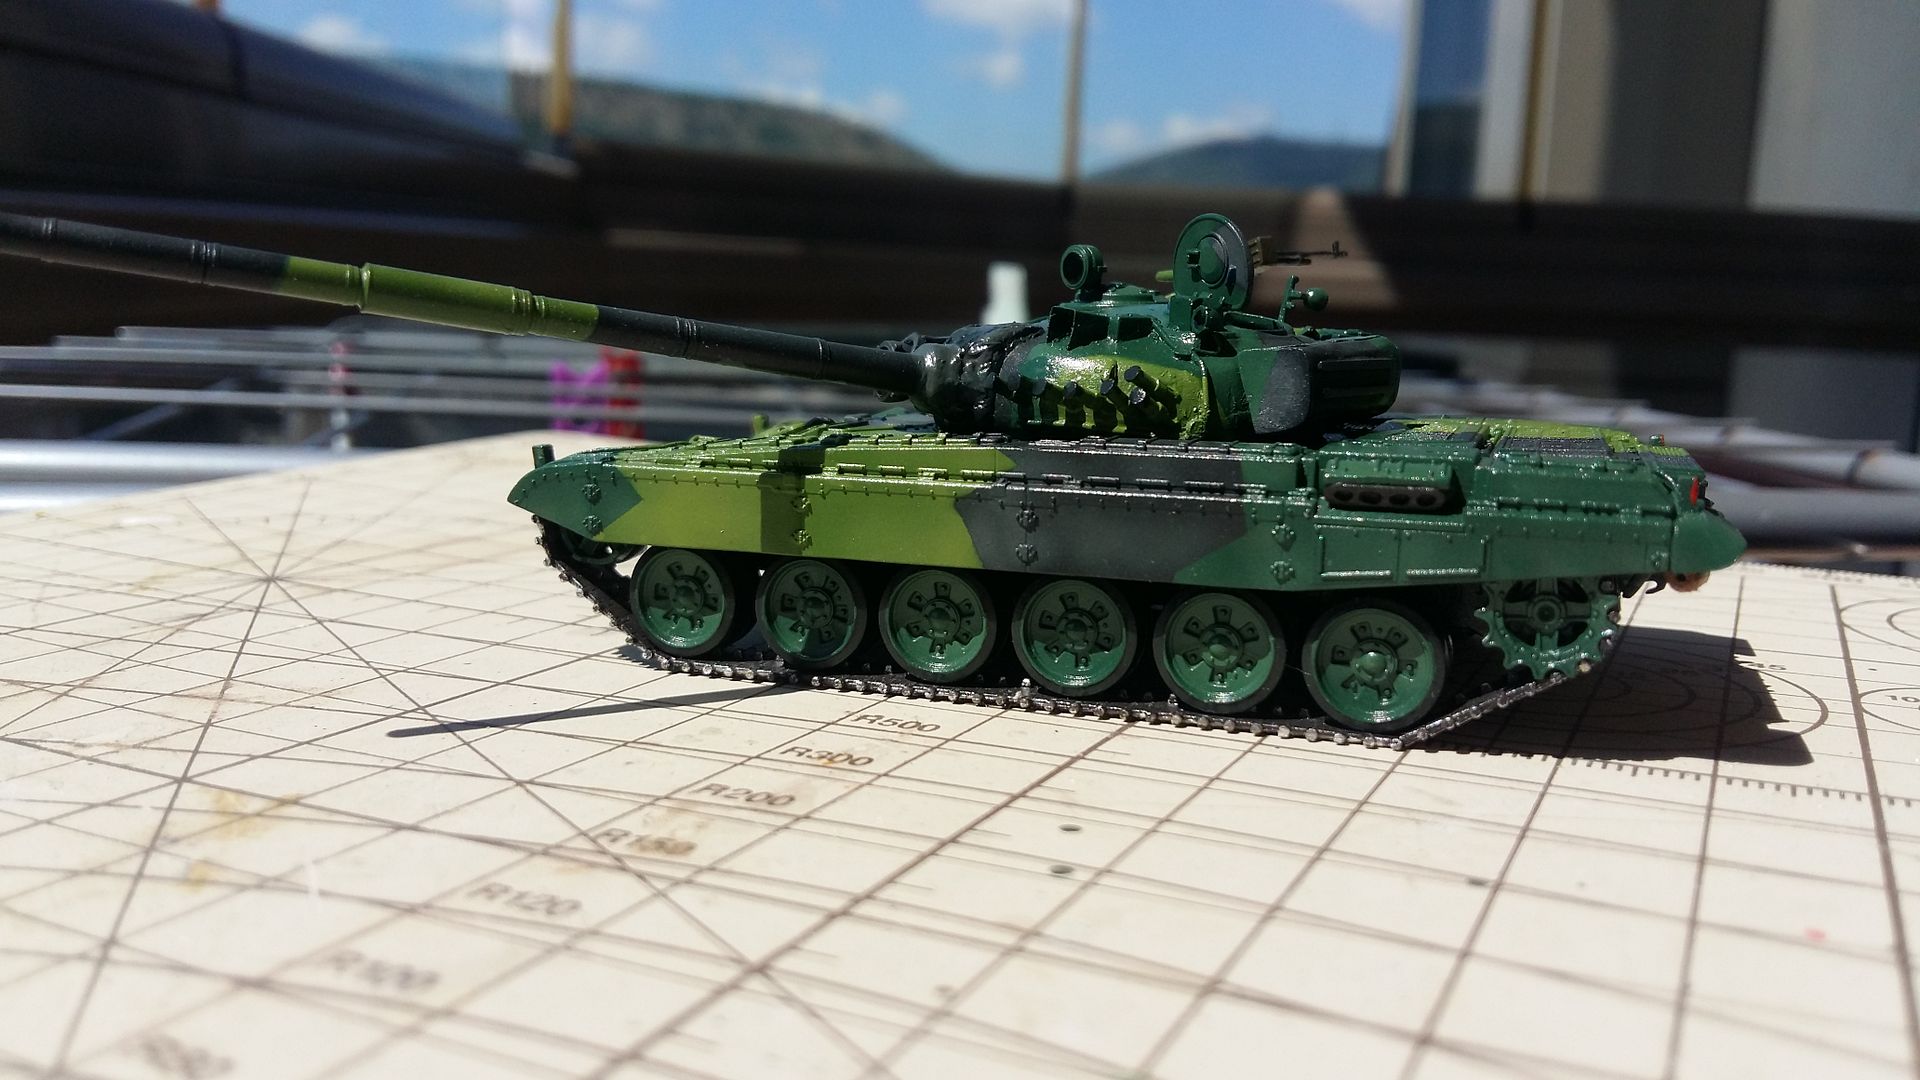
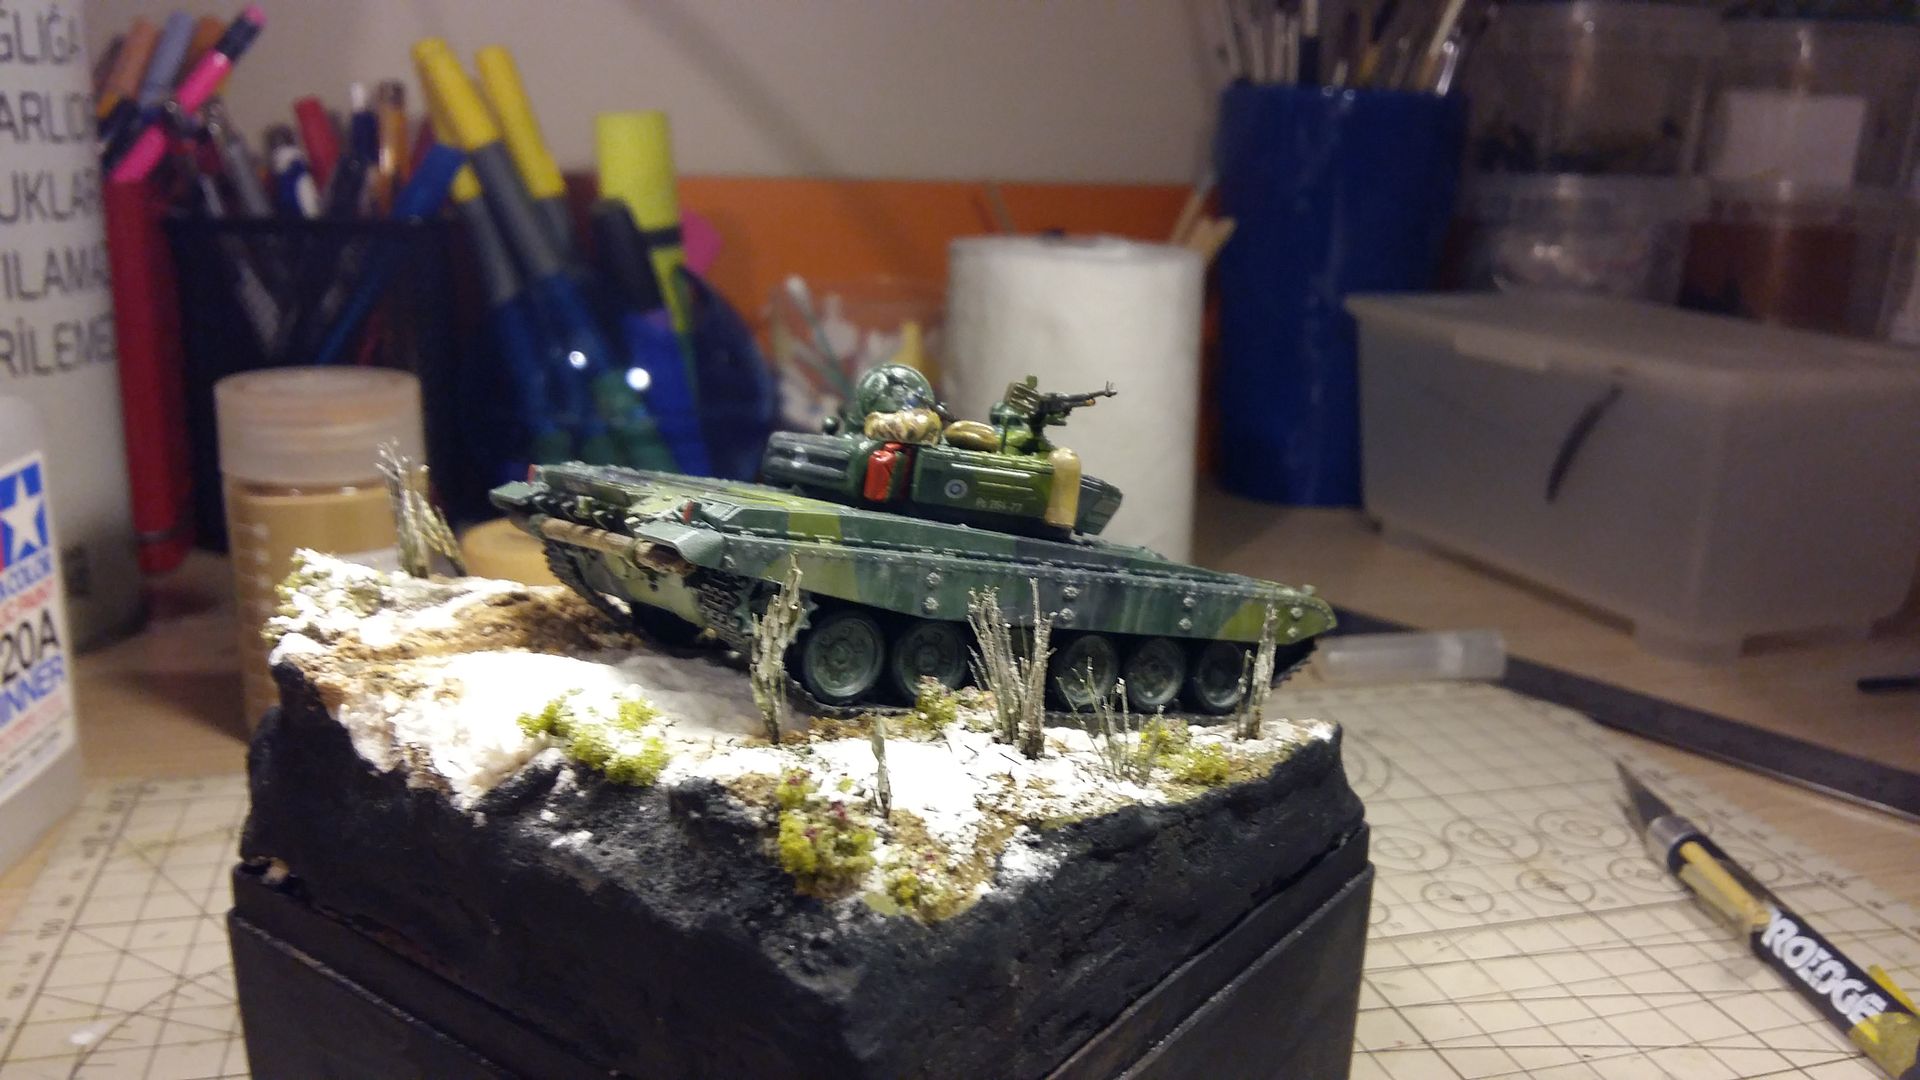
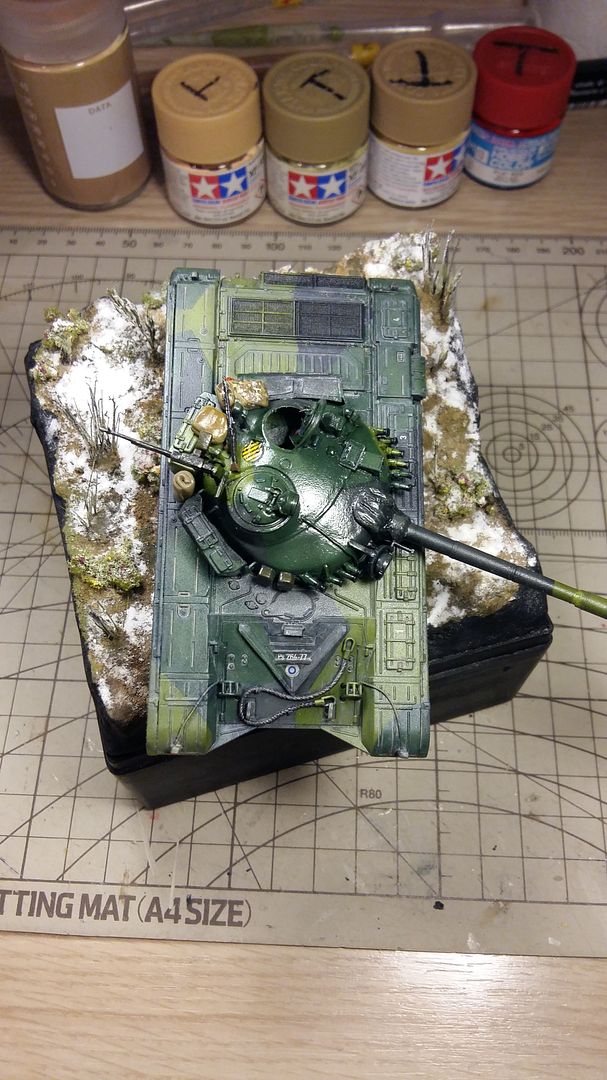
And finally I have applied Nato Black from Tamiya and the camouflage is done. I also painted the details.


After gloss coat
Bad news, I had fallen off the shelf and broken. Until the finisih of the model, it will be broken three times, I was a real challenge form my patience.
Then I have made a base for it but it’s photos are missing too, sorry :/
During 11. FNSS Plastic Battle 2018 (https://miniafv.../11th-fnss-plasticbattle-armor-.html)
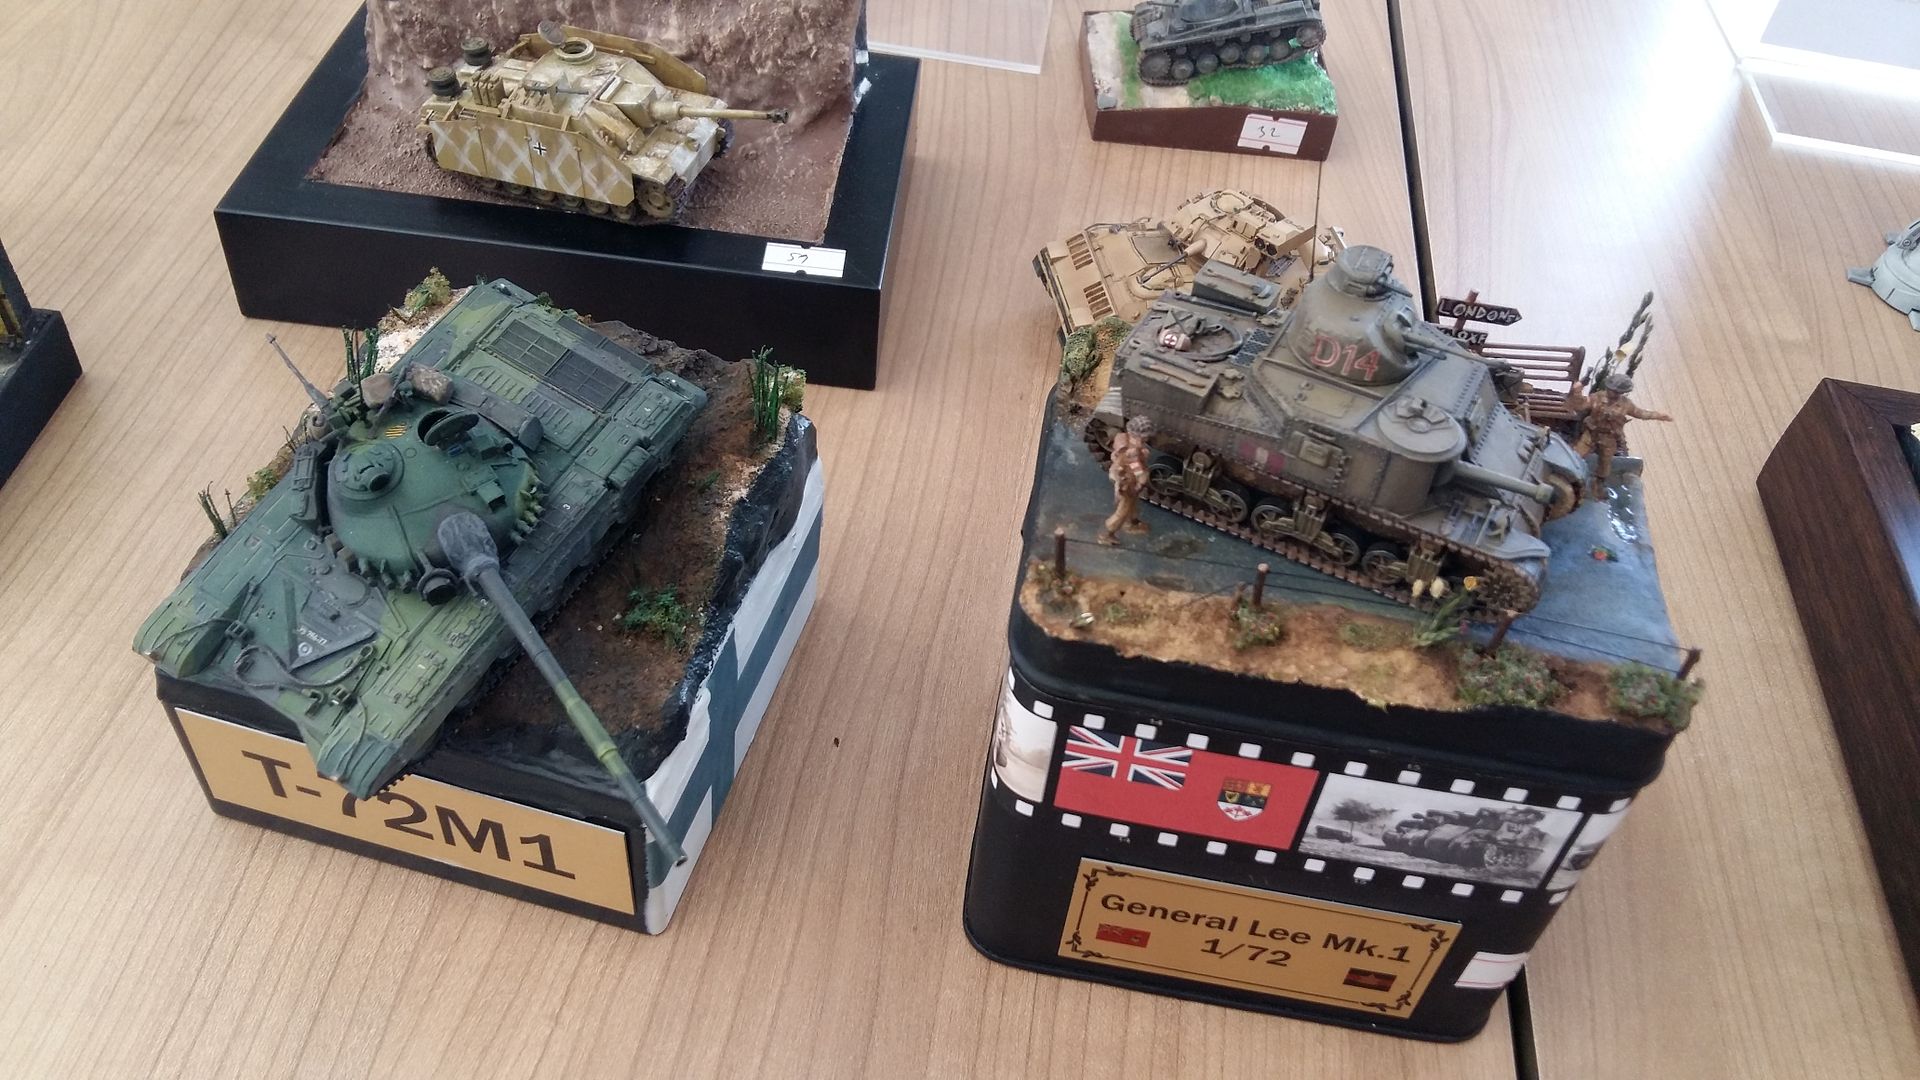
It had been awarded with silver medal on that show.

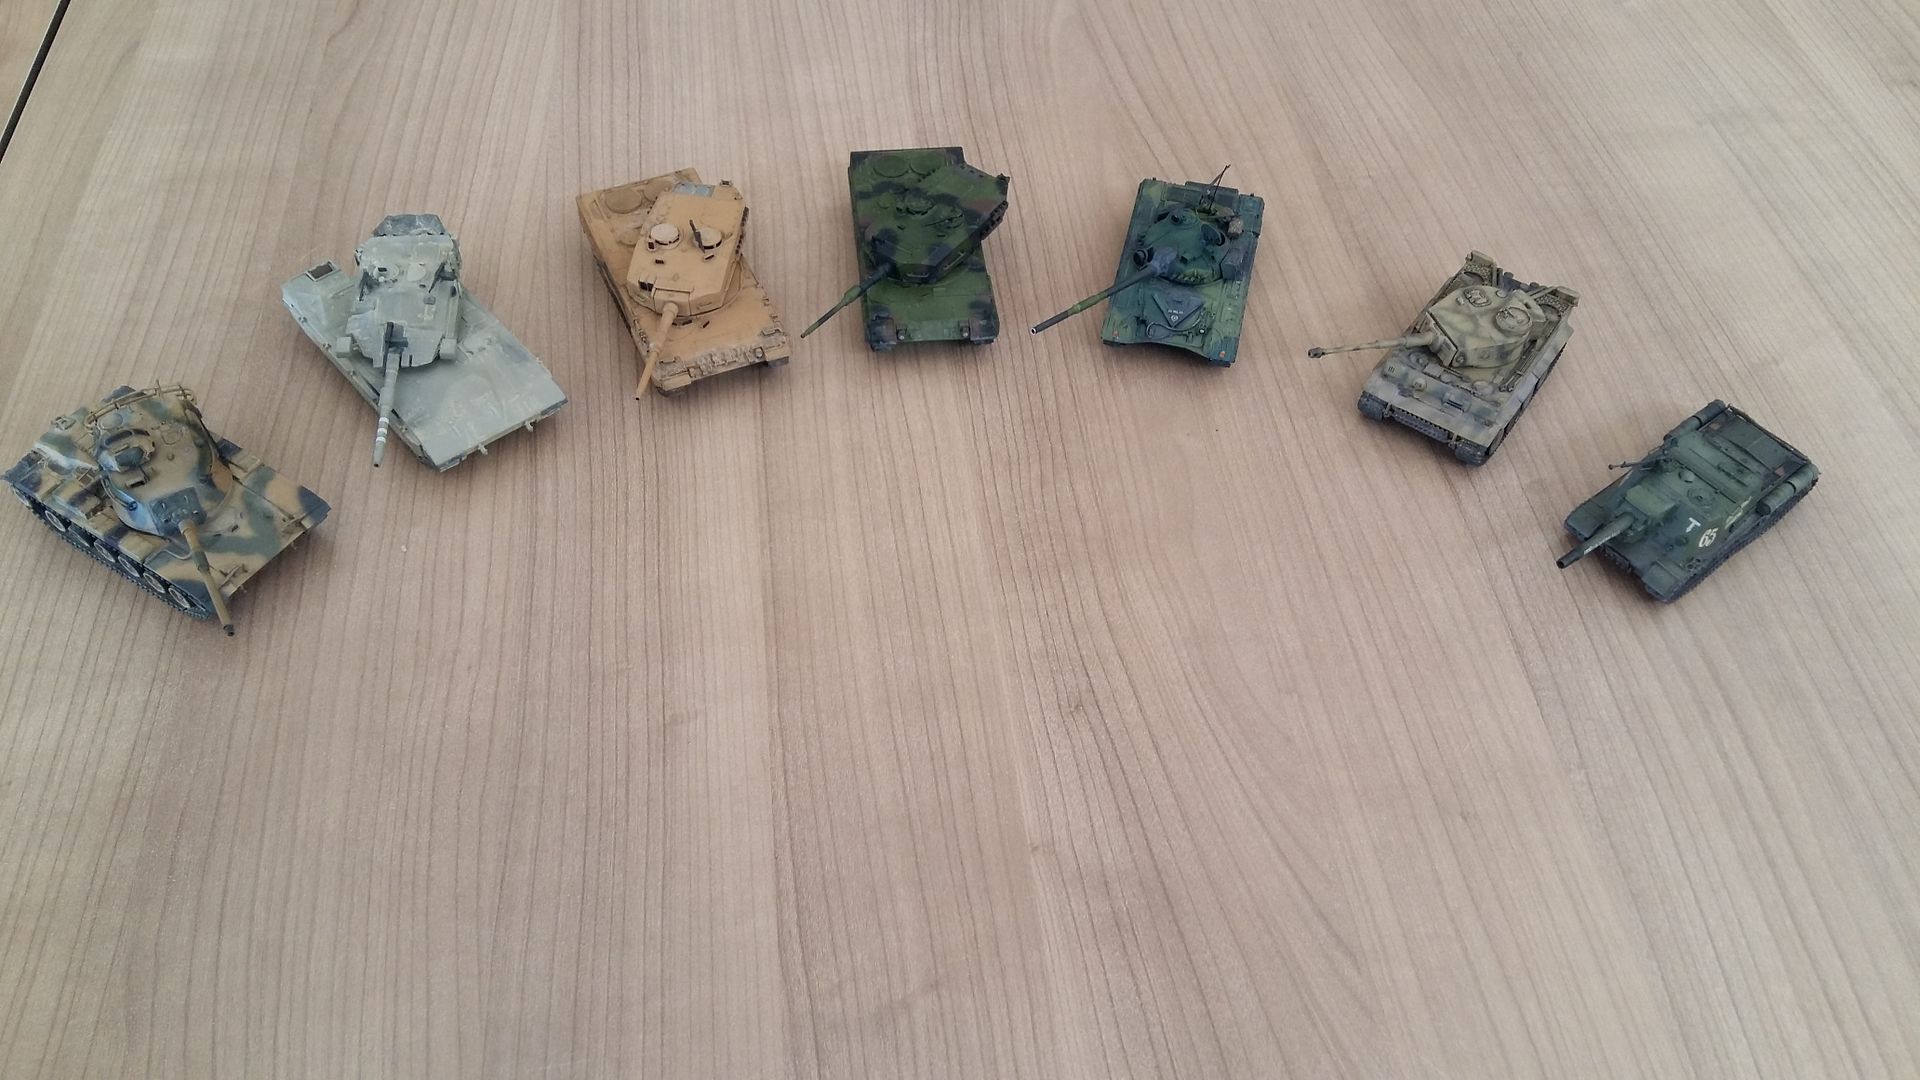
With his friends at show,
thank you,
Ahmet Eren İspir...
So I started with the tracks. They are two seperate pieces and that way it will be easier to paint and glue it.
Unfortunately I hadn’t taken any photos during first stages of the build so we will continue from upgrades. I have used İspir Model PE set for this purpose.I have searched for a blueprint of a Finnish T-72 on the internet but there was none. So I had used a photo taken from above the tank and scaled the measurements down to 72nd. Here is the outline for the stowage box.
In this photo you can see the interior. I have scratched the loader’s console and cannon breach.
I actually wanted to leave the commander’s hatch open but it was very thin and I had to close it. So I left the loader’s hatch open but it was very thin and it was missing details too. I had glued two layers of copper sheets together and then drilled inside. Later I added two handles from copper again.
I also added iron sights for NSVT
I also covered the gun mantlet with latex gloves and used thinned Tamiya putty to simulate casting effect.
The downsides of the kit are the gun barrel with soft ending, closed hatched targeting sights ( I cut it out and made a new one using lead wires and copper sheet, you can see it above the smoke launchers), no interior details for hatches and they are very thinner than they should be and a little bit detailless NSVT machine gun.
Then I have primed the model with Vallejo grey primer, but no photos unfortunately ☹ . And then I have sprayed the base coat; it’s a mixture of Tamiya green paints.
Then I have made modulation of base color by lightening it with yellow paint.
With 1/48 BA-64
Then I started the camouflage. The dark green is XF-70. It will be modulated too.
Roadwheels are dark green too.
And finally I have applied Nato Black from Tamiya and the camouflage is done. I also painted the details.
After gloss coat
Bad news, I had fallen off the shelf and broken. Until the finisih of the model, it will be broken three times, I was a real challenge form my patience.
During 11. FNSS Plastic Battle 2018 (https://miniafv.../11th-fnss-plasticbattle-armor-.html)
It had been awarded with silver medal on that show.
With his friends at show,
thank you,
Ahmet Eren İspir...
It's a really nice build, thanks for details and photos. Keep up the good work !
ReplyDeleteThanks mate, I appreciate it
Delete