Hello dear modeler,
Kayhan Kayar prepared this page. An excellent article, thank you.
Welcome to Miniafv.
Erhan...
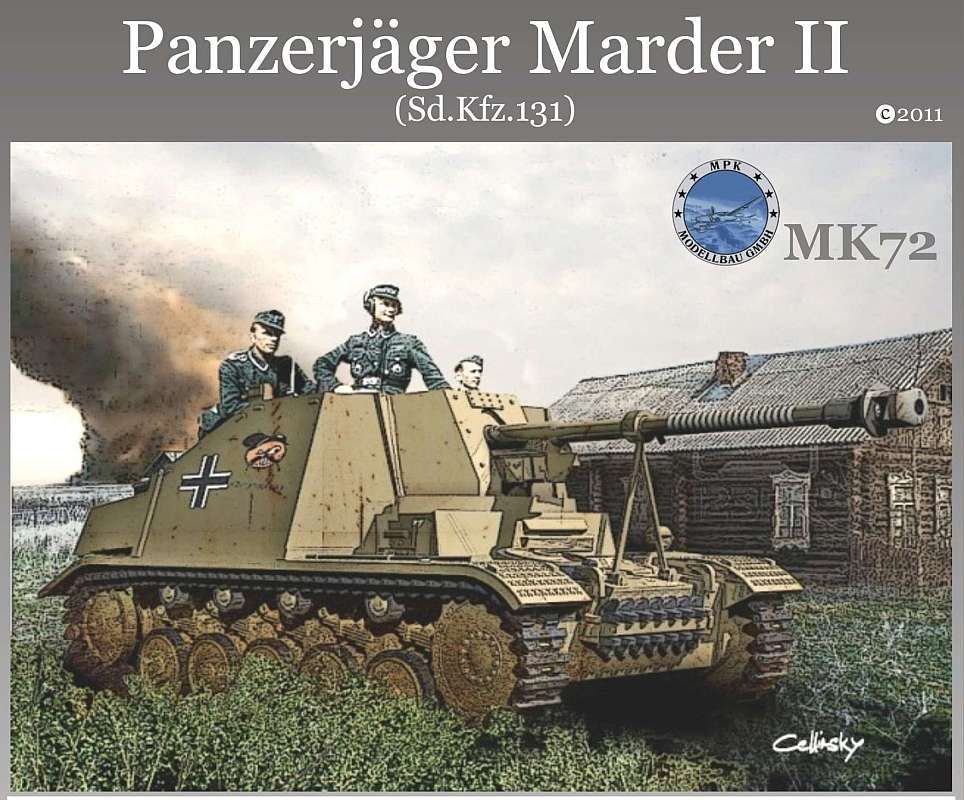
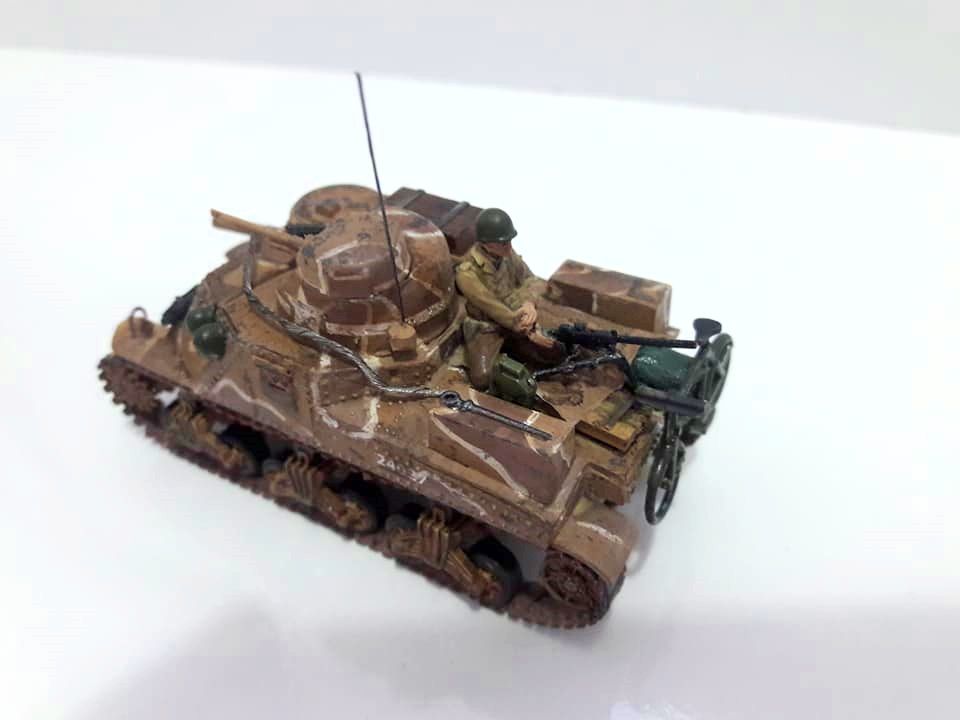
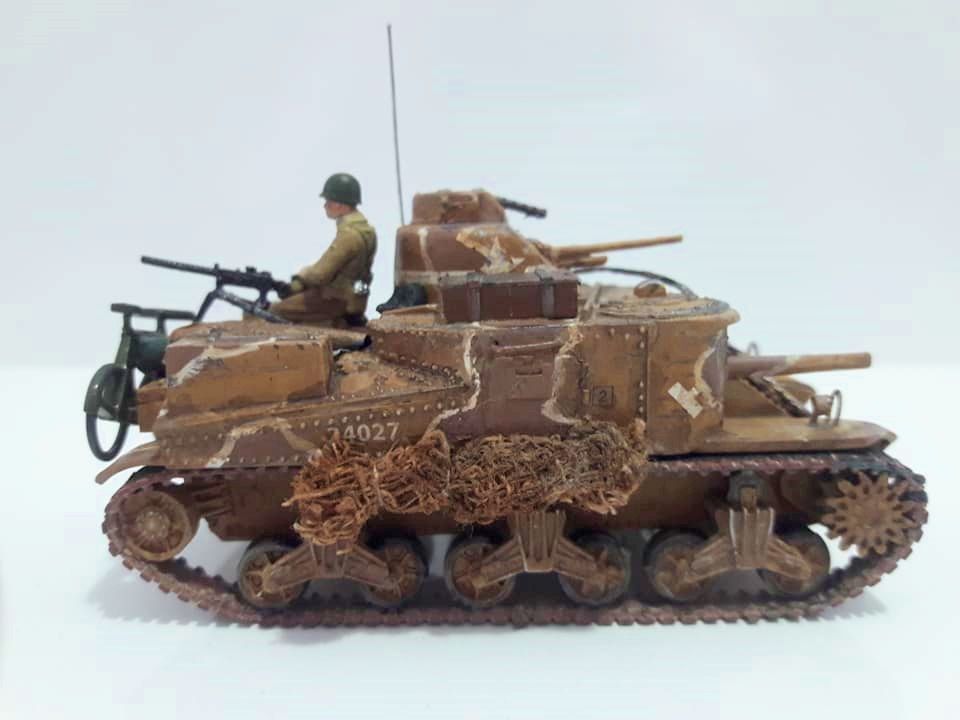
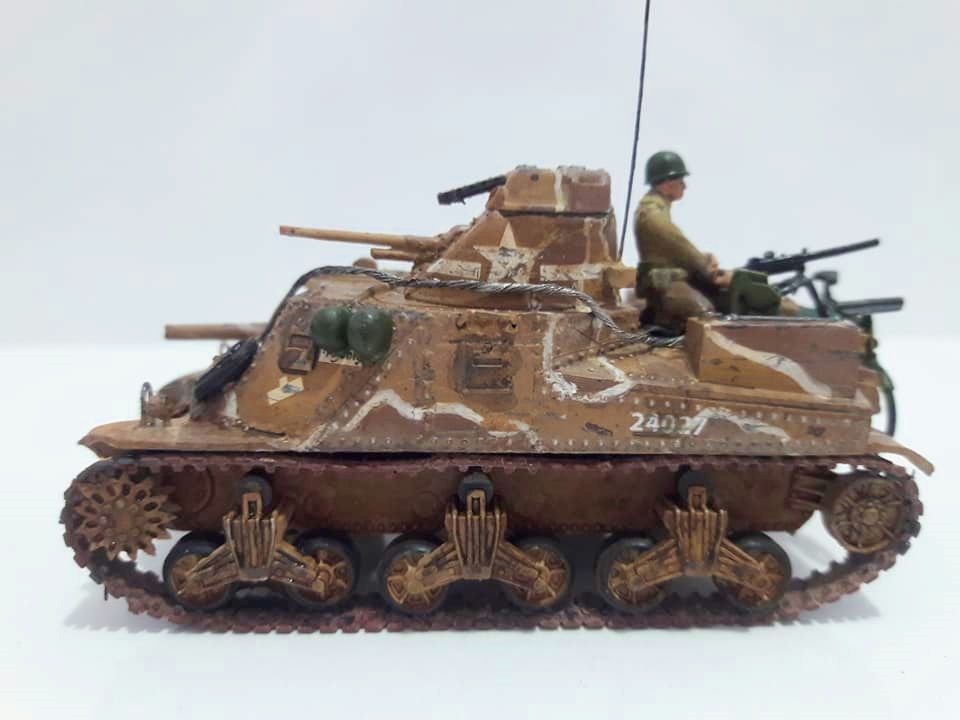
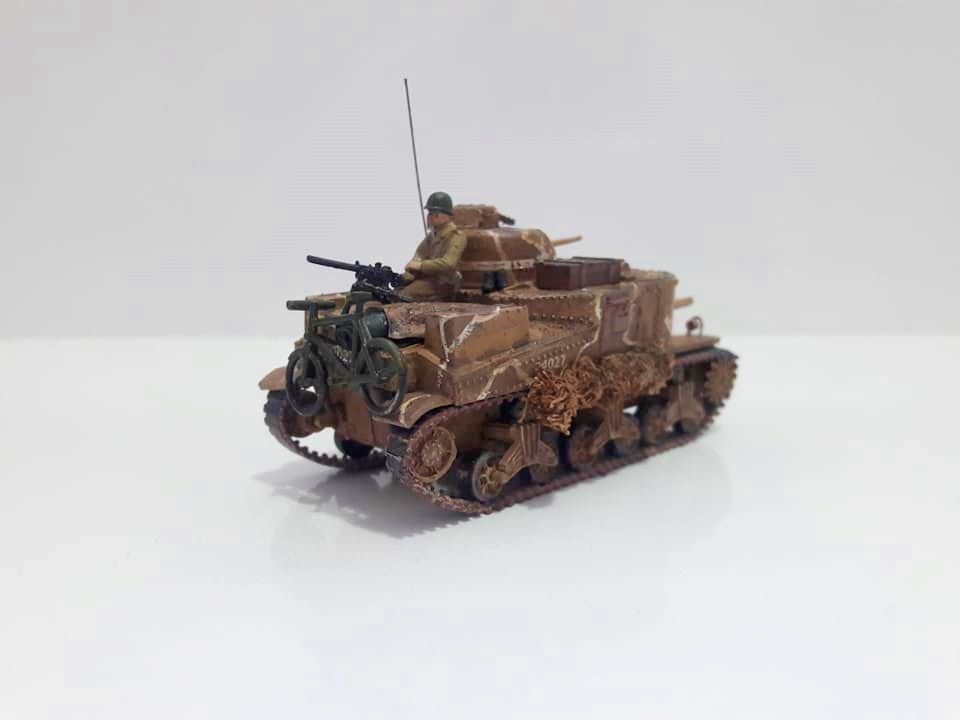
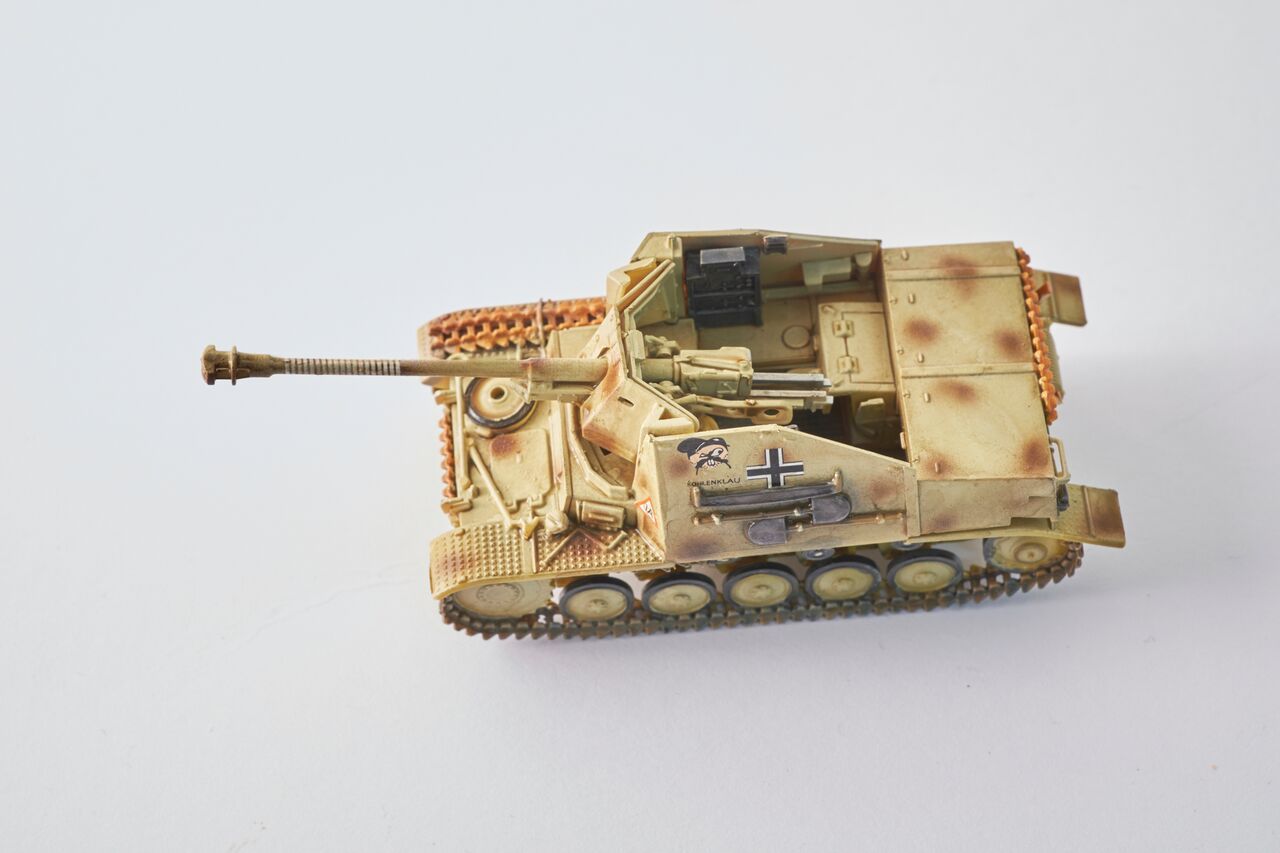
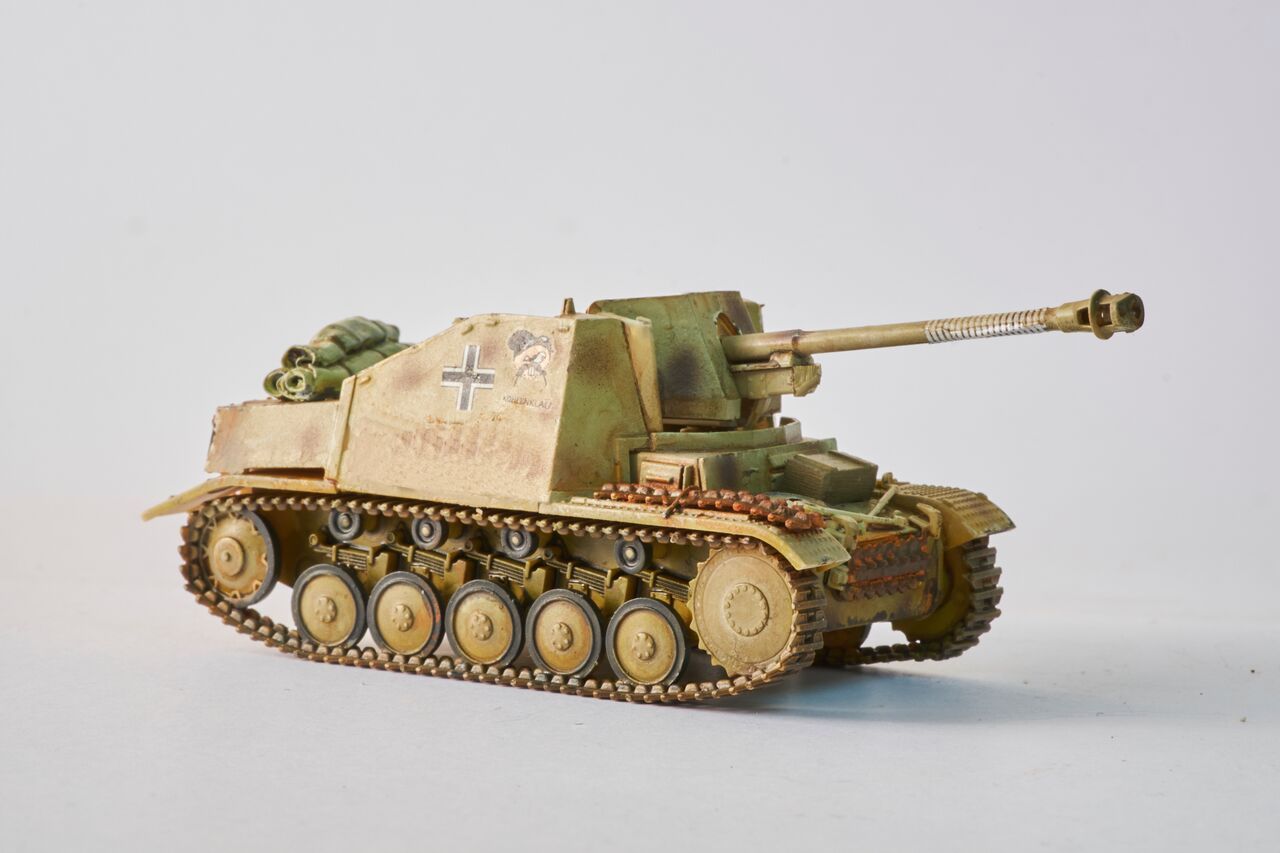
Panzerjäger Marder II SD.Kfz. 131
By: MK72
Stock code: 07208
Scale: 1/72
Modeler : Kayhan Kayar
The Marder II ("marten" in English) was a German tank destroyer of World War II based on the Panzer II chassis. It mounted the powerful German 7.5 cm Pak 40 gun. Its high profile and thin open-topped armor provided minimal protection to the vulnerable crew. Nevertheless, the Marder II provided a great increase in firepower over contemporary German tanks.
During the first days of Operation Barbarossa, the invasion of the Soviet Union, the Germans came unprepared to encounter Soviet T-34 medium tanks and KV heavy tanks. The lack of anti-tank weapons capable of successfully engaging these vehicles at range was becoming evident. An urgent need arose for a mobile and powerful enough anti-tank weapon than the already existing towed anti-tank guns or tank destroyers like the Panzerjäger I. It was decided to use surplus light tanks, like the Panzer II, and captured vehicles, which were armed with either the new 7.5 cm Pak 40 anti-tank guns or captured Soviet field guns.
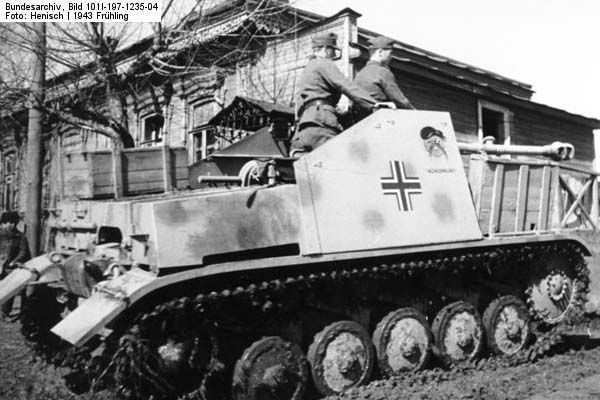
The Marders fought on all European fronts of the war, however, there was a large concentration of these on the Eastern Front.
Construction
The kit consists approximately 70 parts in light yellow injection moulded styrene plastic plus a small decal sheet and the excellent instructions. These are provided in line drawings on a fold out sheet, breaking down the assembly into 26 steps, with each step showing 1-2 sub assembly steps. The sprues are individually wrapped and all are carefully packaged. The Marder II can be build in service in Italy, the Northern European front and the Russian Front till the end of the war. I was generally very impressed with the level of detail on this kit. There was no flesh and no significant sink wholes. Excellent!
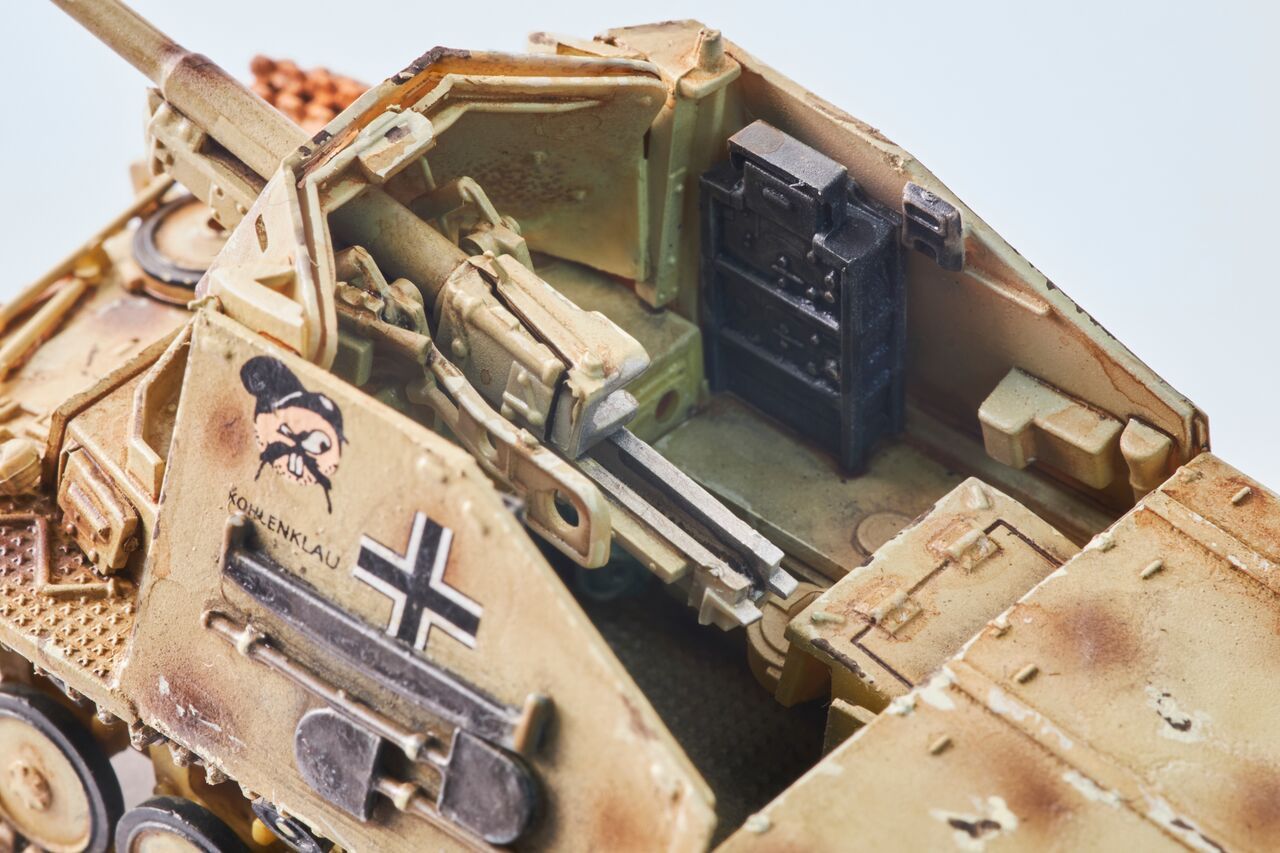
The interior is complete and one can find a lot of fine details. So I decided to make as many sub assemblies as possible to ease painting. This model is unchartered territory for me on two fronts – a 1/72 scale model and a Swiss model from Peter Kuonen, who has his own model company MK72. He lets produce all the parts in Czechoslovakia.
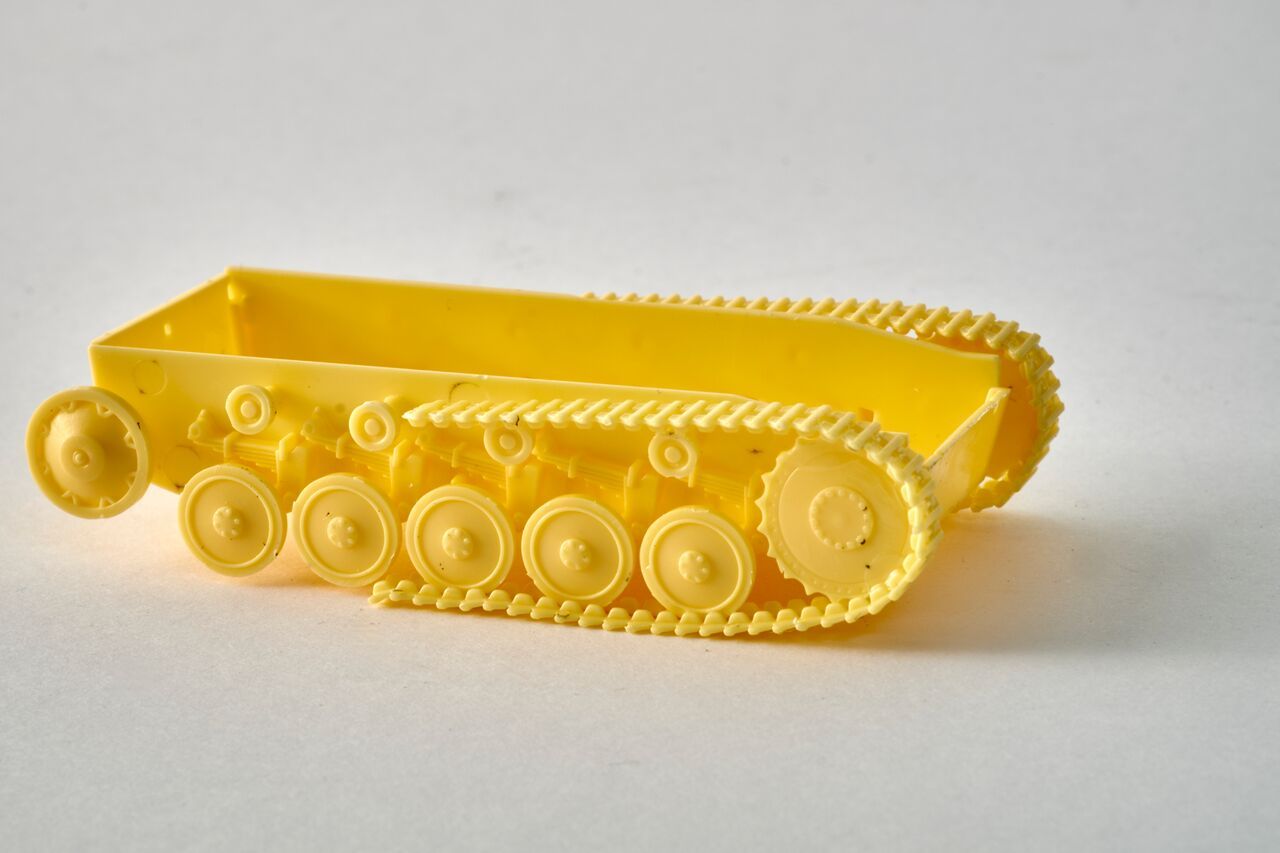
Lower hull and tracks
Lower hull and tracks
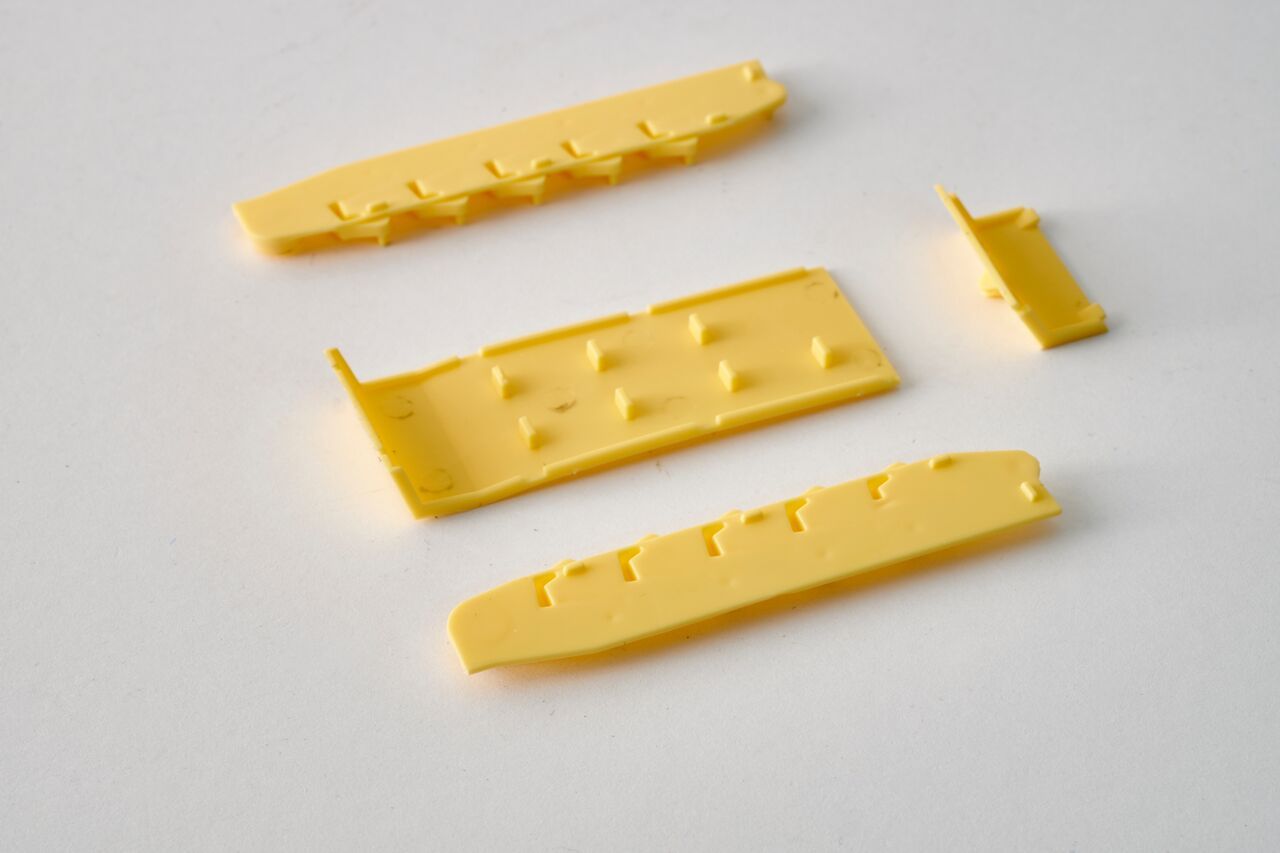
The construction began with the running gear, road wheels suspension components and lower hull. The lower hull/tub consists 3 parts, which do fit perfectly. The left and right side of the tub has excellent offset torsion bar/axle mounts and was luckily one nicely moulded part. So you do not have to deal with tiny laborious suspension components. What a bliss. I did clean the five road wheels, the running gear and the return rollers and glued them to the bar/axle mounts according to the instructions.
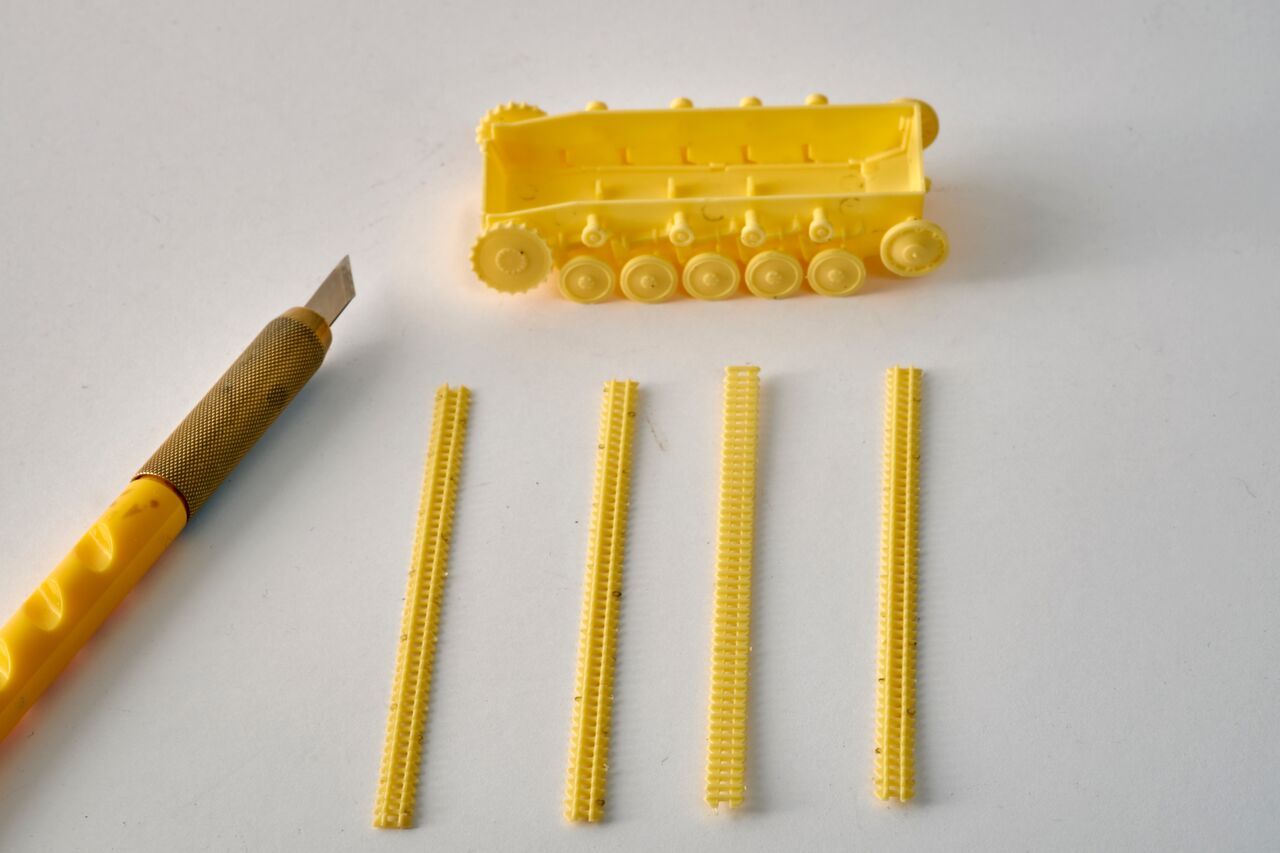
The focus of my attention now turned to the styrene tracks. These are very soft and extreme care should be taken not to brake them. After I got them off the sprue only minor cleaning was necessary .
For my personal taste detail was good. I glued the tracks first on the main wheels with Revell Contacta Glue. After a short setting time the tracks could be glued around the running gear carefully. After ten minutes the second track part could be glued in the same way. If the tracks are to long, just cut some out. Worked really without any problems. I was relieved and could proceed alike with the other side .
Next my attention turned to the radio device, which has excellent small detail and begs for being drybrushed later in the painting stage. The left and right armor plates/sides of the casemate were glued with Tamiya liquid cement. Some spare tracks were glued to the front side of the hub with two mounting brackets. At this stage i did some test painting with Vallejo acrylics to see, how this color would react with the tiny tracks. At the later painting stages they were repainted with different rust colours and pigments.


I did ad some other spare tracks with some mounting brackets on the right fender and right armor plate of the casemate. This one was later removed, because I just did not like the look later and replaced by some other nice resin stuff from Value Models .
Painting and weathering the rest
As usual, it’s necessary to ensure that you have a homogeneous base colour to paint your kit.
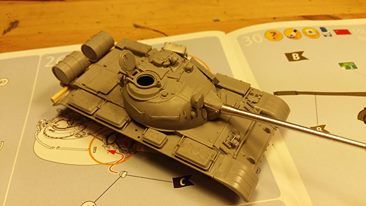
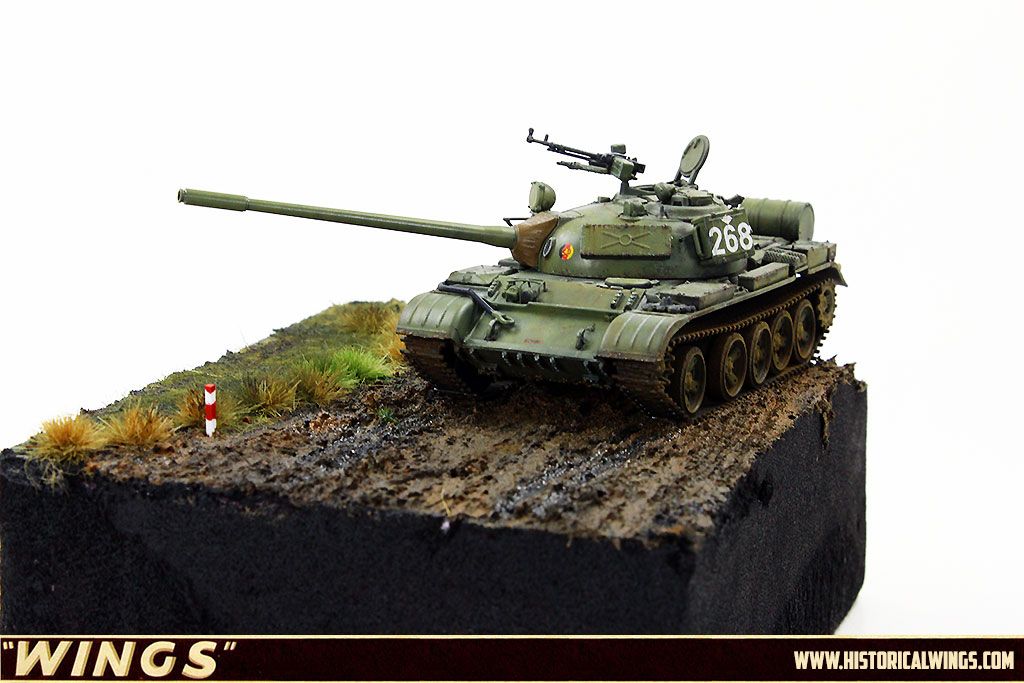
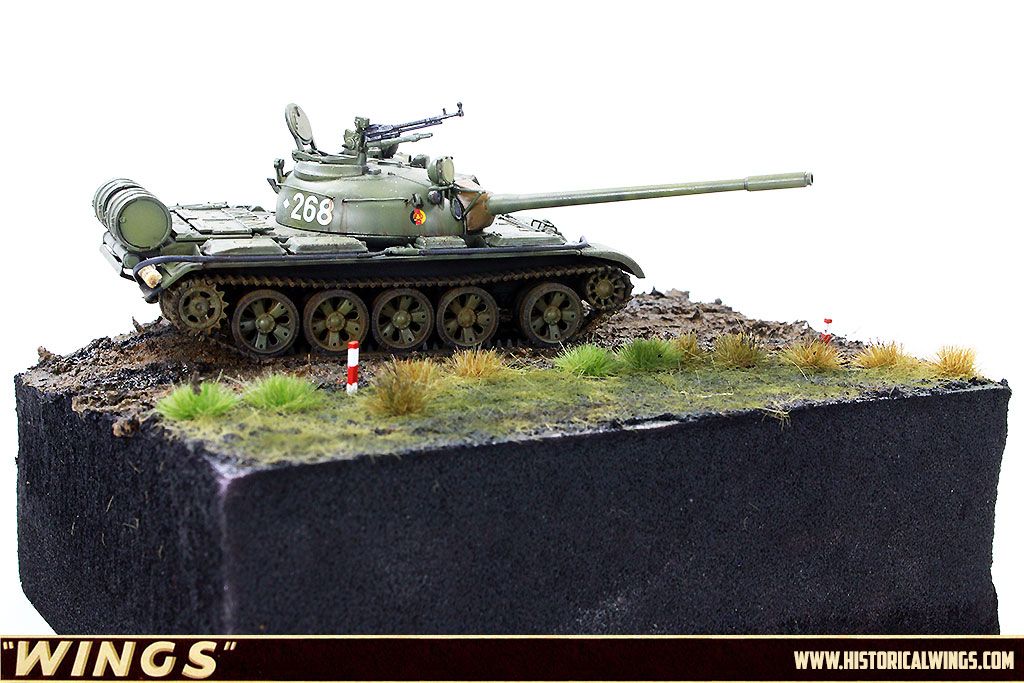
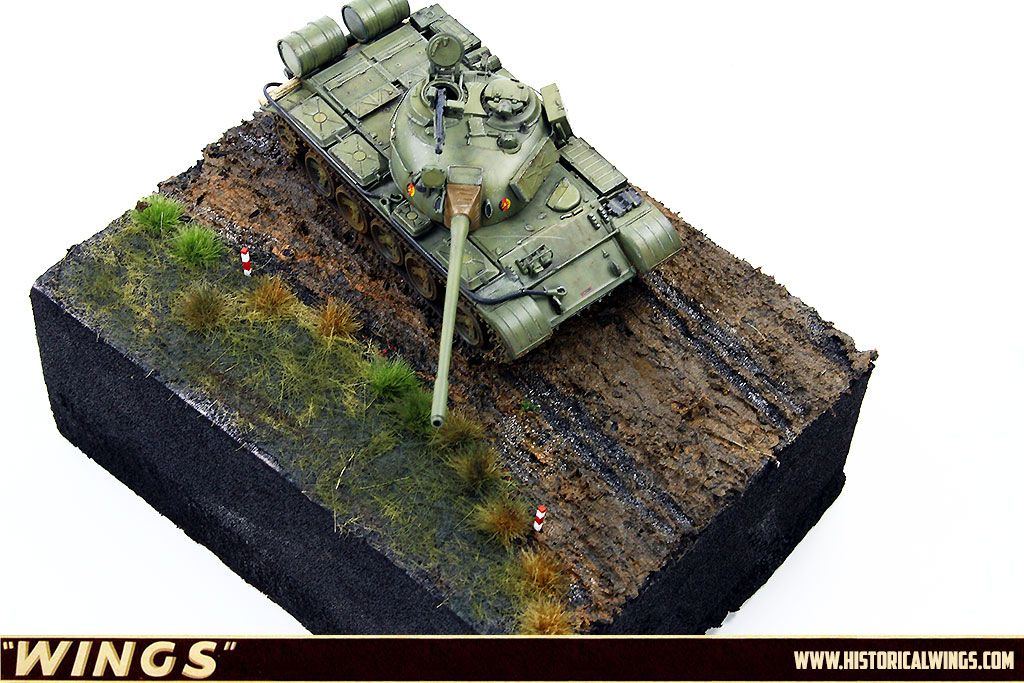
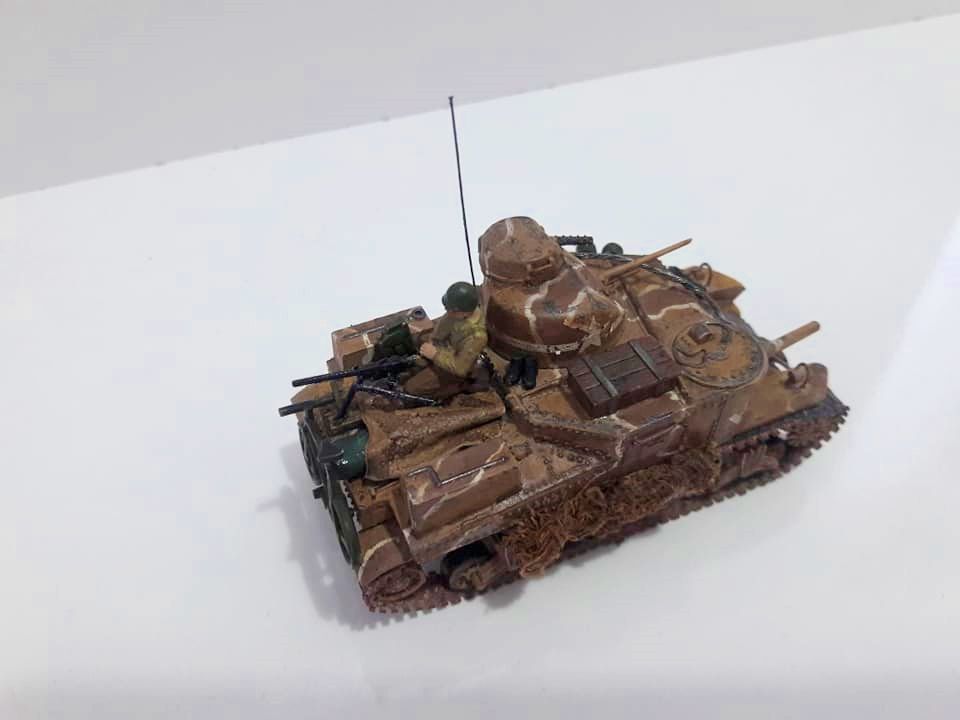
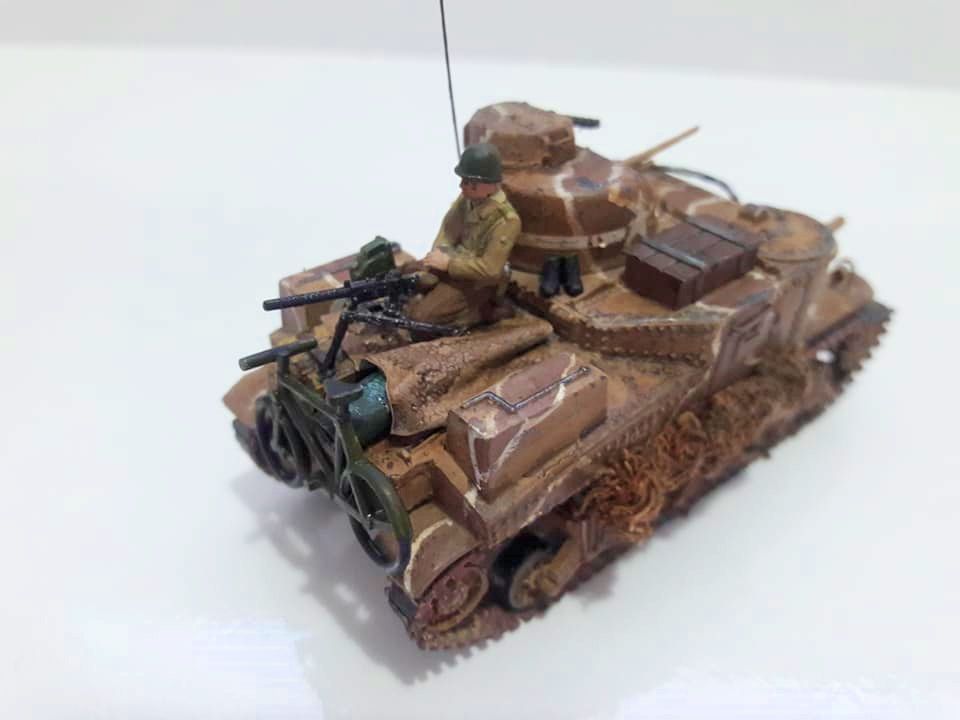
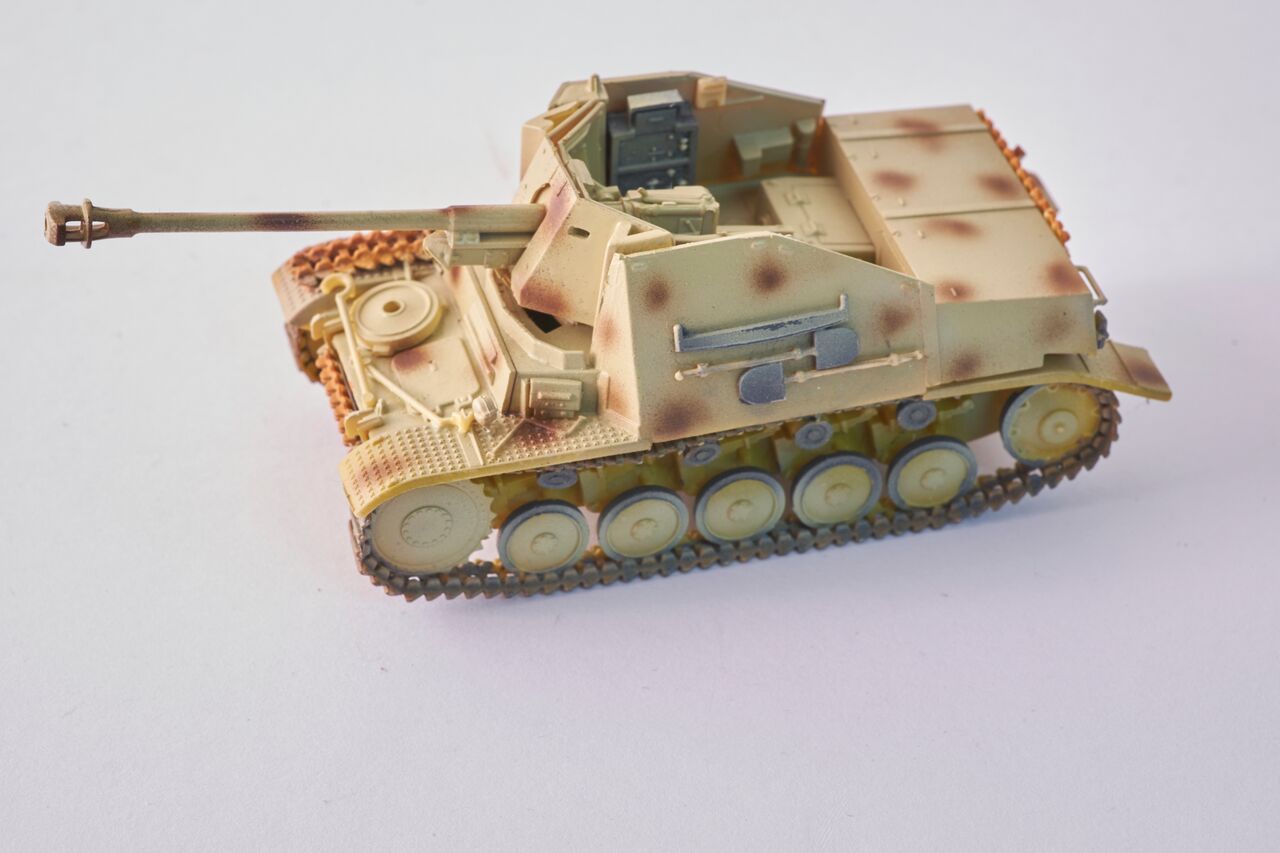
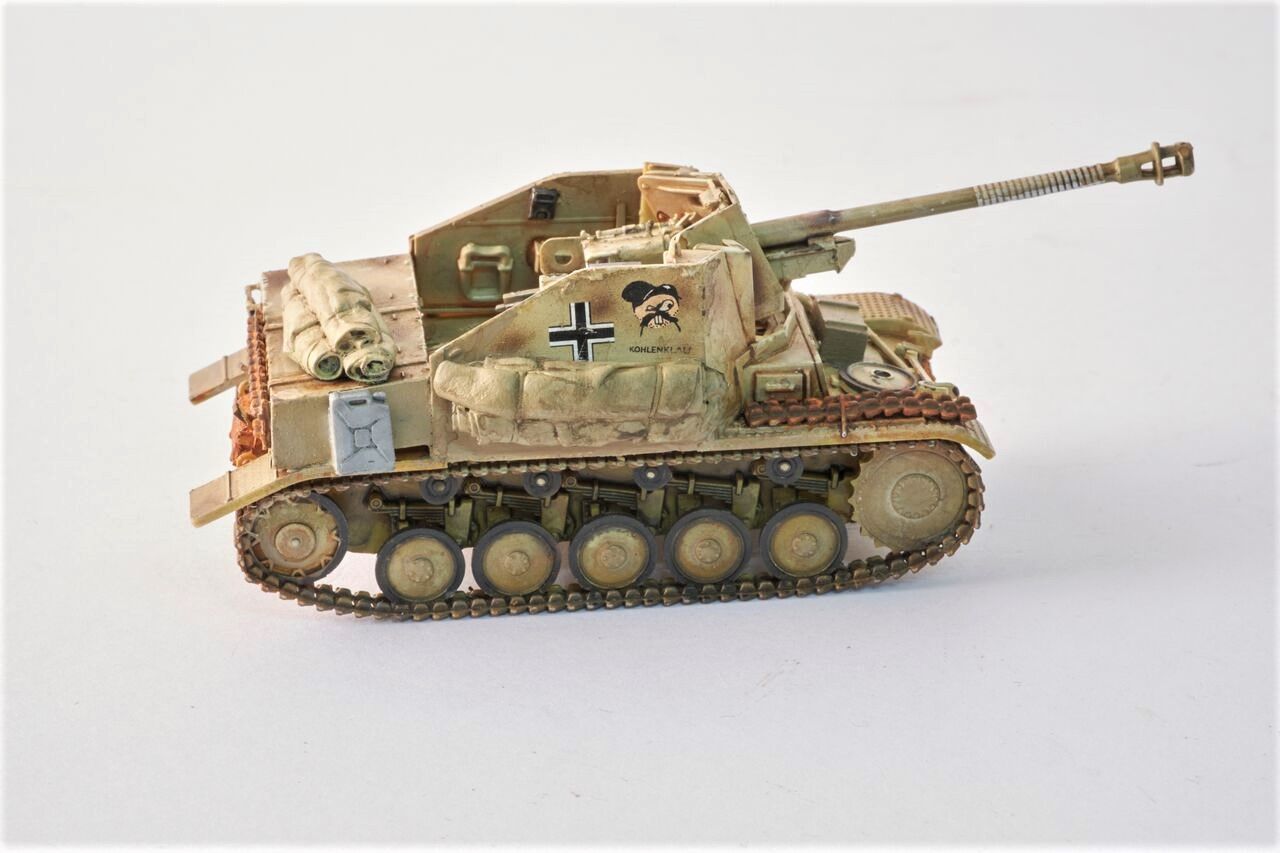
That is why the first step was to prime the entire kit with Vallejo Surface Primer Light Ghost Grey. This acrylic primer dries very fast and leaves a smooth finish behind. With the primer in place it was time to move on to the base colours. The Marder was airbrushed with A.MIG-0010 7028 DUNKELGELB lightened with some drops of white. Dry to touch, I applied the second (mottled) camouflage coat using A.MIG-015 SCHOKOBRAUN thinned a lot with Vallejo Airbrush Thinner ). The next day I applied the decals with the help of some Tamiya decal softener.
Next it was time to paint some of the exterior details such as tools, wooden handles and exhaust pipes with Vallejo acrylic colours. The metal parts of the pioneer tools were painted German Grey with a slight drybrush of Ammo metal pigments to emphasise the burnishing of the metal. The wooden handles were painted with Tan yellow and washed with an acrylic burnt umber wash . The model received now a coat of satin varnish, both to prepare and to protect the paintwork during the following weathering stages.
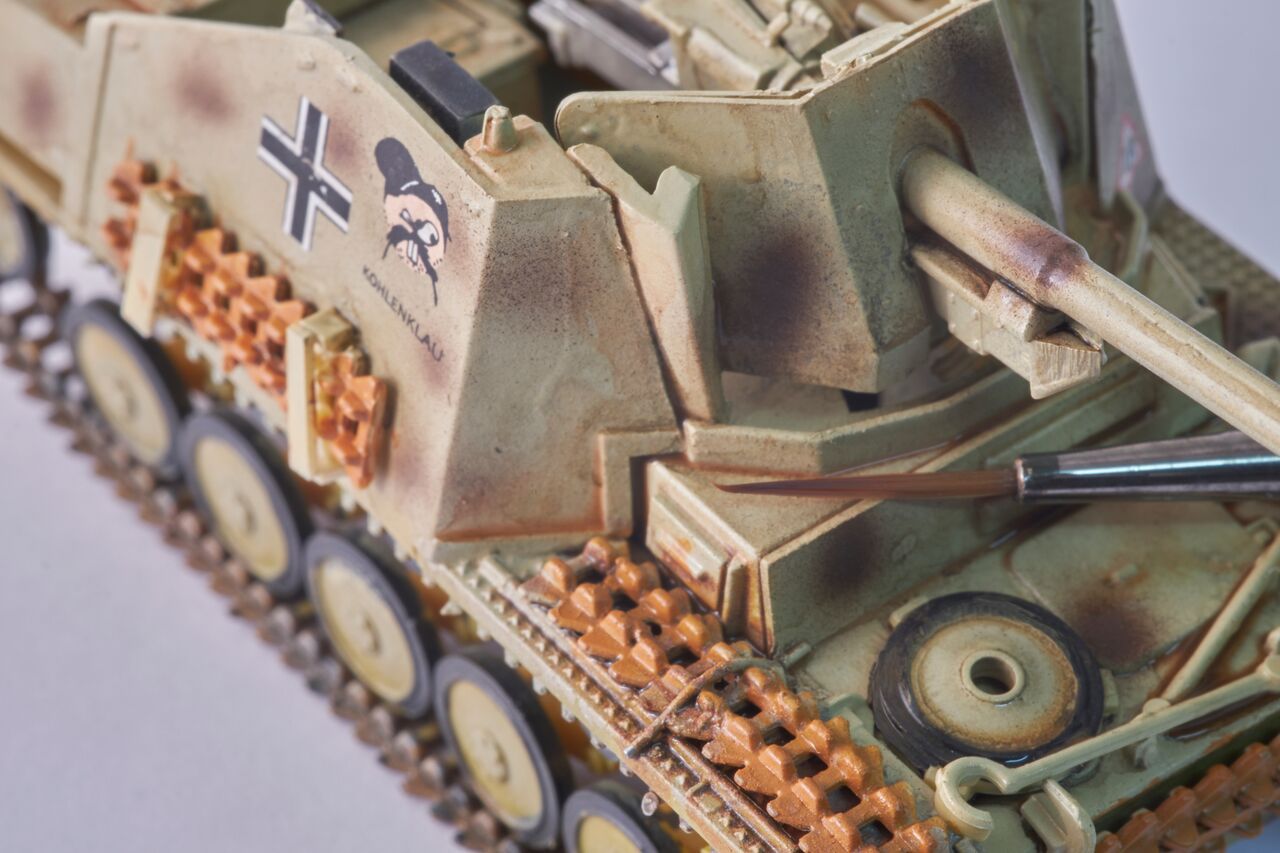
Next, the small details (bolt heads, hinges, handles) were picked out and washed with Vallejo Model Wash Dark Brown. The wash was thinned with few drops of tap water. This process was repeated several times until I was satisfied. Always look at the real thing on the internet
Afterwards some chipping was applied with the sponge technique and an extremely fine brush. With the brush loaded, start applying the chips. A tapping motion will help to keep the chips looking like chips and not blobs. I have to admit, that I had some difficulties making chips in the right scale. Any pressure or not wanted small brush strike would result in out of scale chips or scuffs. This was really demanding. I did the best, I could in this small scale. Some chips were corrected in Affinity Photo, because my skills did not permit to make microscopic fine scratches or correct them everywhere
The entire model was afterwards treated to a coat of matt varnish and left to dry, in preparation for the application of pigments. Preferring to use Vallejo’s water based pigments, I sprinkled earth and dust colours over specific areas (i.e. tracks, fenders, etc.), and dripped water over them to temporarily fix them. These were then manipulated with some acrylic rust washes on certain places until I was happy with the result .

Next on my agenda was to apply a filter, Vallejo Model Wash Desert Dust, thinned with some drops of water by airbrush over the whole model to uniform all the paint and chipping work done so far.
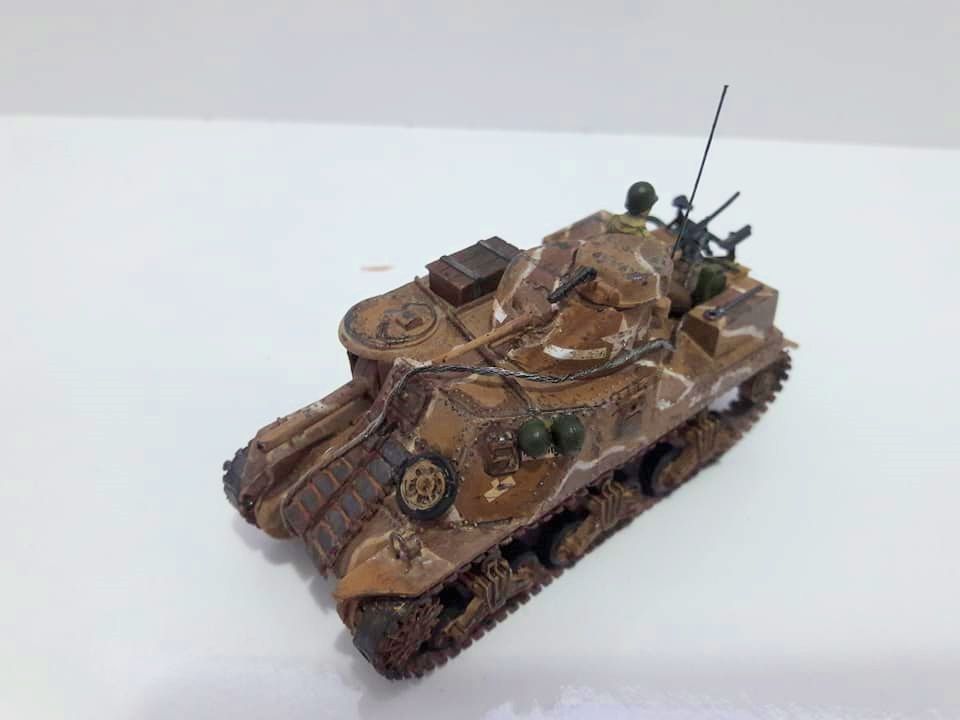
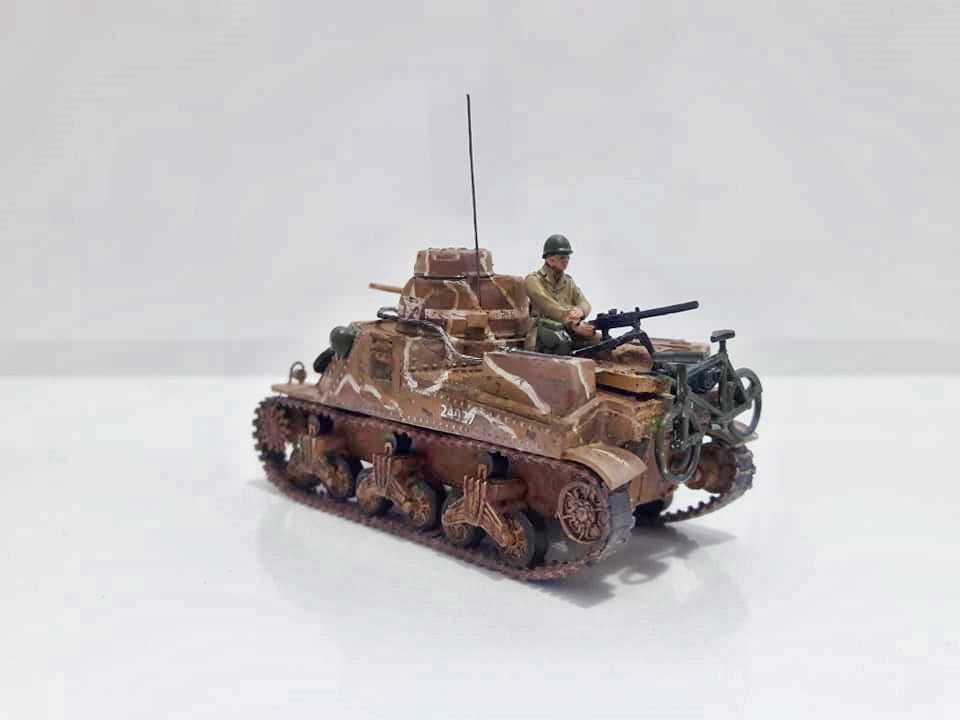
As I wrote before I did not like the spare tracks on the ride hull side. I did buy for this reason a Resin Tent, Tarp & Crates Stowage Set from Value Gear on ebay. This small resin pieces are excellently moulded and have very fine detail. I did paint some tarps with buff color and used some brownish Vallejo Washes and glued the pieces with white glue. I used from this set also a german jerrycan. This set is very reasonably priced and is in my opinion an excellent value .

Finally some diesel spills were placed at the appropriate places with Vallejo Weathering effects Engine diesel strains and Petrol spills and my project was finished .
The verdict
This was a hugely enjoyable project, which I have no hesitation in recommending it to anyone, beginner or advanced modeller. Modelling is a constant learning curve and process. There is no right or wrong.
Captions
1 The lower hull/tub consists 3 parts, which do fit perfectly
2 After I got the tracks off the sprue only minor cleaning was necessary
3 After a short setting time the tracks could be glued around the running gear
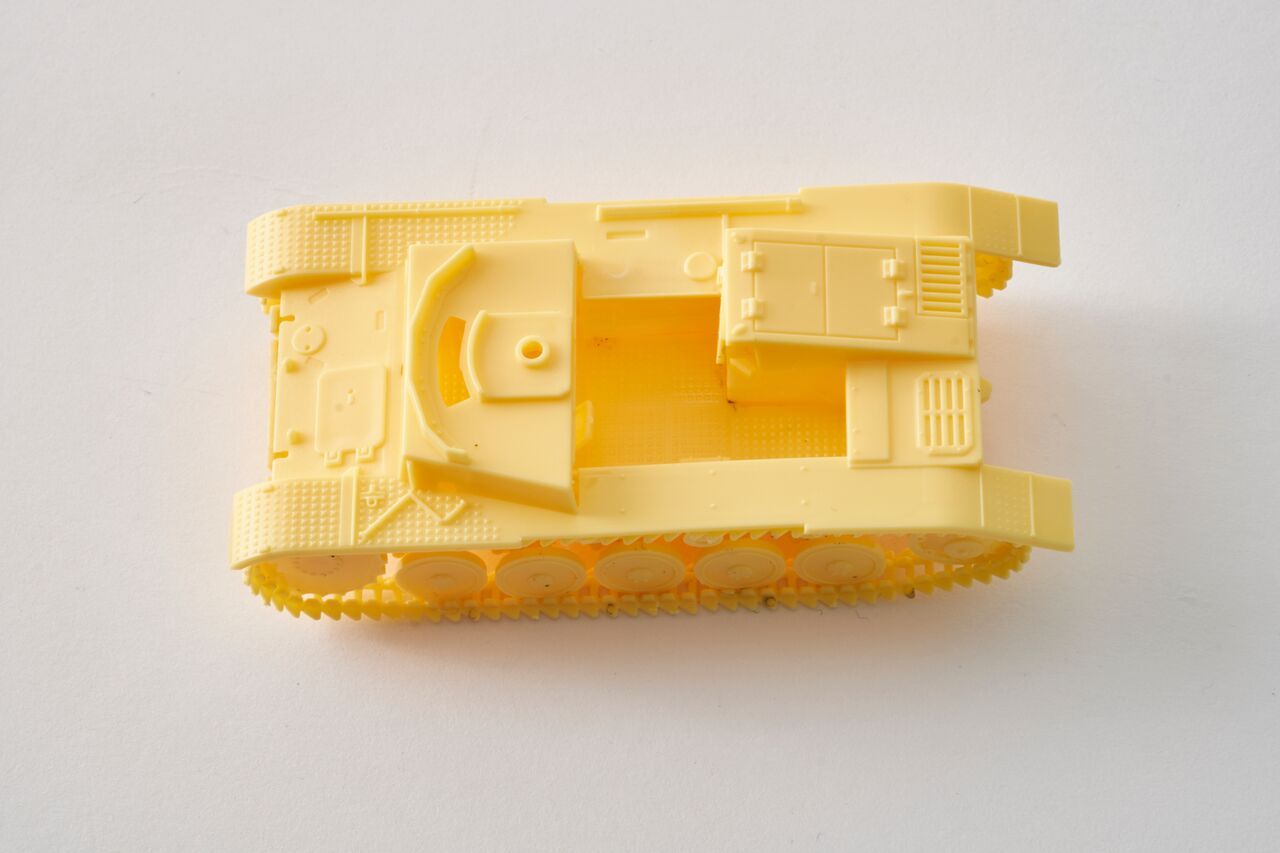
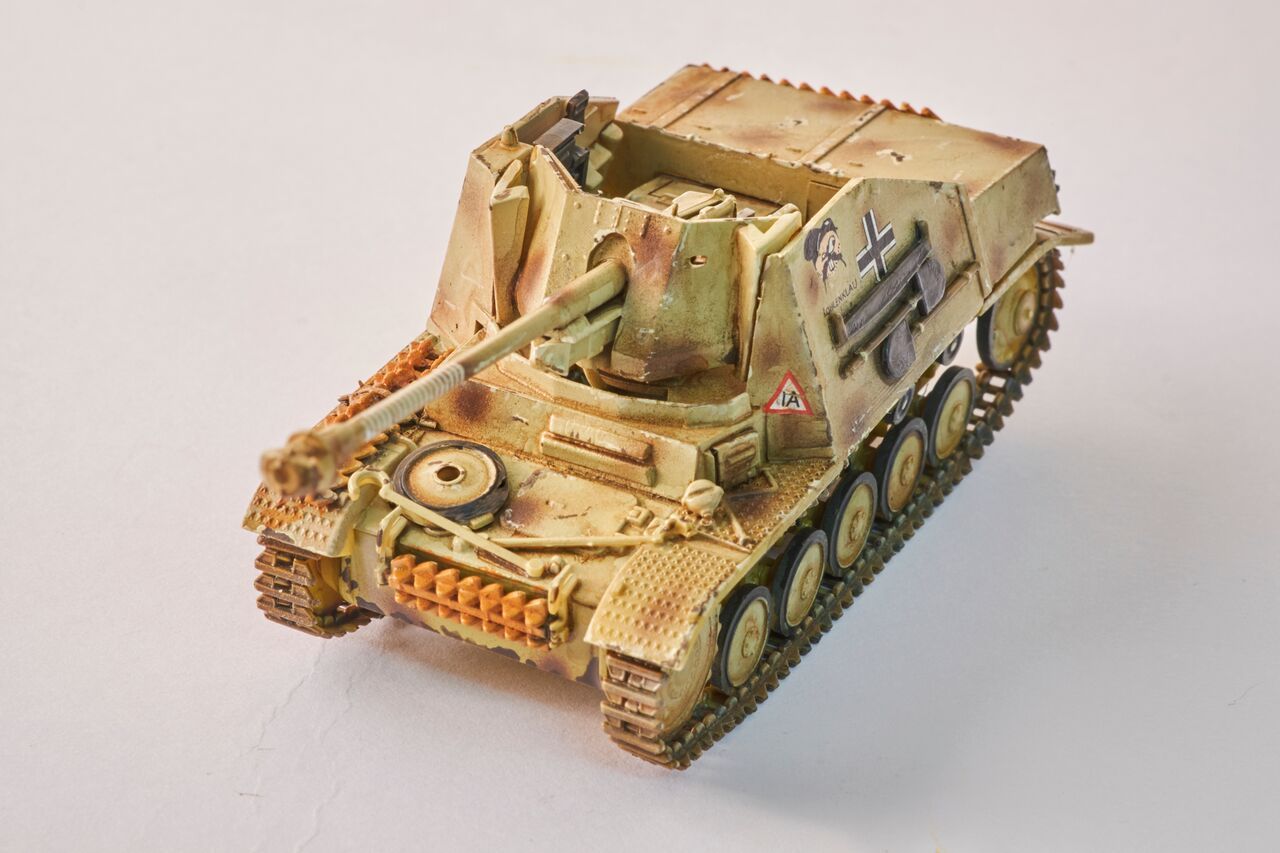
4 The upper hull was glued to the lower hull
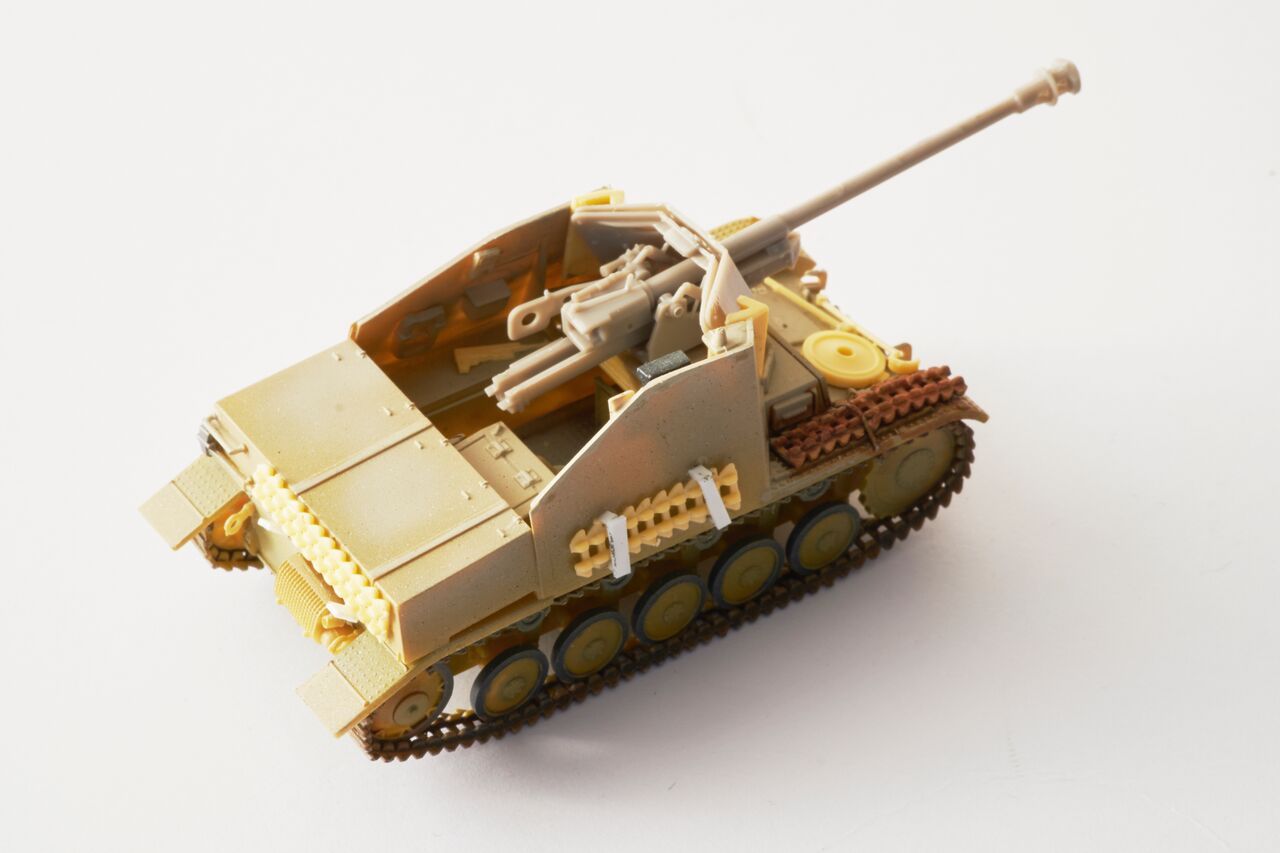
5 The left and right armor plates/sides of the casemate were glued with Tamiya liquid cement
6 MK72`s Pak 7.5cm gun, which is made up to 14 parts, is a gem and is very well detailed
7 I did ad some other spare tracks with some mounting brackets
8 The Marder was airbrushed with A.MIG-0010 7028 DUNKELGELB and A.MIG-015 SCHOKOBRAUN
9 Time to paint some of the exterior details such as tools, wooden handles and exhaust pipes
10 Next, the small details were picked out and washed with Vallejo Model Wash Dark Brown
11, 12 Afterwards some chipping was applied with the sponge technique and an extremely fine brush
13 Some fun with water based pigments
14, 15, 16 Resin Tent, Tarp & Crates Stowage Set from Value Gear. Excellent stuff
17 Finally some diesel spills were placed
Happy modeling,
Kayhan Kayar...