Tuesday, April 30, 2013

Revell 1/72 Pz Kpfw III Ausf.L (by Kerem Özkır)


Güzel bir kit. Fırça ve süngerle boyandı.
Nice kit. Painted with paintbrush and sponge.
.
Kerem..


Thank you Kerem..
Erhan..

Friday, April 26, 2013

Revell Tiger II Ausf.B (by Murad Özer)


Hello dear friends,


Murad Özer tried a zimmerit. I think a very successful operation. Nice work, and thanks for sharing ..
Happy weekend,
.
Erhan ..

Murad said ;

"Intro:
Zimmerit around the turret of this King Tiger actually went tru a lot of different trial and errors of various methods suggested by fellow modellers over the interwebs.

Long story short, end result over here is a combination of air drying modelling clay, which is available in 500gr packages and is suitable for children, and a .22mm flathead screwdriver as the applicator.

Whilst the pattern of the zimmerit is accurate for this particular tank, the width and depth of the depressions are not; they should be more shallow and tighter. Finding or making a tool that is fine enough for the job in this scale was my main obstacle.


Technique:
Take a small bit of clay, do NOT moisten it nor the surface, use a quality piece of round metal object, like the handle of an Xacto knife for ex. and roll it onto the surface as evenly as you possibly could. Since the clay will begin drying from the outside quite fast, a little bit of moistening around here afterwards could save the clay from cracking.

Once the clay is rolled over the entire surface take up your flathead screwdriver and begin making the depressions. The tricky part here is not to change your pattern or direction of application since this is entirely freehand, even the slightest change in pattern or surface angle will result in things going out of whack, as can be seen in my model.

Finally, dry clay is not sticky and it WILL drop off when tampered with. To avoid this you may use CA glue afterwards or fix the clay to the plastic with your primer paint, if you are handbrushing like i do - YMMV with airbrushing!

When it’s totally dried out and fixed for good, use a sharp knife to peel off the excess clay, be gentle tho!


Remarks:
Even for a hamfisted guy like me, achieving this result is not very hard. What’s more important here is, whilst the shape of the zimmerit is unrealistic as mentioned earlier, it surely looks good to my eyes. That being said, this above mentioned method is NOT recommended for the modeller who wants to go the whole nine yards for scratchbuilding a realistic looking zimmerit on any particular Wehrmacht vehicle, he should look elsewhere like aftermarket photoetch sets or a proper tool for this scale.
Regards,

Murad"


Tuesday, April 23, 2013

Dragon 1/72 Type 2 Ka-Mi w/floating Pontoon *painting* (by Erhan)


Hello dear friends, and welcome new followers,  "maximex" , "Modelscale andbrush" , "Rui", "Jose Sinfuselaje" . I hope you have fun at "miniafv".

Let's continue to Ka-Mi. Today is painting time. Do you remember Ka-Mi. Click please for first page :
.miniafv....-type-2-ka-mi-wfloating.html.

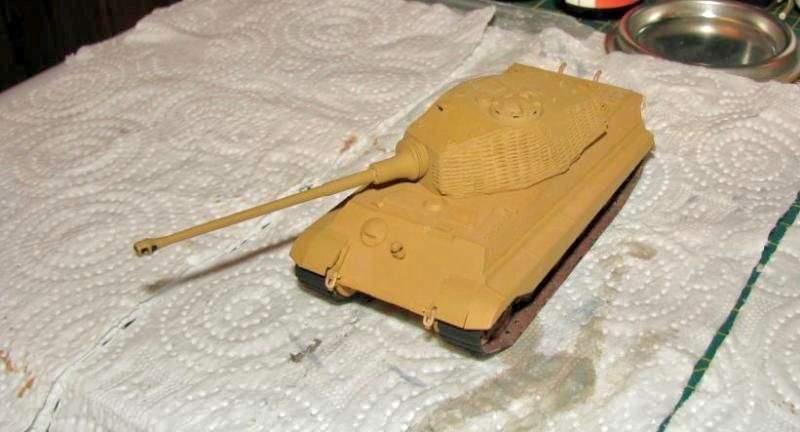
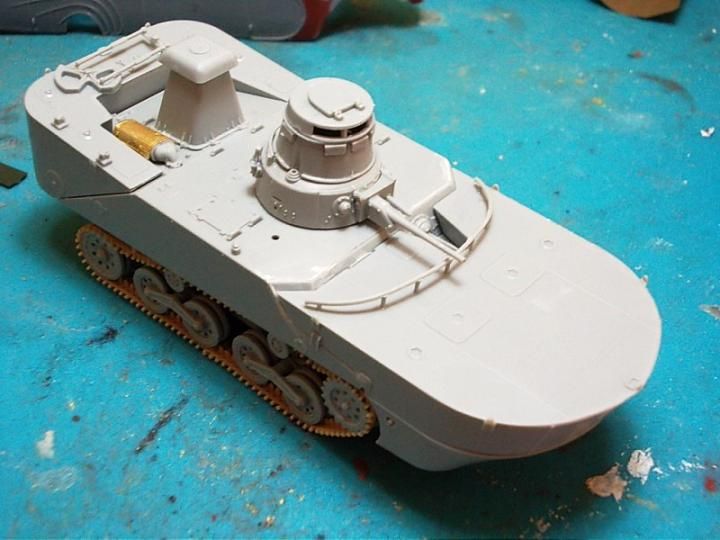
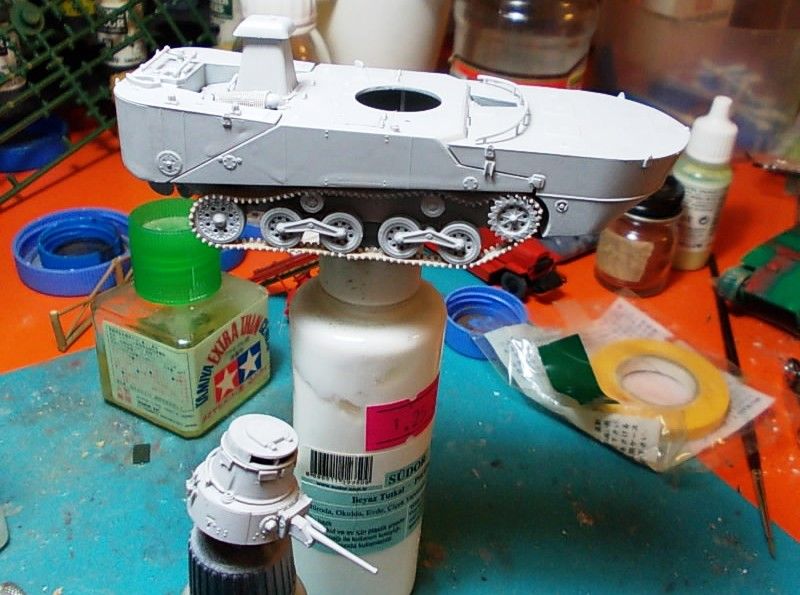
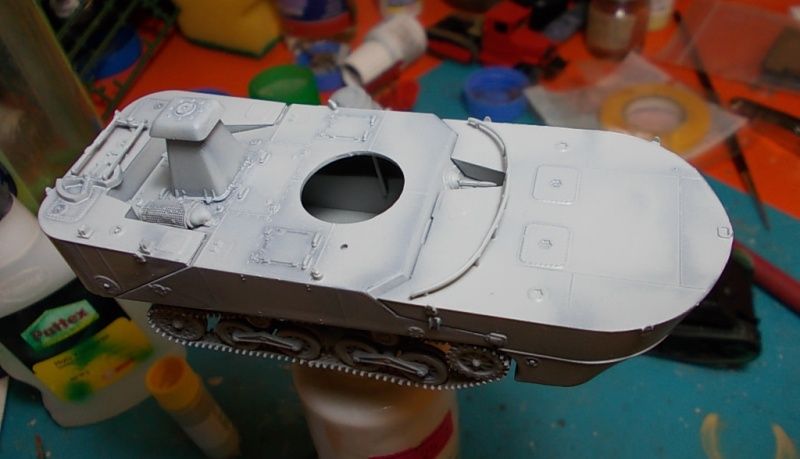
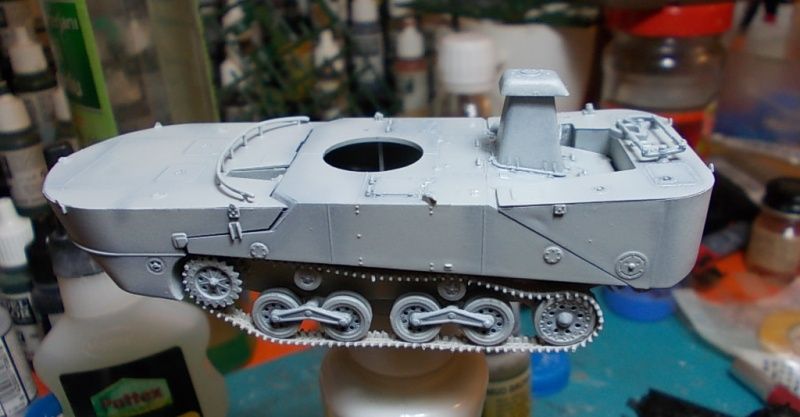
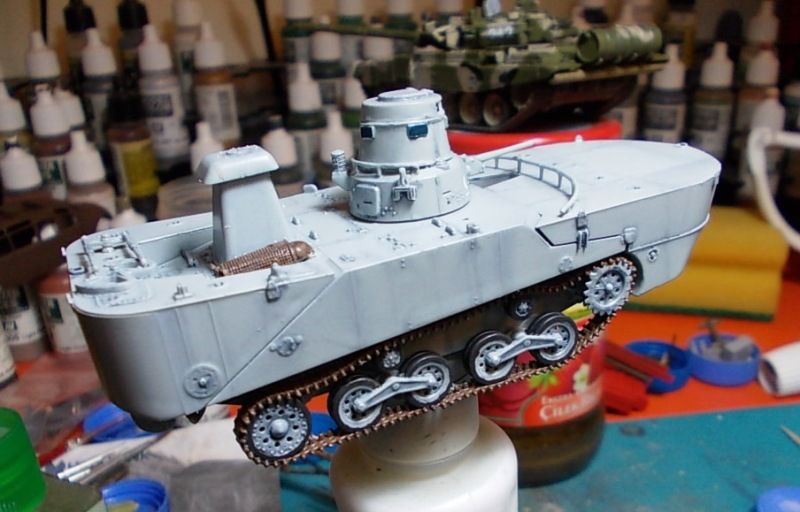
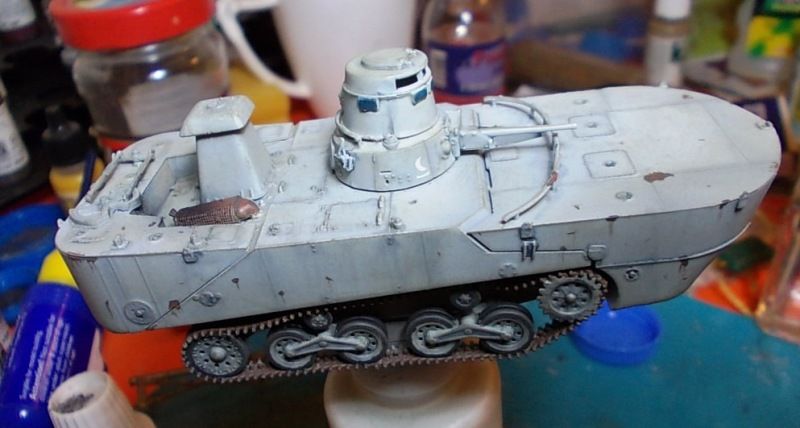
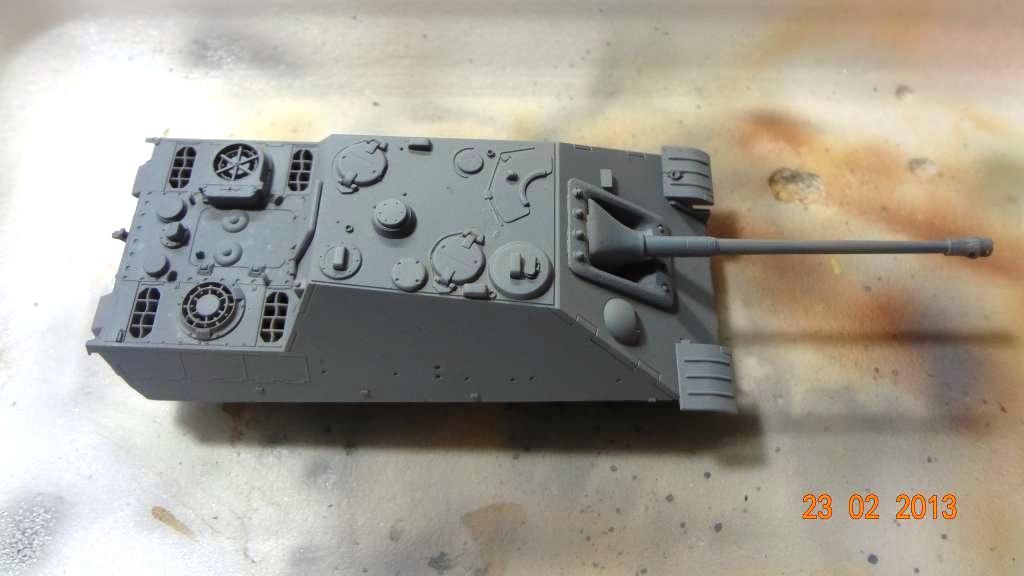
First, I started painting with gray primer.


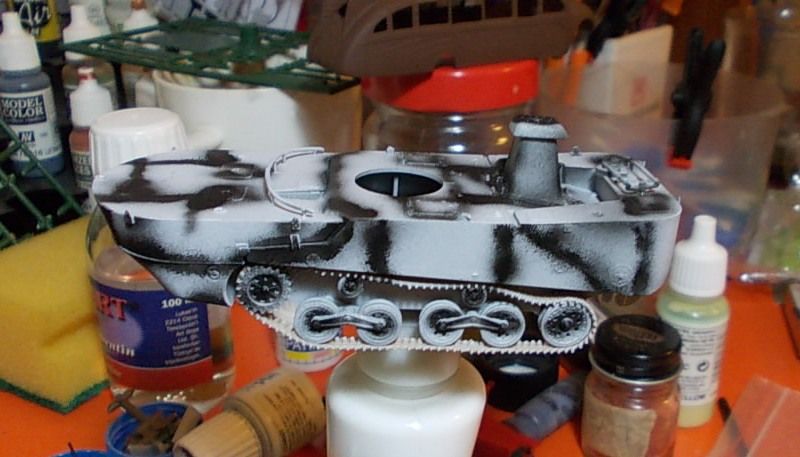
I wanted to do shading with black primer. But get used to airbrush, pressure and the distance is very important. No panic, :)


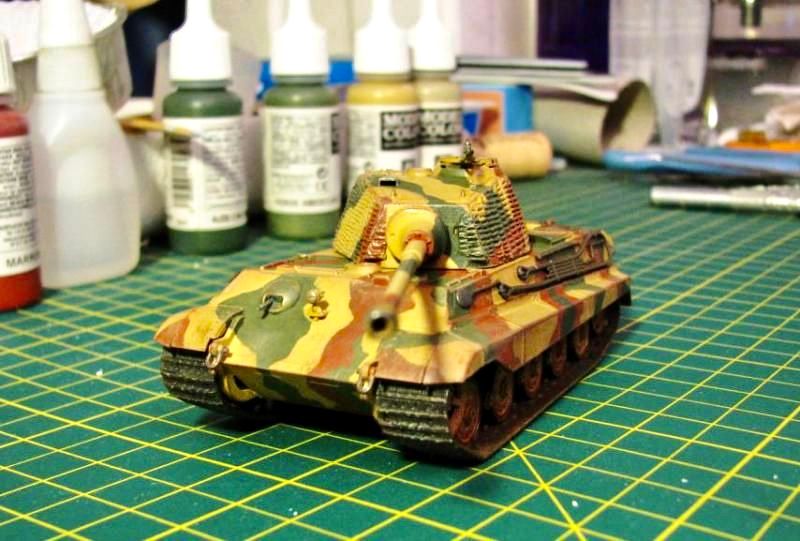
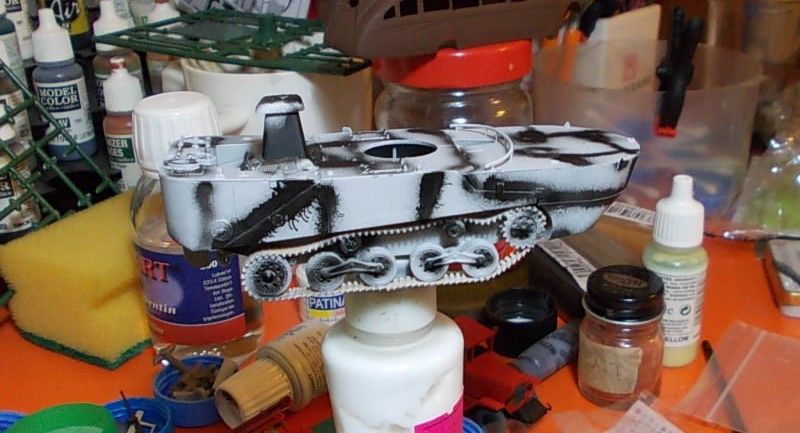
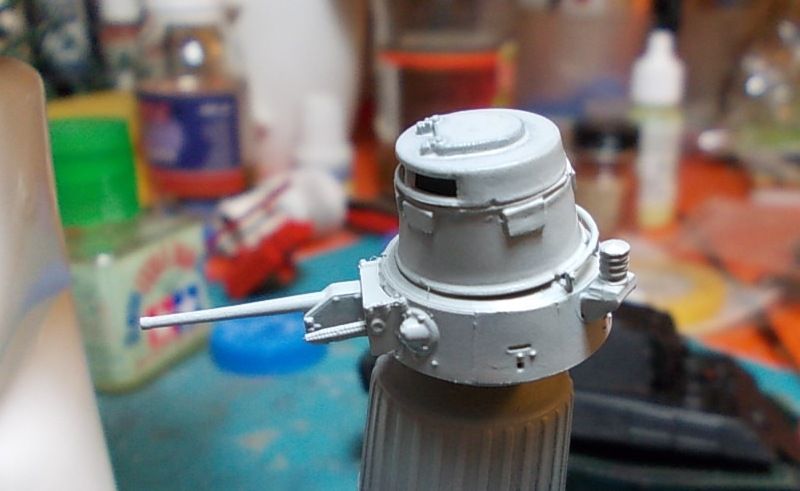
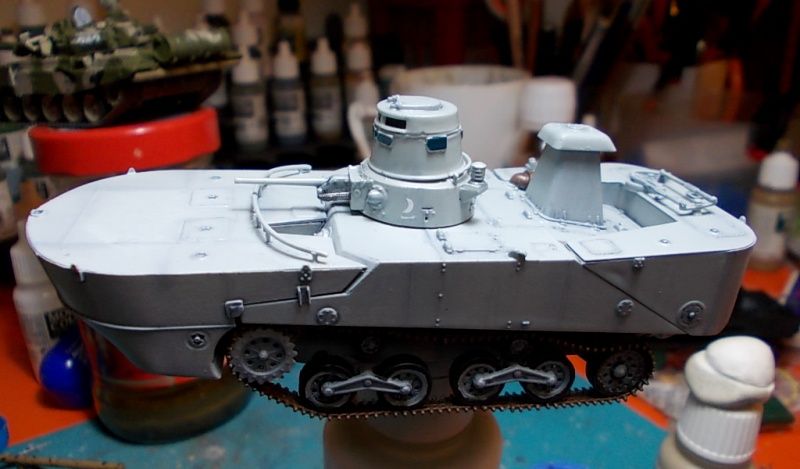
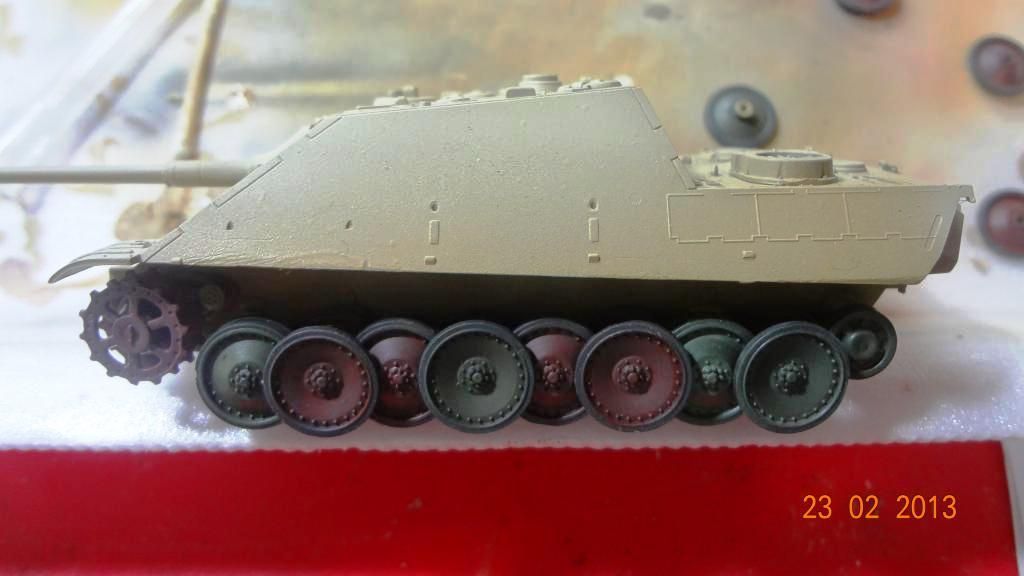
Painted with Vallejo 71096
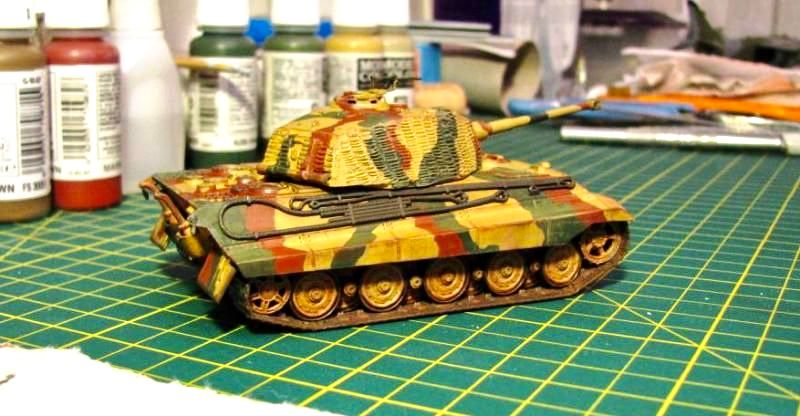
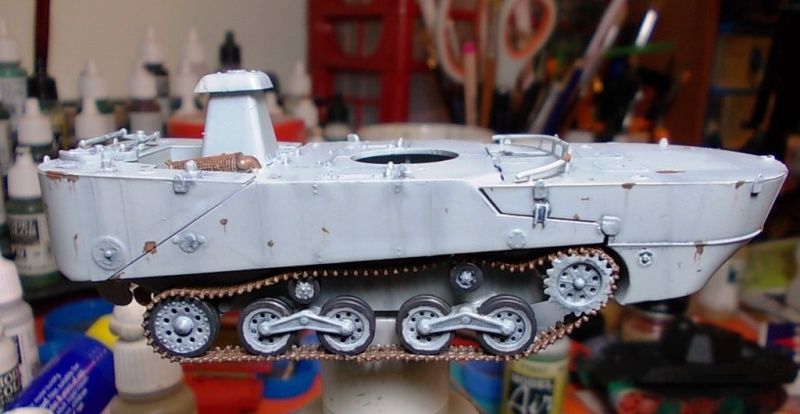
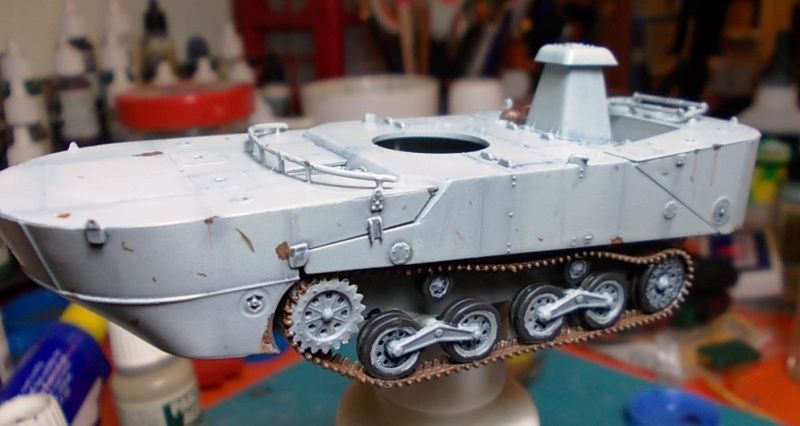
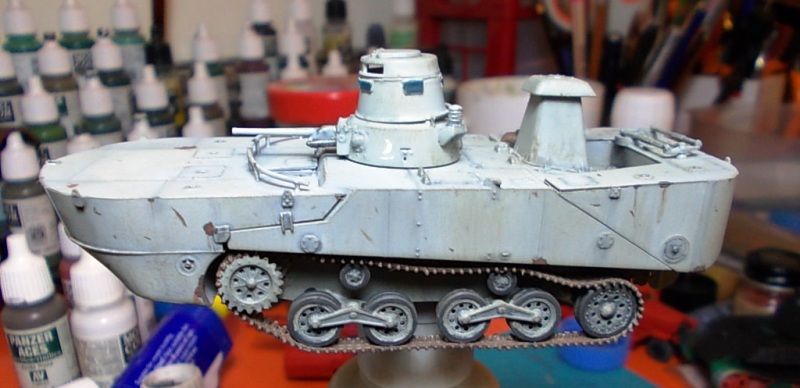
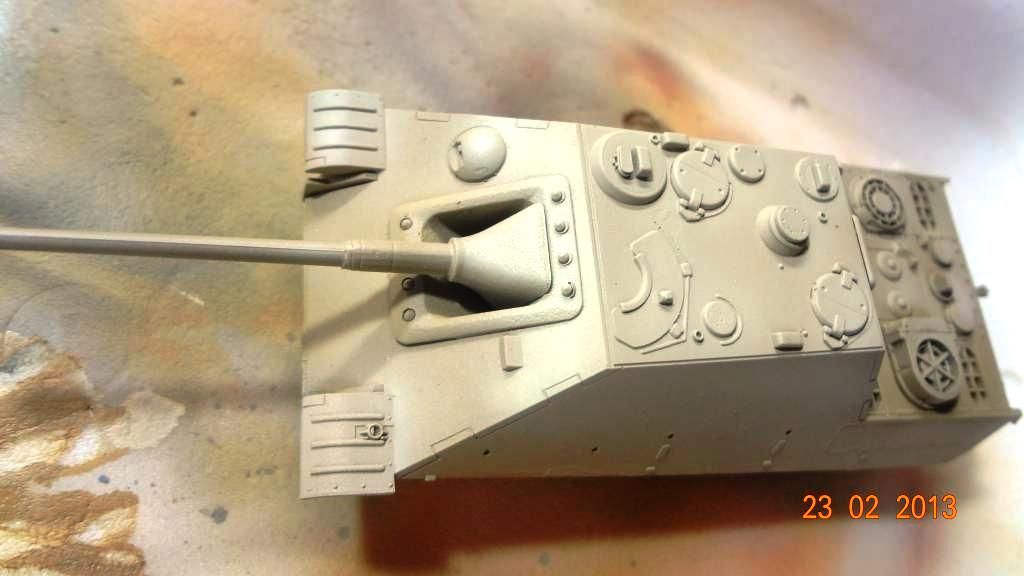


Paint details..


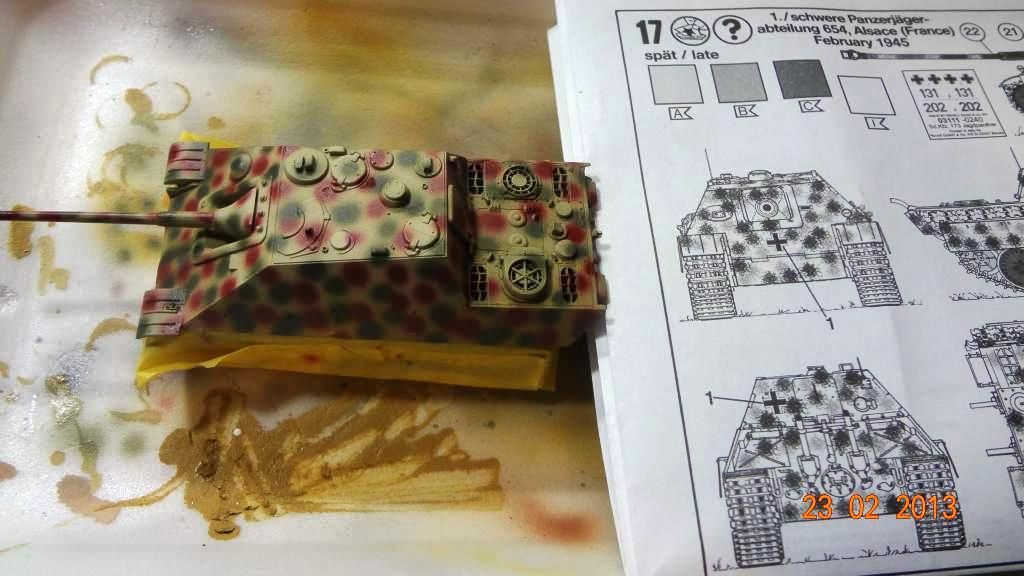
little rust effect..
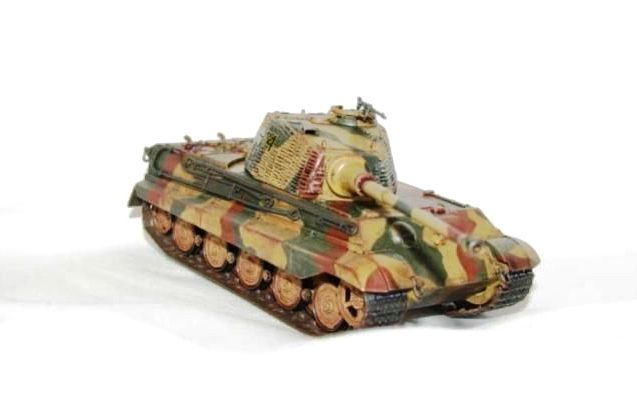

some weathering..


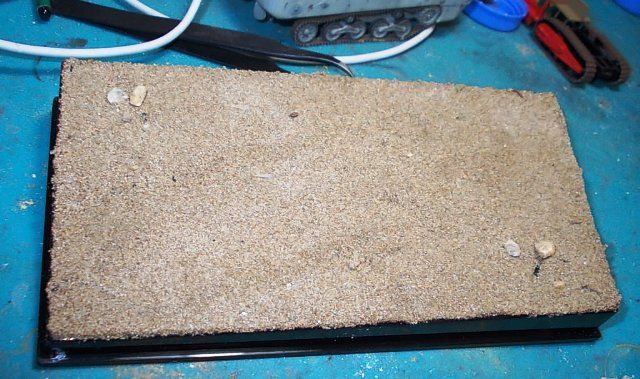
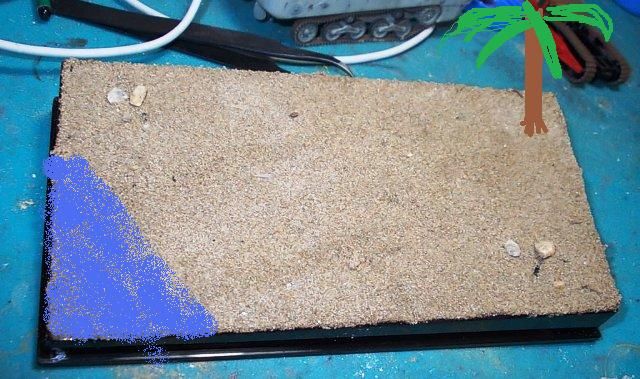
A study for the base...maybe :)


click please for completed model http://miniafv...type-2-ka-mi-completed-by.html

Sunday, April 21, 2013

Revell 1/72 Sd.Kfz 173 Jagdpanther (by Hakan Karlı)


Hello dear friends,

Today Hakan's turn.  Again a lovely base, a nice model, a great presentation. It's a classic job for Hakan.
Enjoy..
.
Erhan...


free counters