Hi, I found an in-box review in my archive that I forgot to share.
First, let's give a brief overview of the gun.:
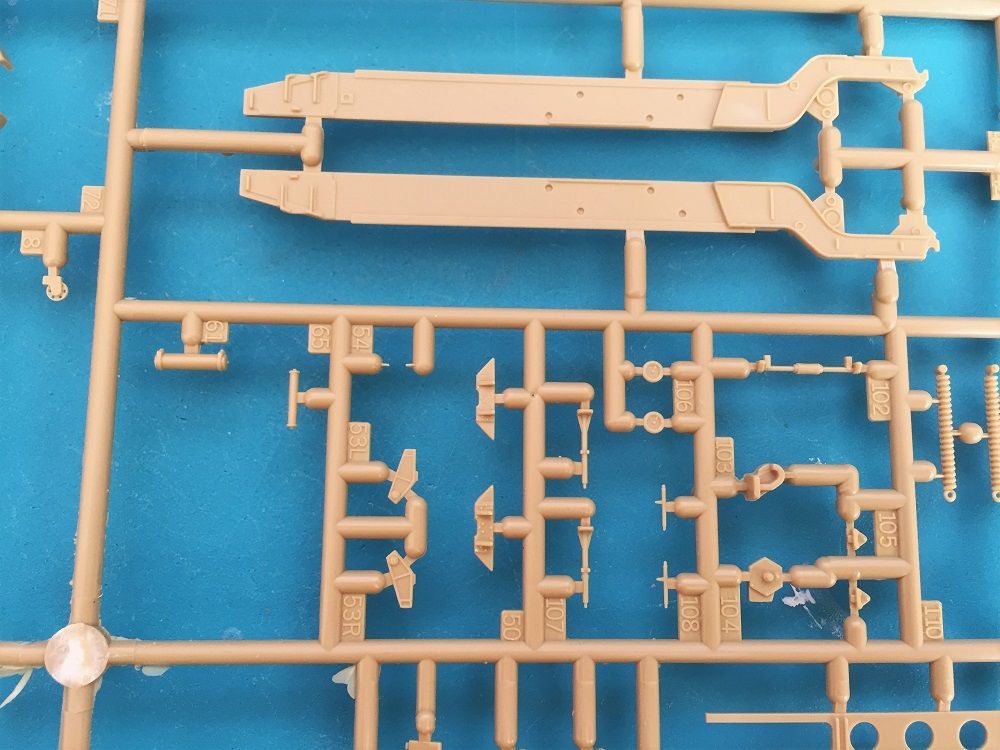
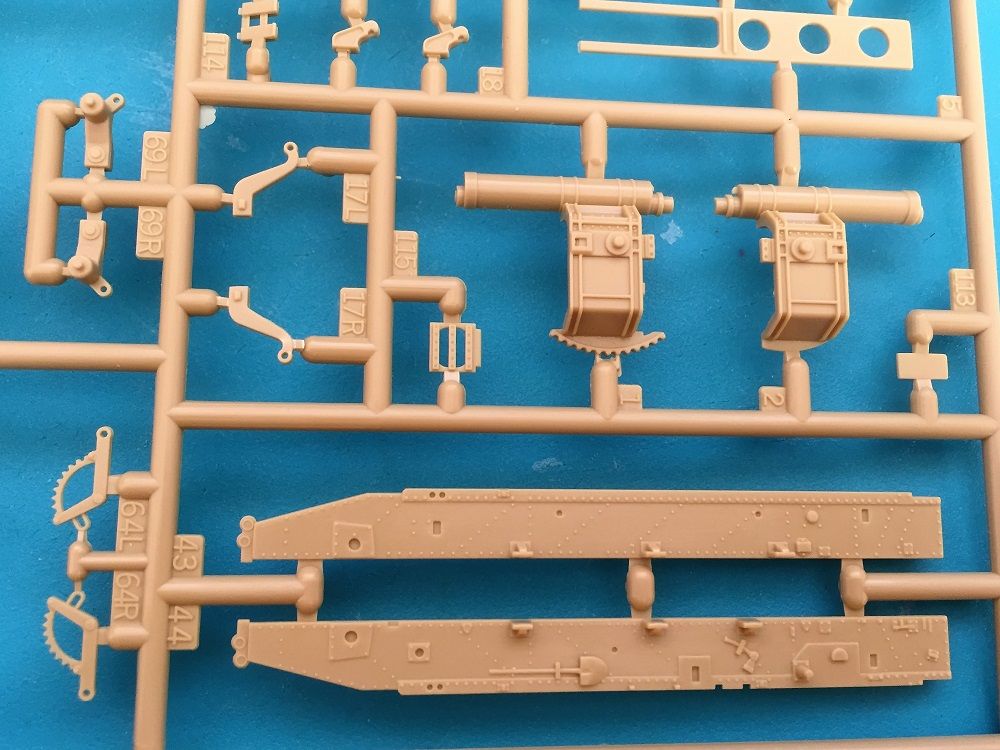
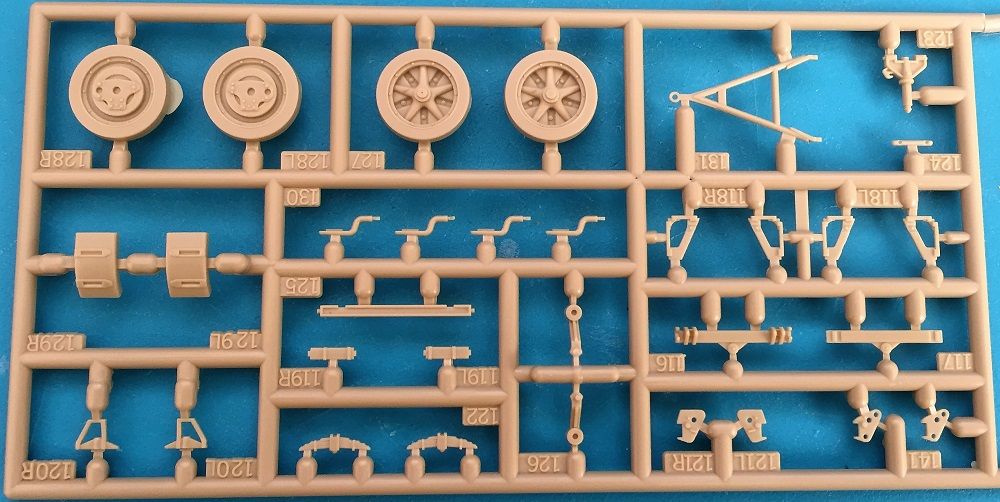
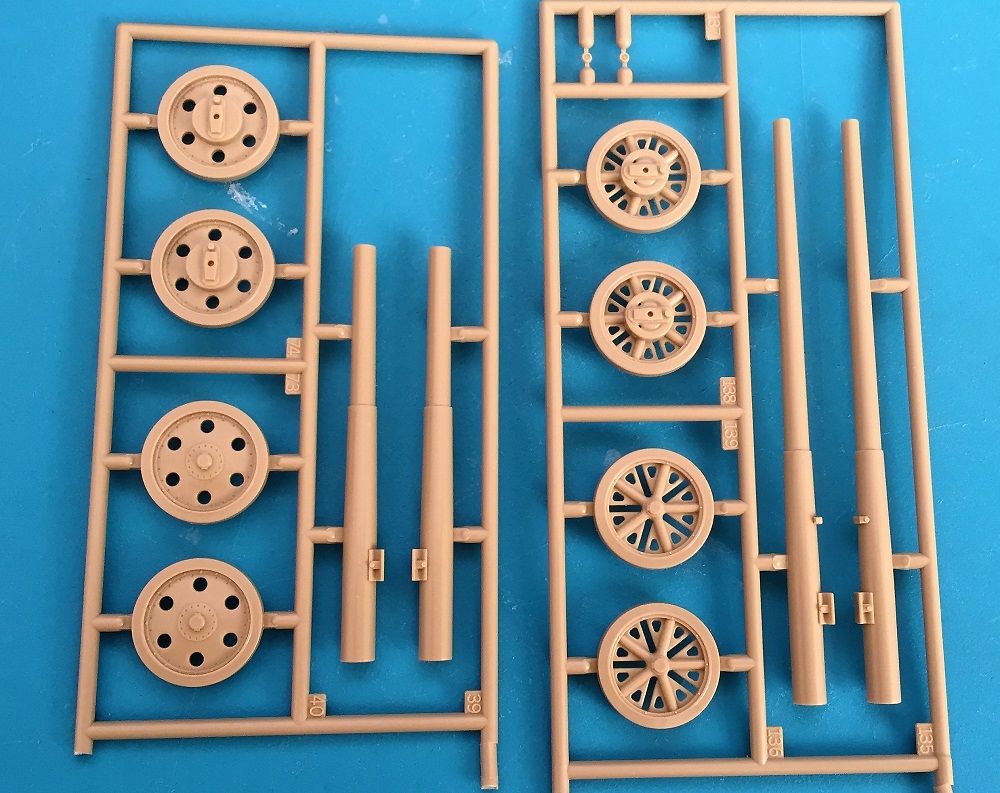
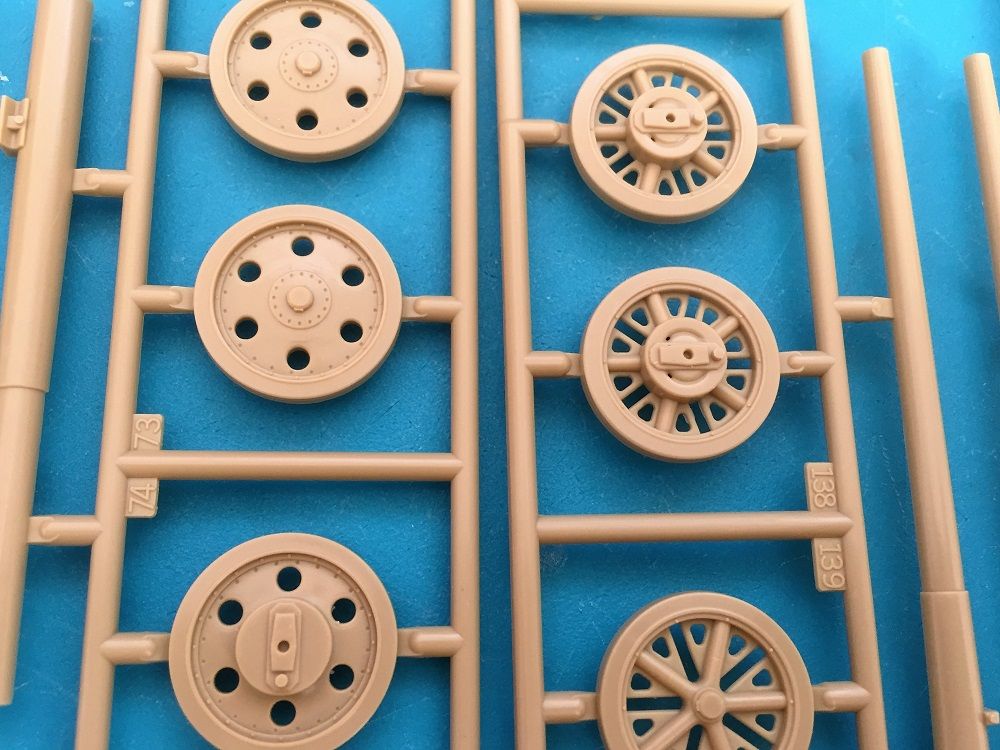
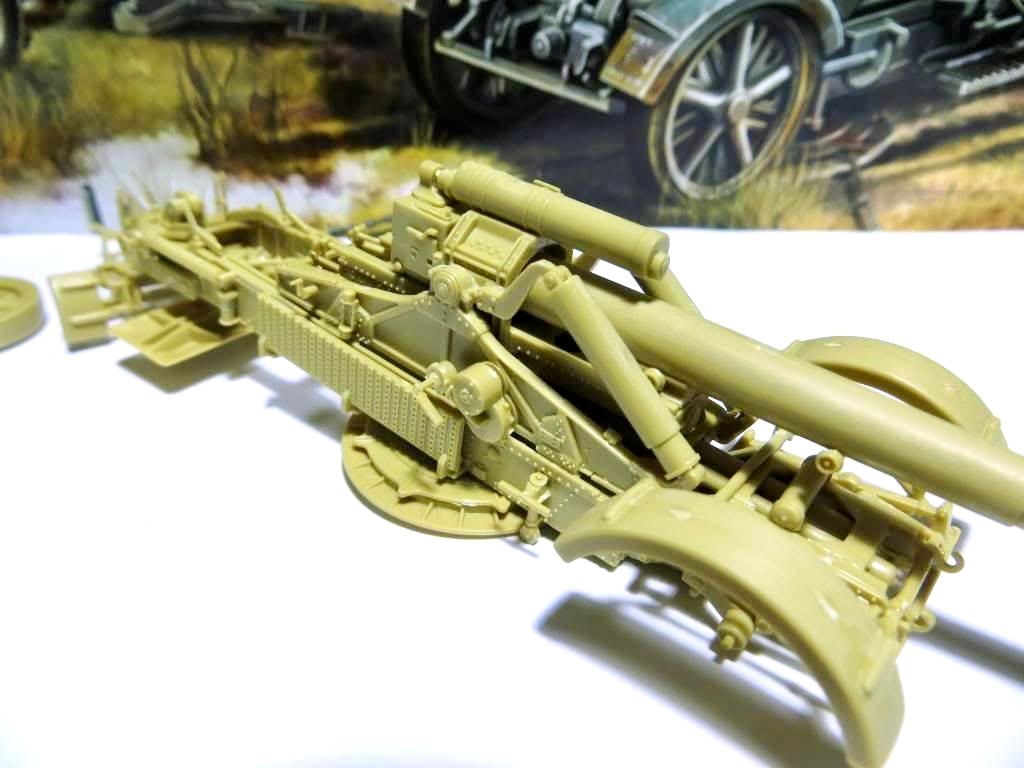
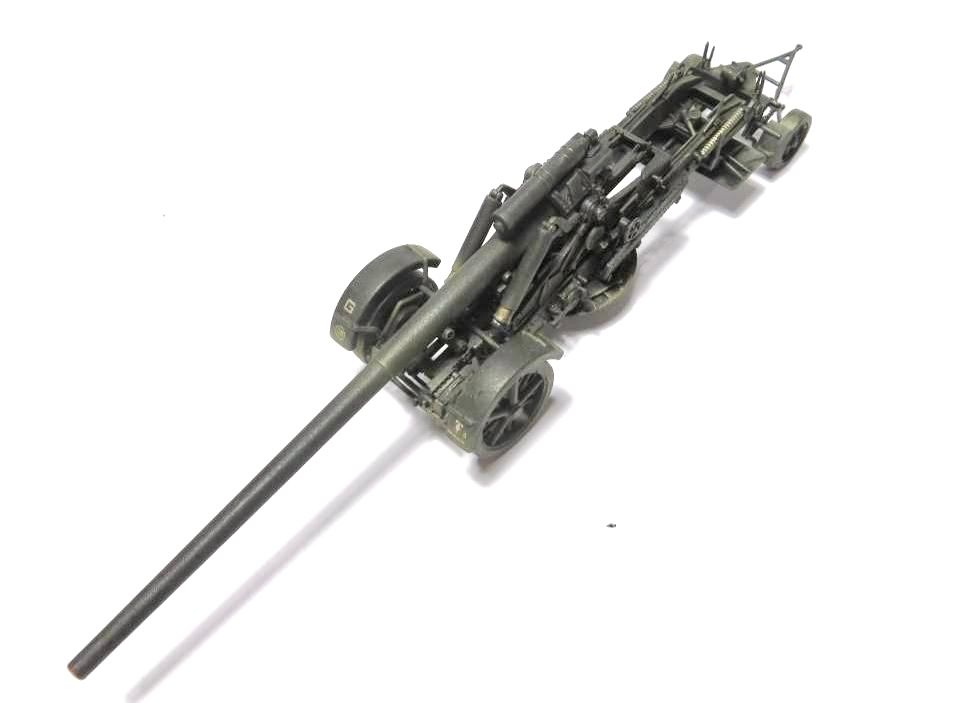
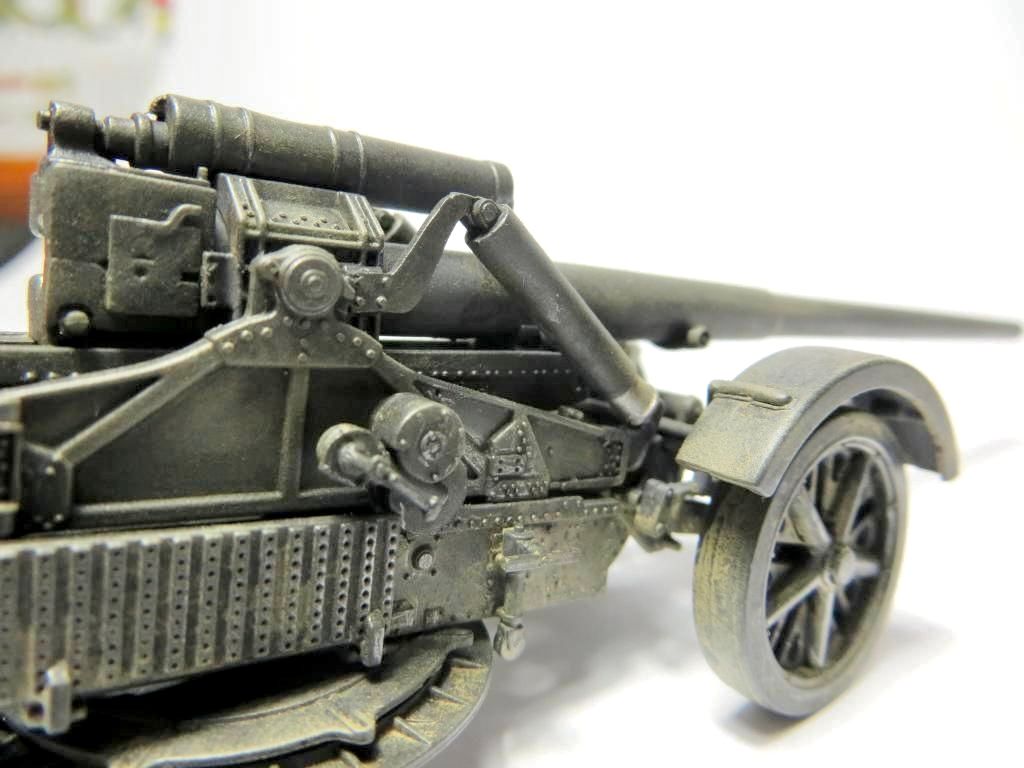
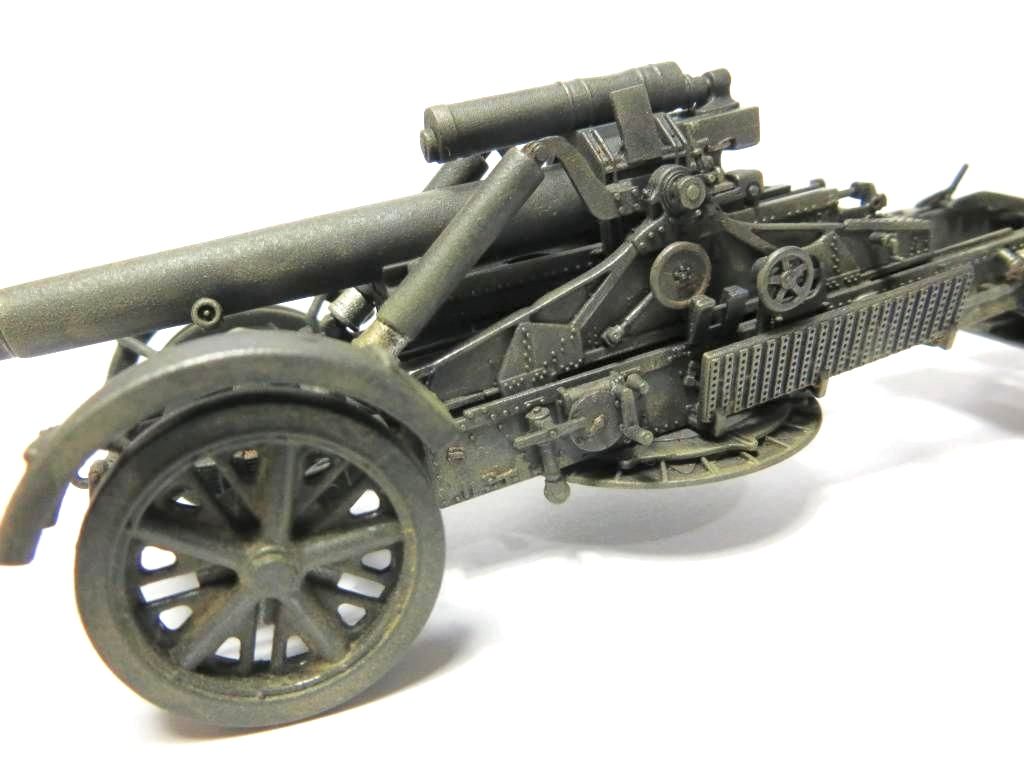
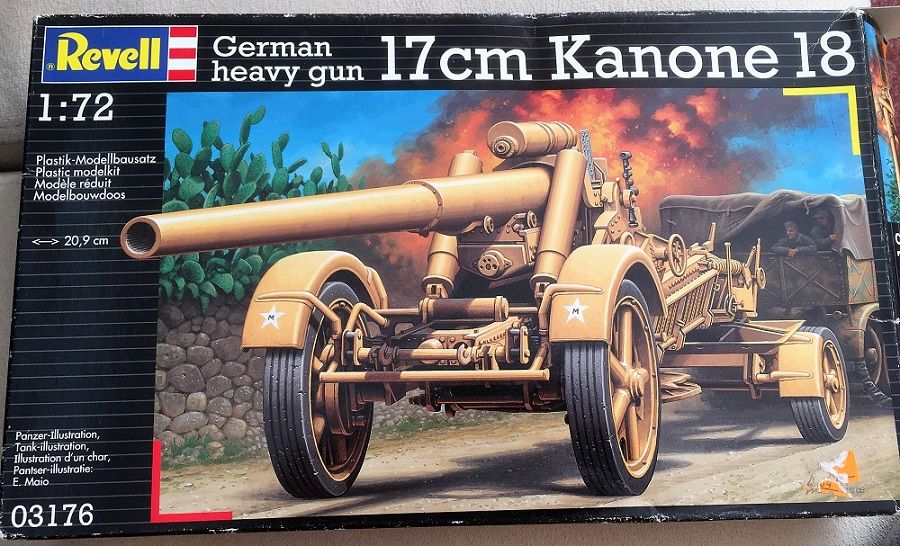
The 17 cm Kanone 18 in Mörserlafette , abbreviated as 17 cm K 18 in MrsLaf, was a German heavy gun used during World War II.The 17 cm K 18 in MrsLaf was a 172.5 mm (6.79 in) towed gun with a barrel 50 calibres long. The 17 cm K 18 in MrsLaf shared the same box trail carriage with the 21 cm Mörser 18. The carriage allowed transport of the weapon over short distances in one piece, whilst for longer distances the barrel was removed from the carriage and transported separately. A series of ramps and winches made removing the barrel a reasonably quick task for its time, but still required several hours. For all of the gun's bulk, a full 360-degree traverse could be achieved by two men.
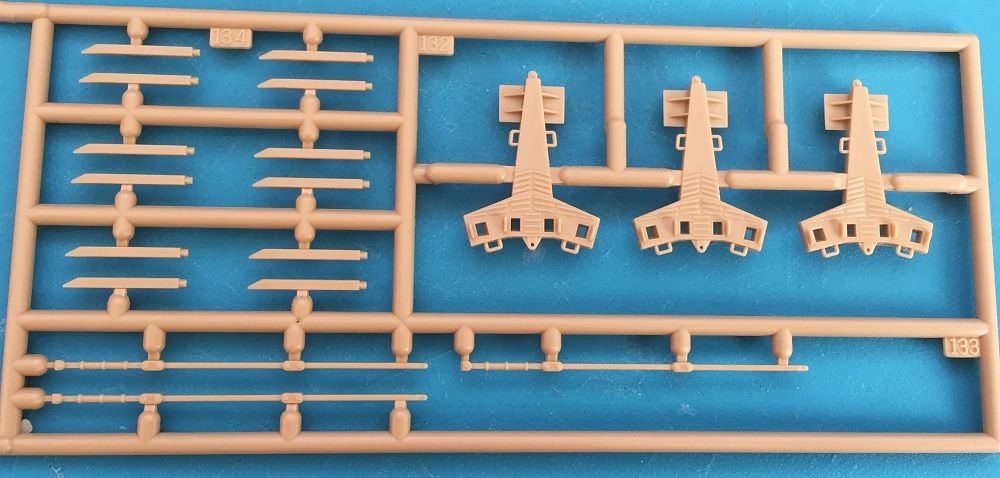
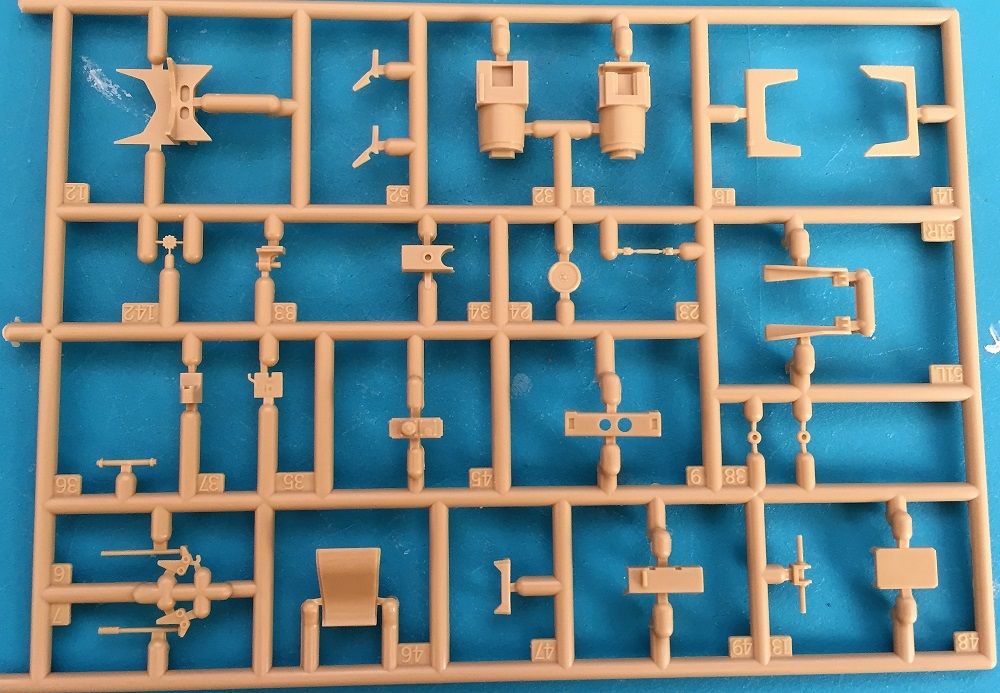
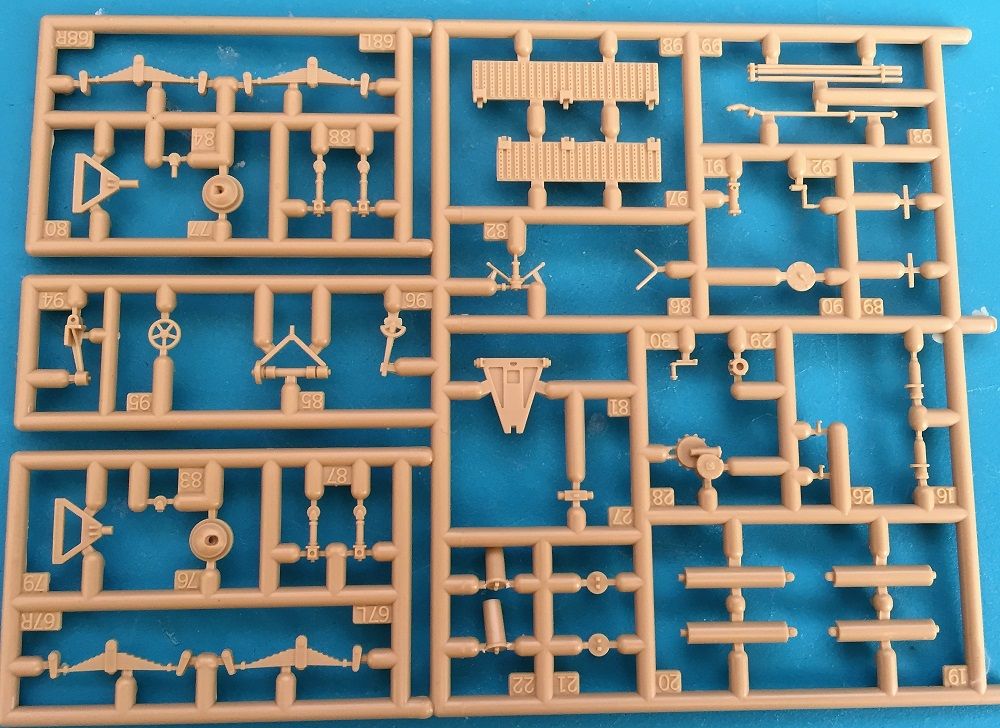
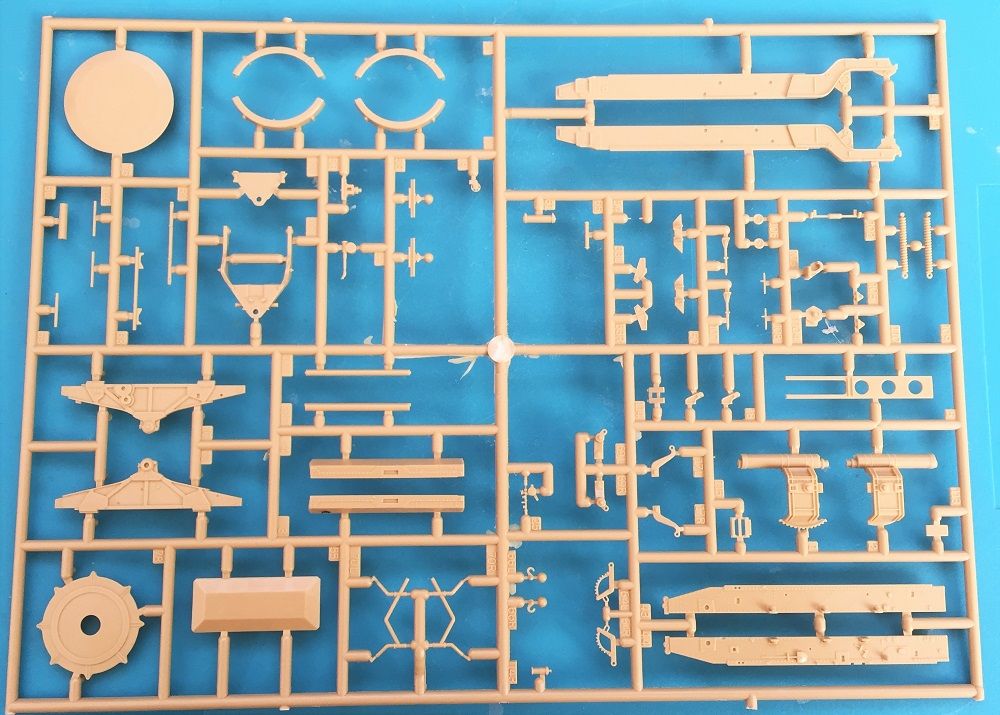
Revell previously released a 21 cm version (kit no: 3169), this kit includes the same parts, with optional parts added for the 18 cm version.
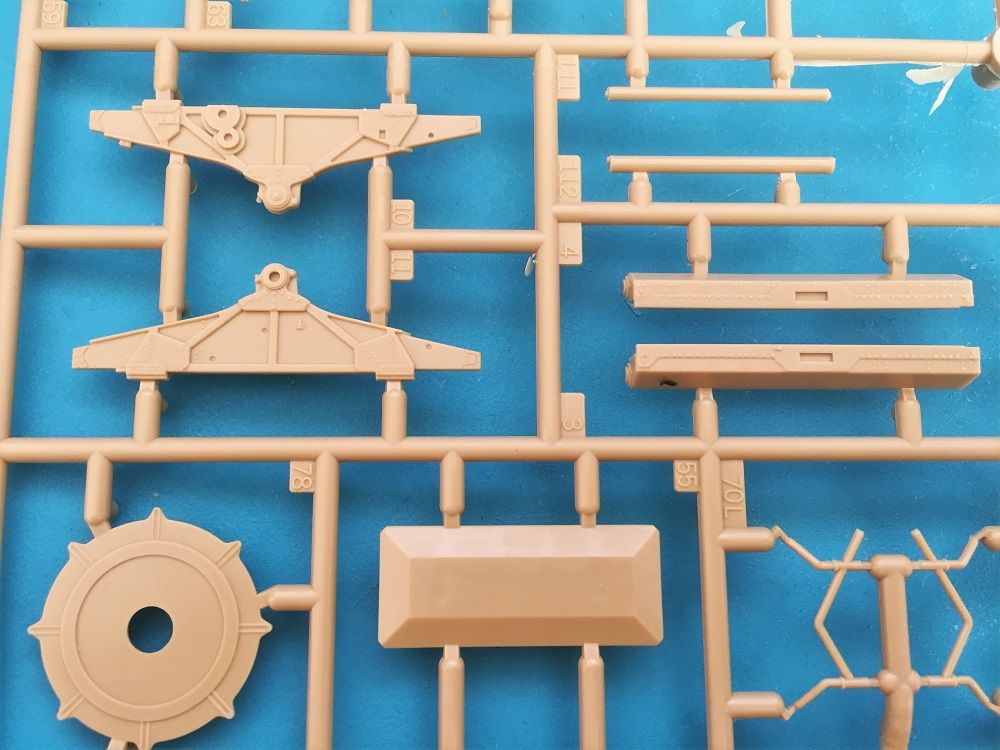
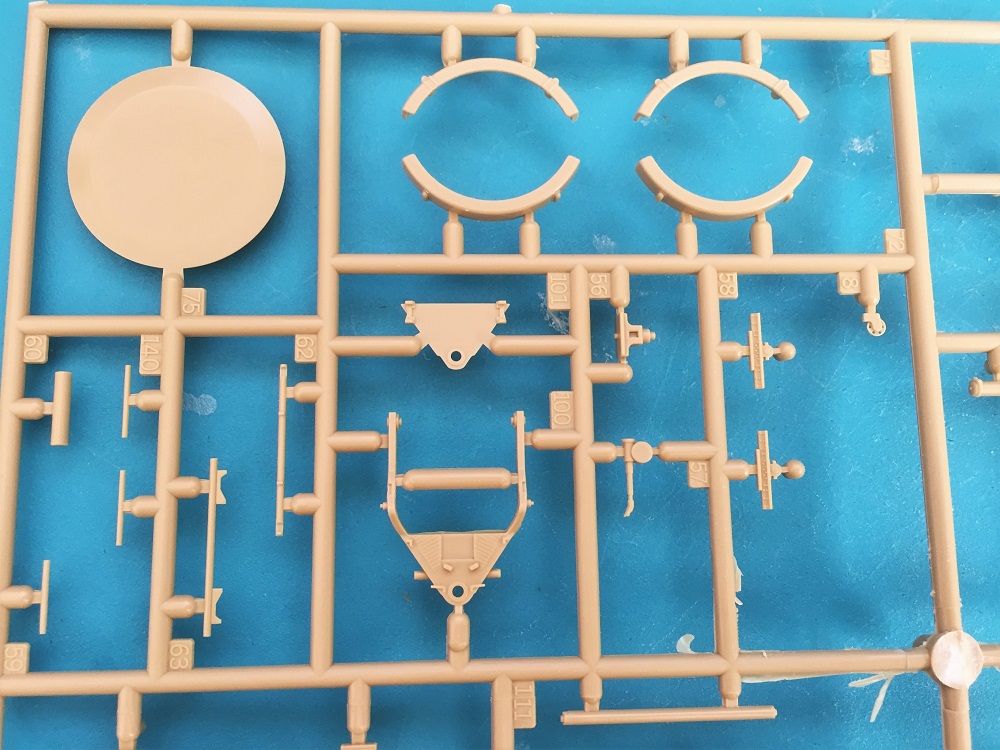
I took review photos of this kit a long time ago. I started the model but couldn't finish it. The mold quality is very good, the part fit is top-notch, it's a high-quality kit.
Later, I gave it to our team member Cem Esen. I wonder what happened to it... Cem, what's the result?
Erhan...