
Hi dear friends,
We have a new member, Murat Ozer ... Tell me his story himself ..
Enjoy....
Erhan..
***
Hello all, my name is Murad and this will be my very first submission to "miniafv" I'm returning to this hobby and slowly getting back into the saddle after a very lengthy hiatus, so big huge thanks to Mr. Erhan for letting a rookie modeller in here among the pros! :)
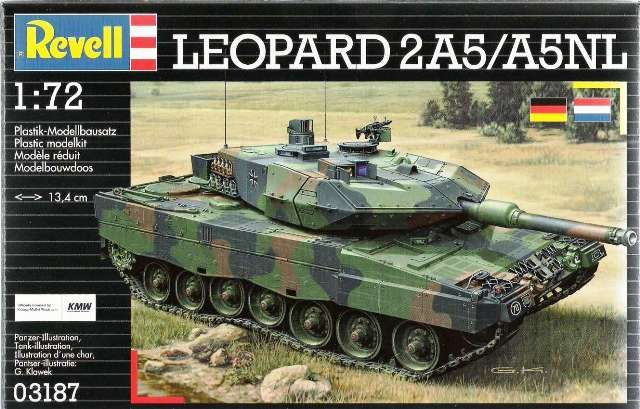
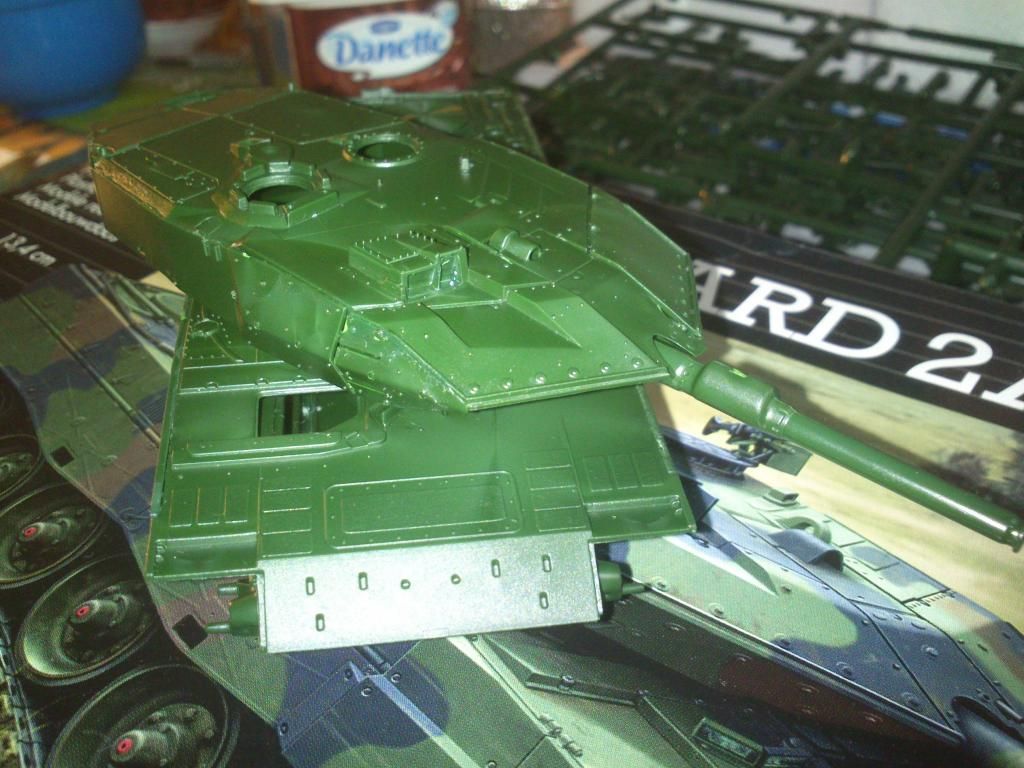
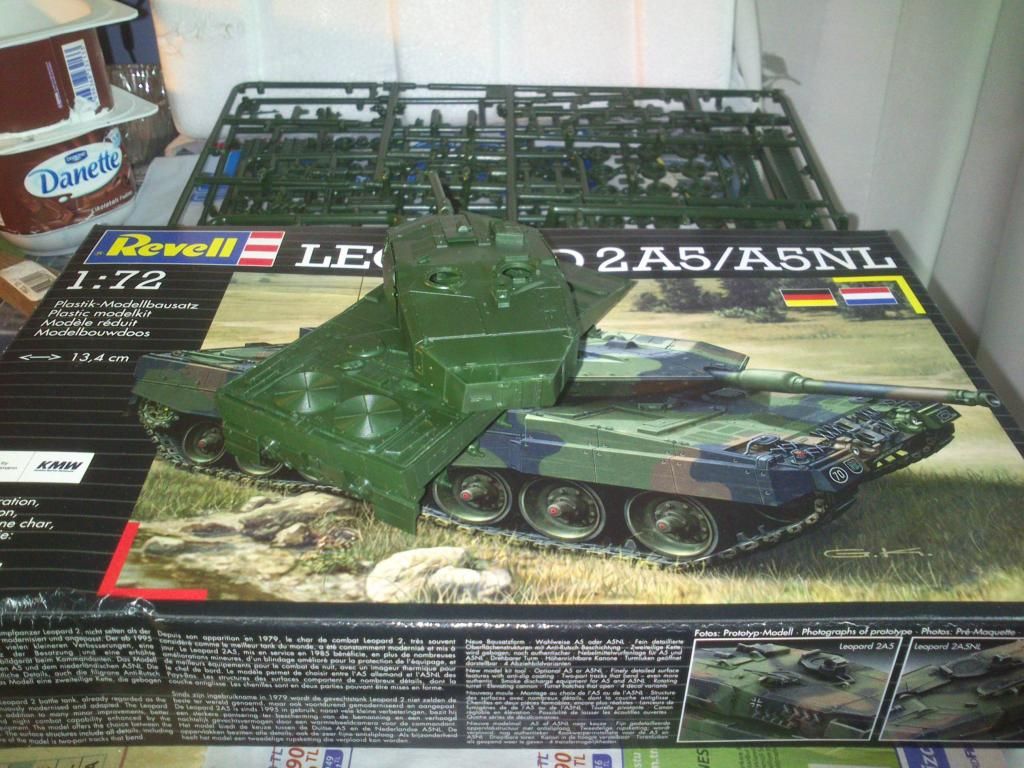
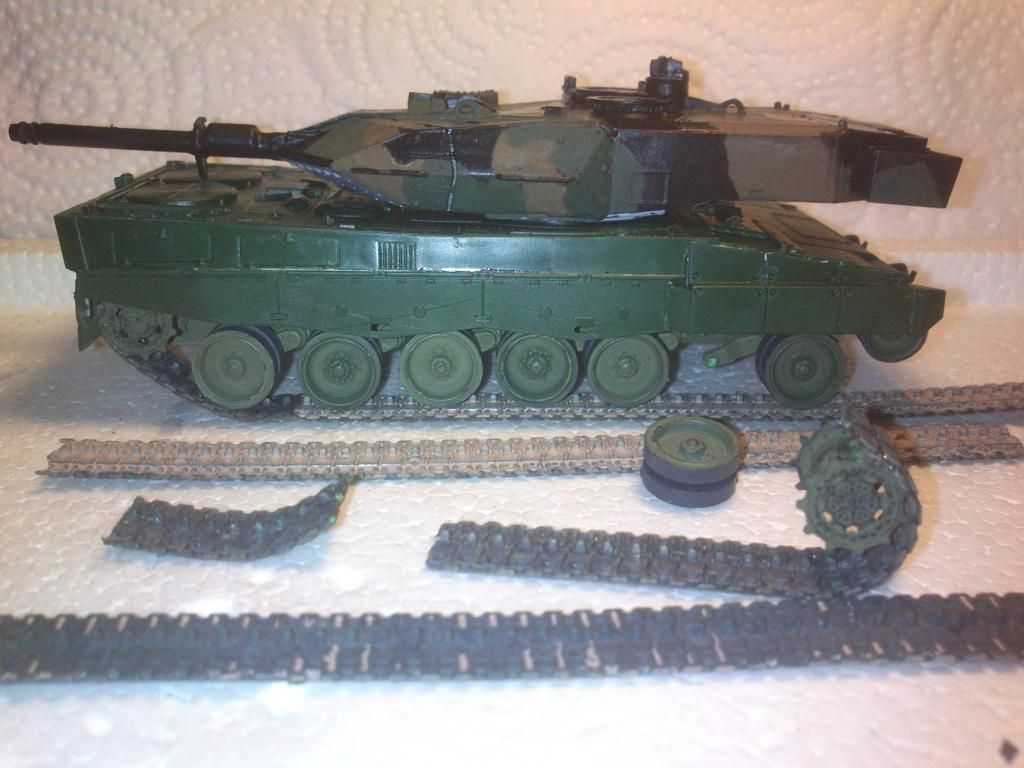
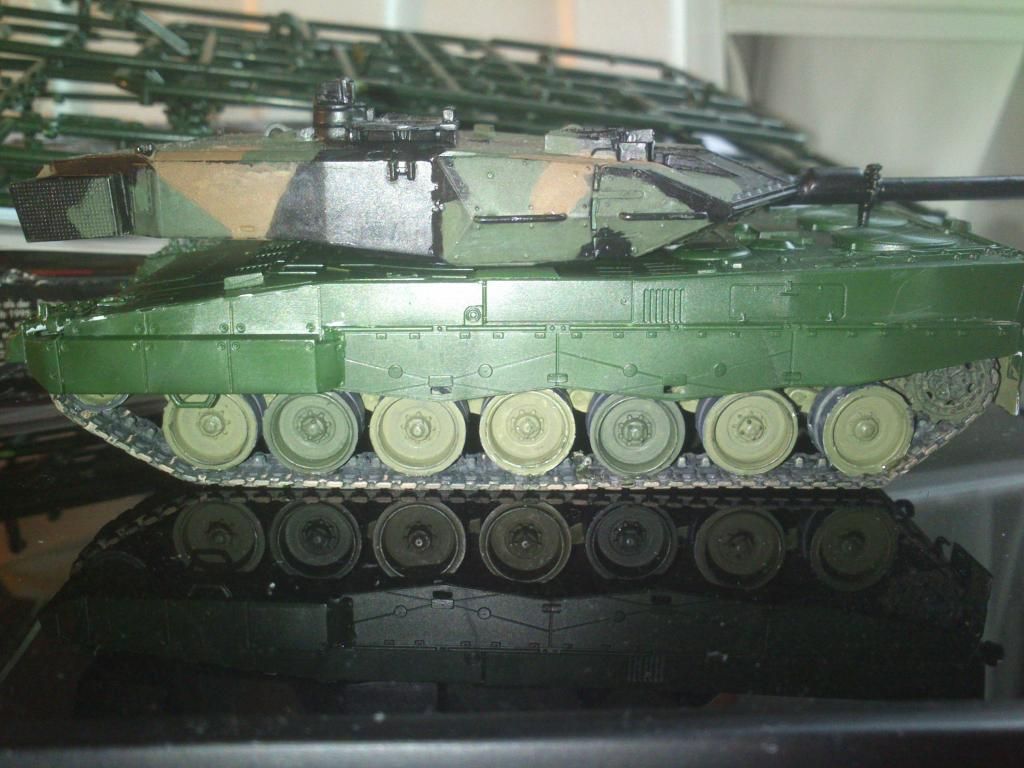
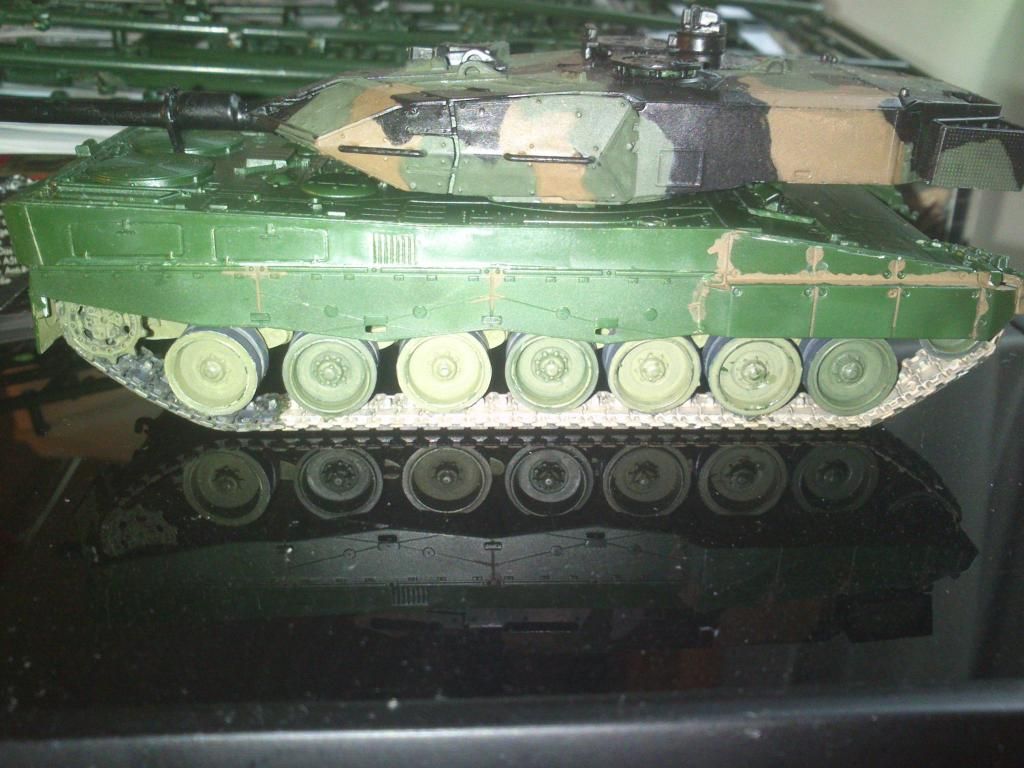
My model here is a Revell Leopard 2a5/a5nl (03187) kit in 1/72 scale. I like Leo2 the most among them modern main battle tanks (mbt) and it’s 3 tone NATO camo, which is perfectly suitable for my hand brushing abilities, the Bundeswehr is using is another favorite of mine, these are why i went for this particular mbt.
Ok off we go, here you can see the assembled Leo2 hull sitting right next to it's older brother, a what-if? German Panther used as a paintjob testbed:

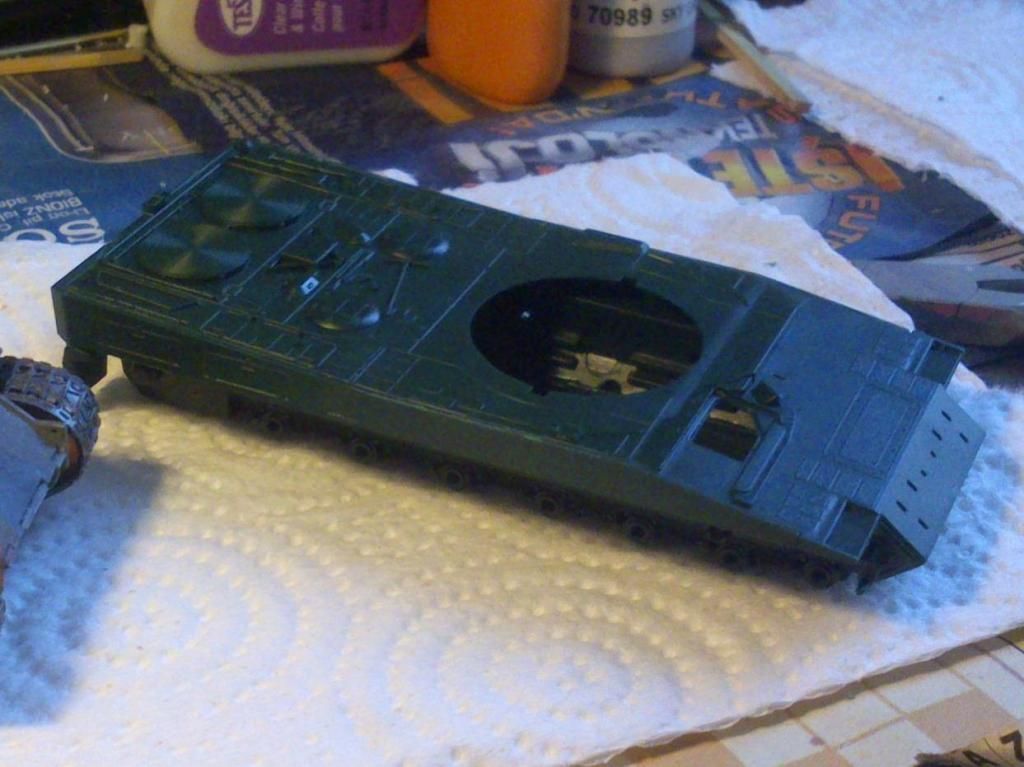
While the fit and the quality of the kit was very good overall, the plastic was a little bit on the brittle side - instead of flexing, chunks of plastic would burst upon careless removal from the sprues!
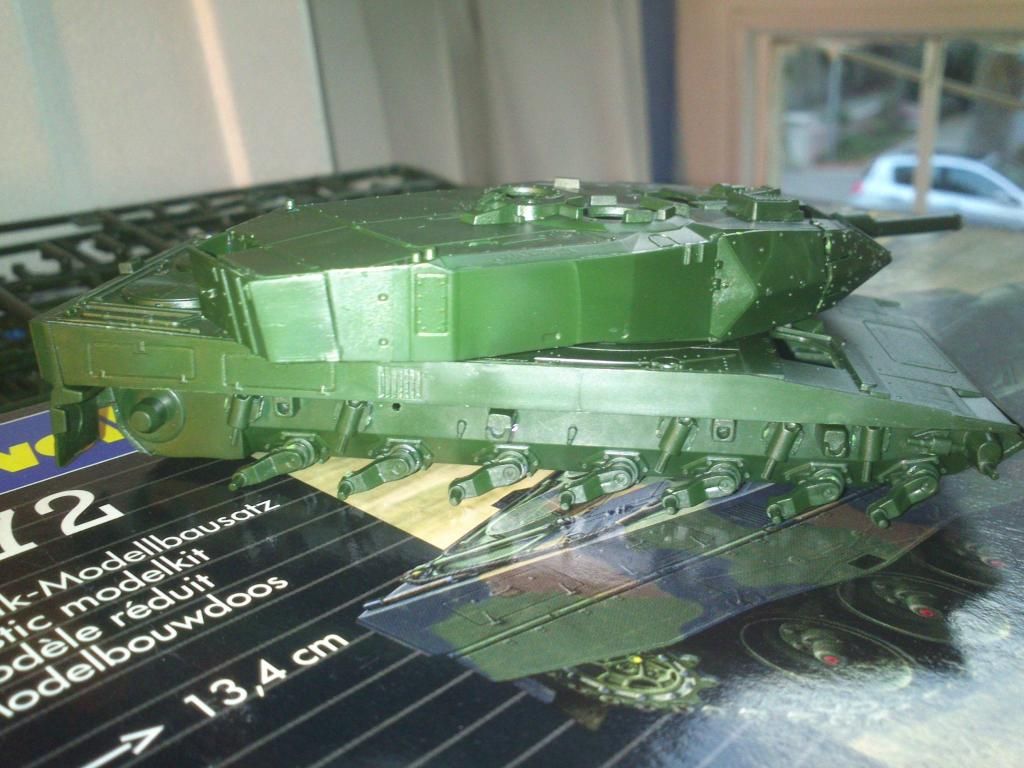
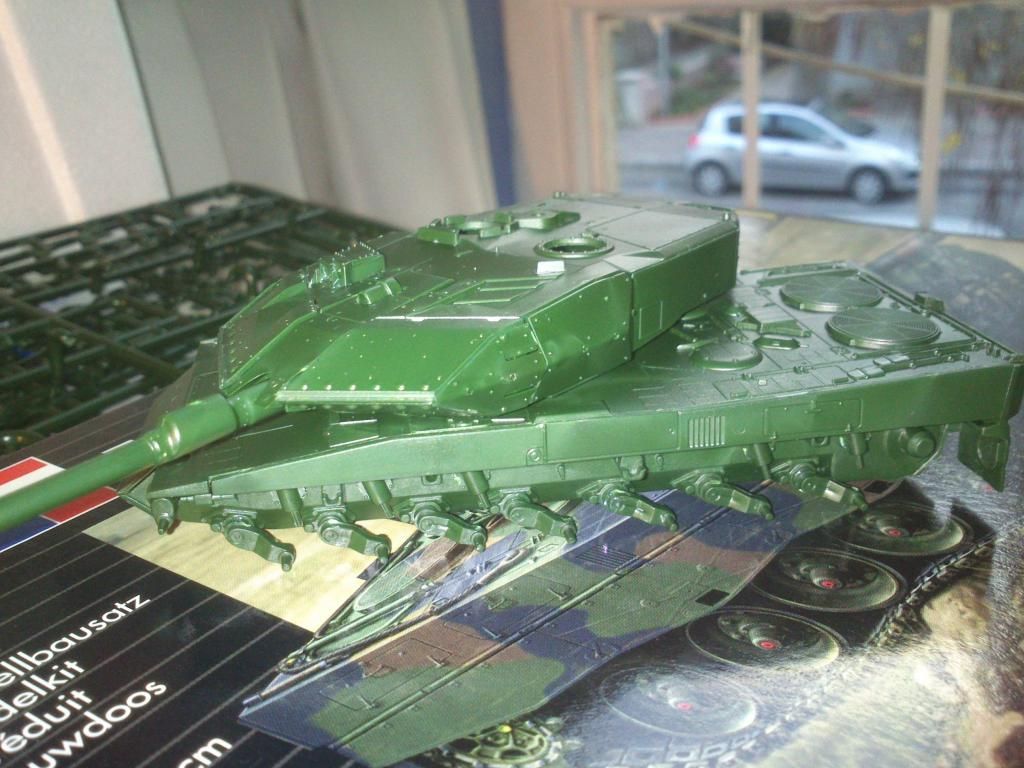
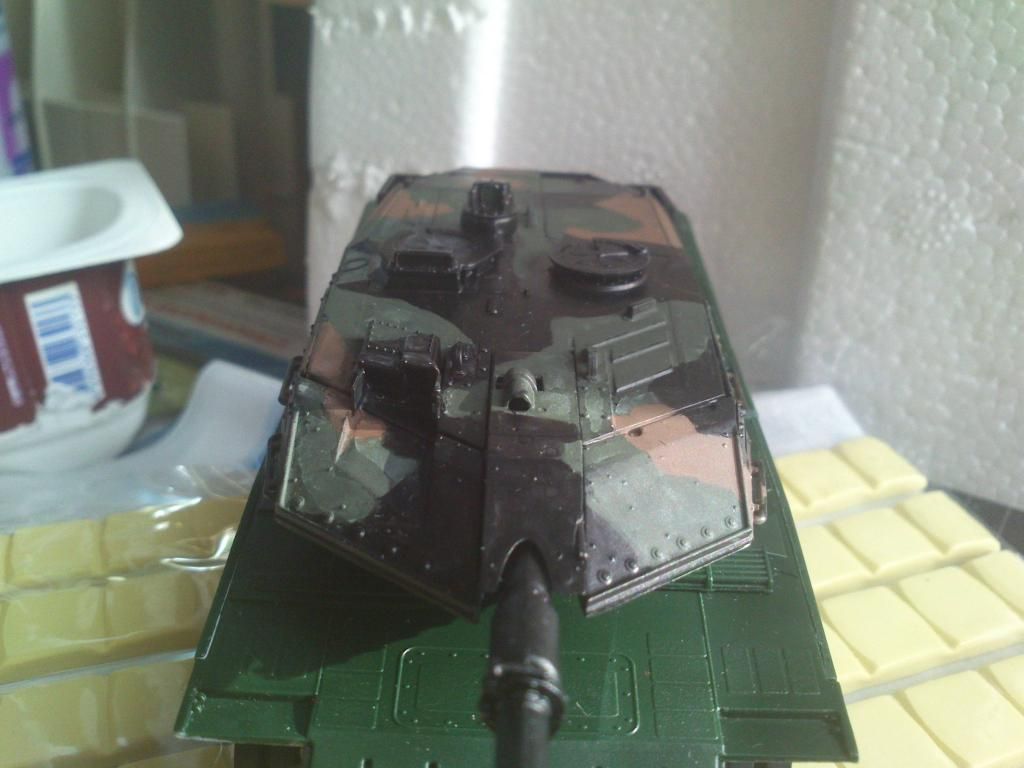
Axles are attached and the turret itself is assembled, first dryfit trials of this one mean looking mbt:
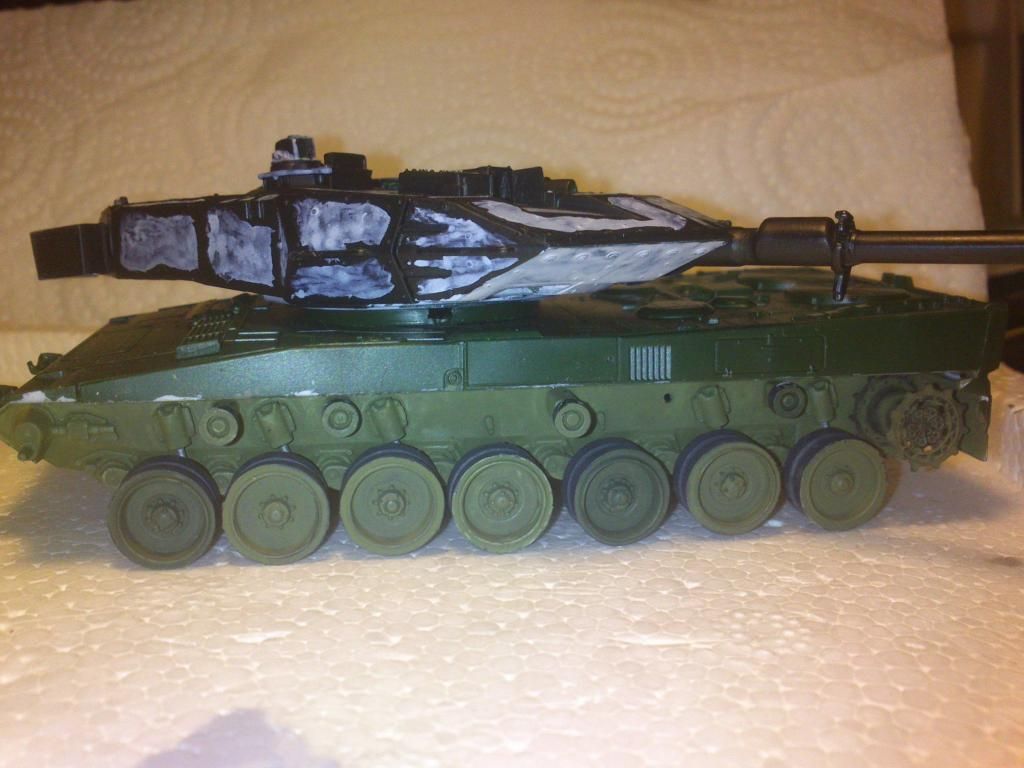
I am using VAllejo for the primer and it's Model Color line for the acrylic paints. According to the public sources on the net the colors for this particular NATO camo are listed as RAL 6031 (green), RAL 8027 (brown) and RAL 9021 (black).
For their VAllejo counterparts i used these respectively: 97, 147 and 170.
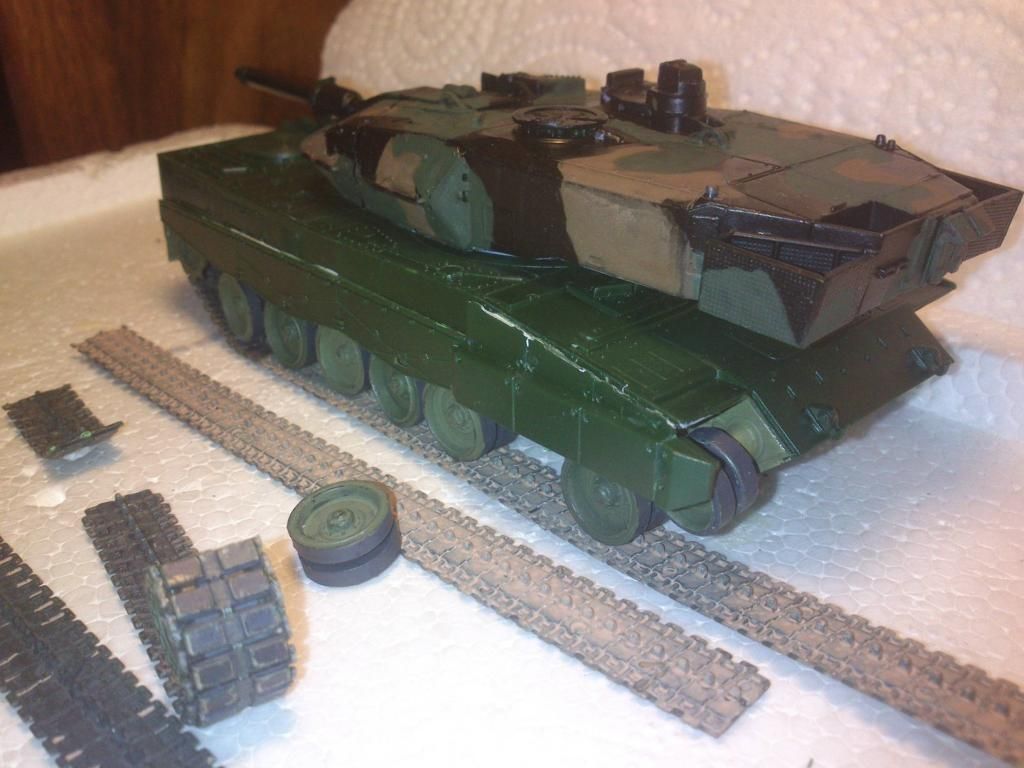
Initially i went with 95 for the green (wheel wells entirely and the lighter toned wheels are painted in 95) however i didn't like the tone so i opted for 97 for the rest of the model. That being said i still do NOT think this 97 is anymore accurate neither for Bronze Green, but it'll have to do! Also note black on the turret is actually the primer while the highlight is VA Neutral Grey:
For their VAllejo counterparts i used these respectively: 97, 147 and 170.
Initially i went with 95 for the green (wheel wells entirely and the lighter toned wheels are painted in 95) however i didn't like the tone so i opted for 97 for the rest of the model. That being said i still do NOT think this 97 is anymore accurate neither for Bronze Green, but it'll have to do! Also note black on the turret is actually the primer while the highlight is VA Neutral Grey:
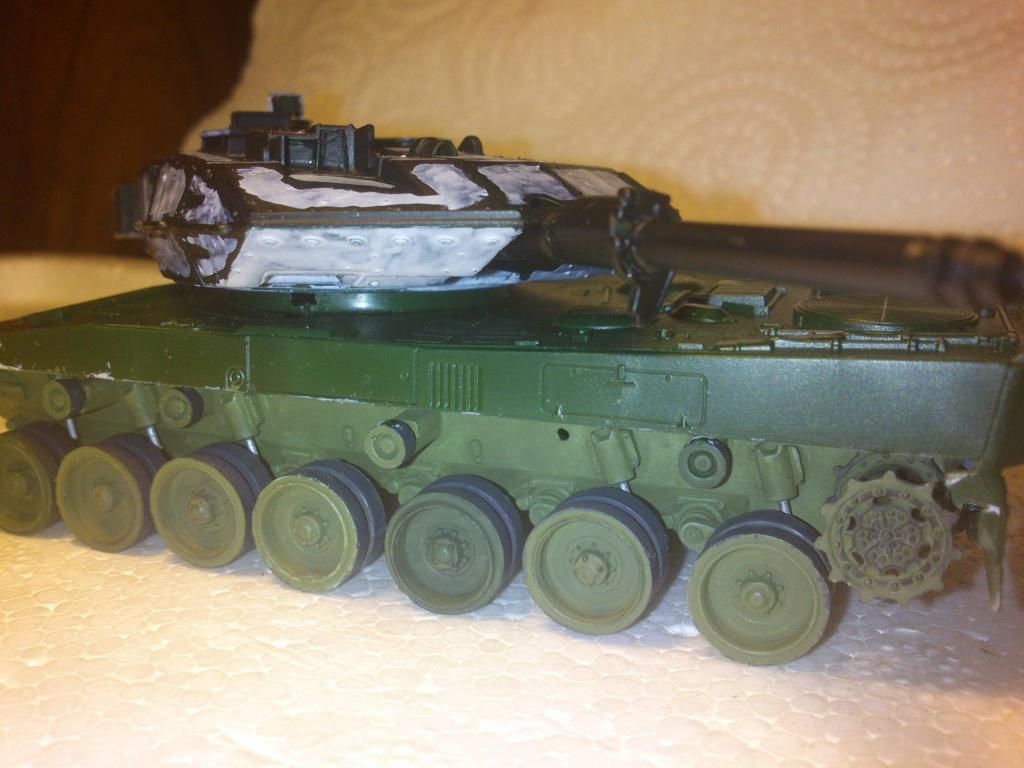
Initial coats on the turret and things are beginning to shape up very nicely for the mean looking mbt:


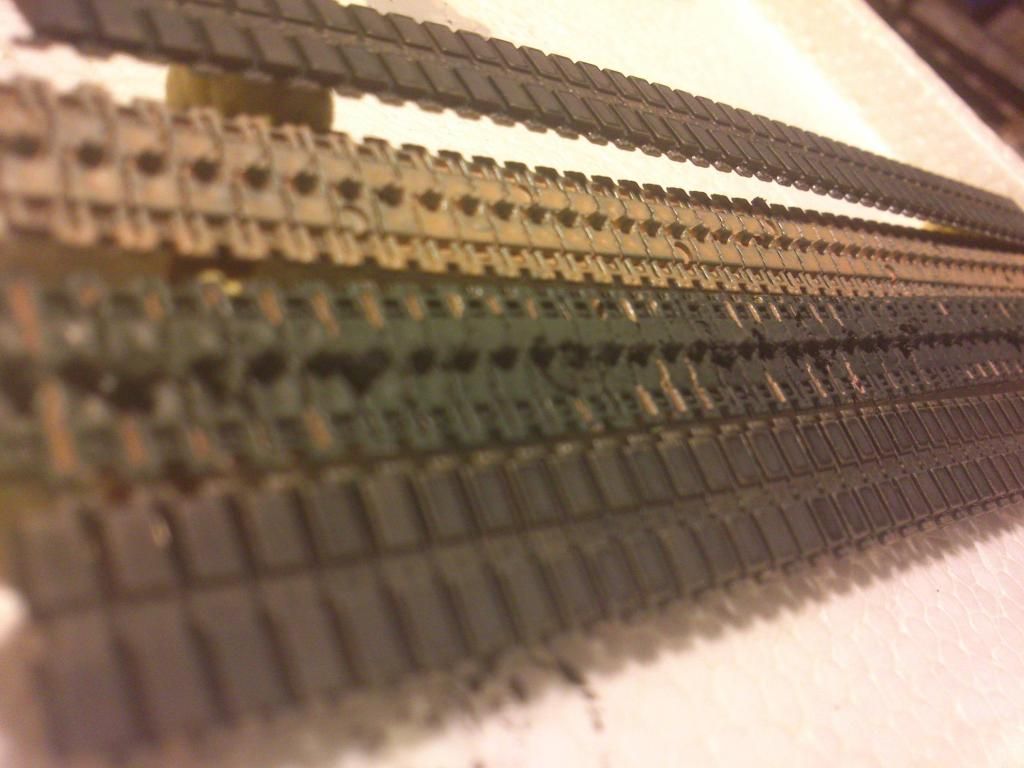
As for the paint trials on the tracks, which i used enamel humbrol Sand as base color then very very thin, almost runny, VA Black Grey. Allowing the black paint to pool up on them track pads while drying resulted in a very nice worn out road going effect that you can see in the pictures. Also the "dirt" is actually clogged up enamel paint thinned and cut into pieces, then applied with the help of an old brush:
Murad Özer
click for the completed model : http://miniafv.172-leopard-2a5a5nl-completed-by.html

Great job so far. I remember getting this kit when I was little and suffering so much to put it together decently (which I never really managed to). Heard rumors about my country buying some of these second-handed from the Austrians.
ReplyDeleteHi, Ozer: you have given a very detailed production report. Thanks. Looking forward to seeing this iron-beast roll out out of the Murat factory in all of its pre battle glory.
ReplyDelete